Last updated: April 7, 2025
Article
Resetting Ground Supporting Headstones
Transcript
Nathan Hall: Hello, my name is Nathan Hall. I am a park ranger here at Chalmette Battle Field which is one of six units of Jean Lafitte National Historical Park and Preserve. All together they tell the story of life in Southern Louisiana based around the culture and the history and the ecology around the Mississippi River. This site specifically is the original site. It became a national park in 1939. It commemorates the last major battle of the War of 1812, a largely forgotten war in American History. But when you come here you learn it has a lot of significance. We're a mixed group of a hundred years worth of New Orleanians from French Creole to Spanish speaking Canary Islanders to Native Americans, free African-Americans, pirates and privateers and criminals, state troops from Tennessee, and the US Army and Marines all came together defeated twice as many of the best trained and equipped army in the world at the time, the British army, to give the Americans a big victory at the end of a war that hadn't gone very well for them up to that point. We have now over 15,000 soldiers from wars, from the Civil War up to and including Vietnam and even a few people who served in the War of 1812 and were re-interred from other places and ceremonially placed here as well.
Jason Church: Grave markers may need to be reset for a variety of reasons. Here at Chalmette we have issues with the stones sinking and leaning due to the high water table, occasional flooding, and other natural disasters. The techniques that we will cover in this video are applicable to any grave marker that is ground supported. That is to say that it has no other base and is held upright only by the pressure of the Earth. Before we get started with our raising and realigning, we should first run the line levels and measure out for the row we are working on. When resetting in an organized cemetery such as Chalmette, it's important not only to bring the stone up to proper height but to keep it inline with the other stones in its rows and aisles. Masonry string and a line level is used for this. Here at Chalmette the average height for the stones is 22 inches above grave. That is the height we need to set the string to. The first thing that needs to be done is to remove a small amount of dirt from around the stone. How much needs to be removed depends on the severity of the stone's lean. It is important to decrease any stress from the stone before trying to lift it. When moving dirt be careful not to touch the stone with the shovel at any time as this will cause damage to the fragile stone. Also it is a good idea to place a tarp or piece of plywood down to put the dirt on. This will keep the side of the cemetery looking good after the reset. To lift the stones, we'll use a rolling aluminum gantry with a one ton chain hoist. When using any overhead equipment a hard hat should be worn. We are using a nylon strap to lift the stone. A simple basket hitch is all that's need to lift the stone. If the strap starts to slip, stop. Lower the stone and redo the strap. Slippage could scar the stone. When gently raising the stone, one person should stay with the stone at all times while another one works the chain hoist. Be careful that the chain or hook do not strike the stone. Once the stone is raised from the hole, it can be moved out of the way or laid flat on the ground. Here at the National Cemetery where many stones will be reset in a row, we can pull several at one time. Once you are done with the gantry it should be rolled out of the way. Hardhats can now be removed if needed. The hole that was left once the stone is removed needs to be widened and taken deeper to allow for gravel. To check the depth of your hole as you work, subtract the total height of the stone from the amount of the stone that goes above grave. Add about 4 inches to this to allow for the gravel that will be packed under the stone. When you reach the depth that you want, tamp the soil down before adding about 4 inches of gravel. Once the gravel has been added, tamp the hole again. The stone can now be placed back in the hole. This can be done manually or by using the gantry and strap. If you're moving the stone manually, make sure at least 2 people are there to move the heavy stone. Now that the stone is back in the hole and at proper height, we'll use this post level to monitor that the stone stays plumb and level while we place gravel around it. Make sure that you do not contact the grave marker with the shovel or while tamping. It's recommended to only tamp with a wooden 2x4 to avoid any damage to the stone. The gravel around and underneath the stone will help with drainage and to hold the stone tight, slowing future settling. When selecting gravel make sure to use a small sharp grave. This will hold the stone in place. Tumbled or round gravel should be avoided as it may help the stone to move in a freestyle situation. Once the stone has been tamped in, leaving a few inches of room to add sand, soil, or the original sod back around the stone. Once the stone is properly reset it should be cleaned. Now that you've watched this video, hopefully you have the knowledge you need to go out and reset ground supported grave markers at your historic site. If you have any future questions, feel free to contact us ncptt.nps.gov. Go out and do good work.
- Duration:
- 7 minutes, 54 seconds
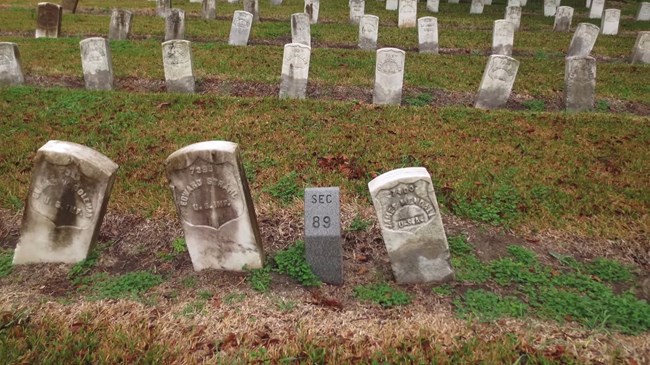
Grave markers may need to be reset for a variety of reasons. At Chalmette National Cemetery there are issues with the stones sinking and leaning due to the high water table, occasional flooding, and other natural disasters. The techniques that we will cover in this video are applicable to any grave marker that is ground supported, that is to say that it has no other base and is held upright only by the pressure of the earth.
National Park Service
Chalmette Cemetery
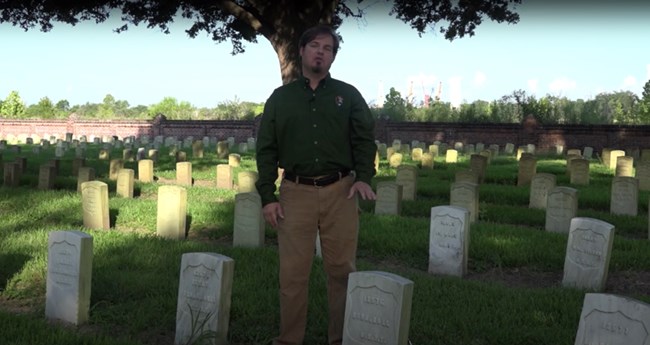
Jason Church: Hello and welcome to historic Chalmette National Cemetery. My name is Jason Church. I'm a materials conservator with the National Center for Preservation Technology and Training (NCPTT). In this video, we're going to cover the tips and techniques needed to raise and realign ground supported grave markers such as these historic stones for veterans here at Chalmette. Before we get started, let's take a quick moment to listen to our park ranger give us a little history of the site.
National Park Service
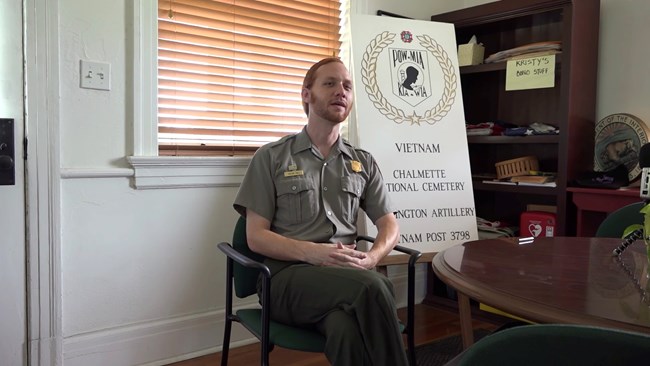
Nathan Hall: Hello, my name is Nathan Hall. I am a park ranger here at Chalmette Battlefield which is one of six units of Jean Lafitte National Historical Park and Preserve. All together they tell the story of life in Southern Louisiana based around the culture and the history and the ecology around the Mississippi River. This site specifically is the original site. It became a national park in 1939. It commemorates the last major battle of the War of 1812, a largely forgotten war in American History. But when you come here you learn it has a lot of significance.
[They] were a mixed group of a hundred years worth of New Orleanians from French Creole to Spanish speaking Canary Islanders to Native Americans, free African-Americans, pirates and privateers and criminals, state troops from Tennessee, and the US Army and Marines all came together defeated twice as many of the best trained and equipped army in the world at the time, the British army, to give the Americans a big victory at the end of a war that hadn't gone very well for them up to that point.
National Park Service
Resetting Headstones
We have now over 15,000 soldiers from wars, from the Civil War up to and including Vietnam and even a few people who served in the War of 1812 and were re-interred from other places and ceremonially placed here as well.
Jason Church: Grave markers may need to be reset for a variety of reasons. Here at Chalmette we have issues with the stones sinking and leaning due to the high water table, occasional flooding, and other natural disasters. The techniques that we will cover in this video are applicable to any grave marker that is ground supported. That is to say that it has no other base and is held upright only by the pressure of the Earth.
National Park Service
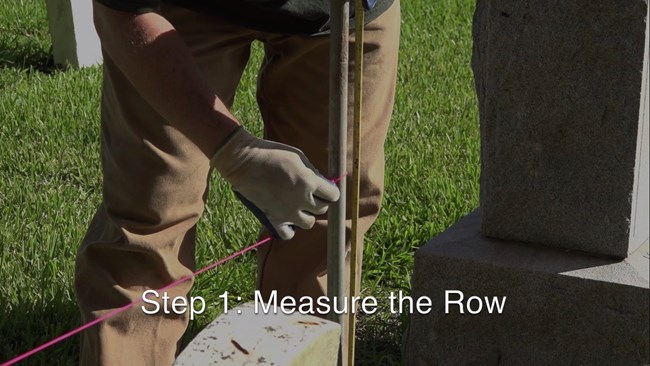
Step 1: Measure the Row
Before we get started with our raising and realigning, we should first run the line levels and measure out for the row we are working on.
When resetting in an organized cemetery such as Chalmette, it's important not only to bring the stone up to proper height but to keep it inline with the other stones in its rows and aisles. Masonry string and a line level is used for this.
Here at Chalmette the average height for the stones is 22 inches above grave. That is the height we need to set the string to.
National Park Service
Step 2: Remove Dirt
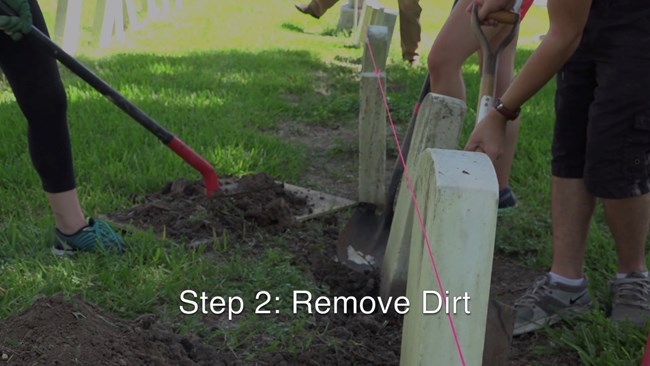
The second thing that needs to be done is to remove a small amount of dirt from around the stone.
How much needs to be removed depends on the severity of the stone's lean. It is important to decrease any stress from the stone before trying to lift it.
When moving dirt be careful not to touch the stone with the shovel at any time as this will cause damage to the fragile stone.
Also it is a good idea to place a tarp or piece of plywood down to put the dirt on. This will keep the side of the cemetery looking good after the reset.
National Park Service
Step 3: Lift the Stone
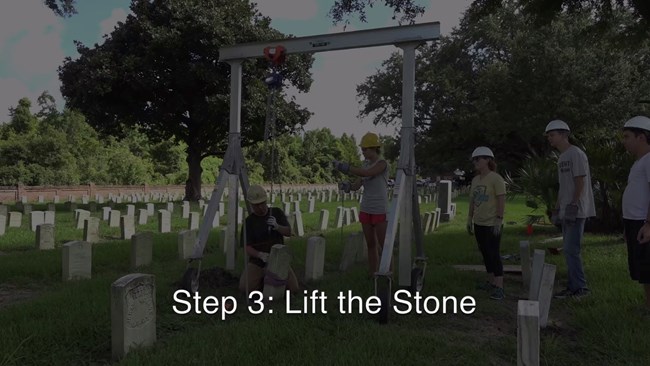
To lift the stones, we'll use a rolling aluminum gantry with a one ton chain hoist. When using any overhead equipment a hard hat should be worn. We are using a nylon strap to lift the stone. A simple basket hitch is all that's need to lift the stone.
If the strap starts to slip, stop. Lower the stone and redo the strap. Slippage could scar the stone.
When gently raising the stone, one person should stay with the stone at all times while another one works the chain hoist. Be careful that the chain or hook do not strike the stone.
Once the stone is raised from the hole, it can be moved out of the way or laid flat on the ground. Here at the National Cemetery where many stones will be reset in a row, we can pull several at one time. Once you are done with the gantry it should be rolled out of the way. Hardhats can now be removed if needed.
National Park Service
Step 4: Widen and Deepen Hole
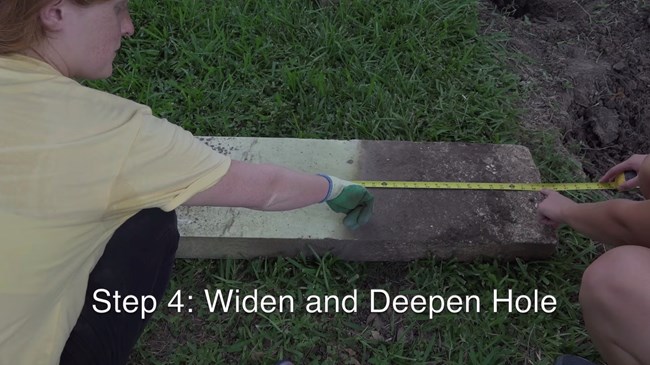
The hole that was left once the stone is removed needs to be widened and taken deeper to allow for gravel.
To check the depth of your hole as you work, subtract the total height of the stone from the amount of the stone that goes above grave.
Add about 4 inches to this to allow for the gravel that will be packed under the stone.
When you reach the depth that you want, tamp the soil down before adding about 4 inches of gravel. Once the gravel has been added, tamp the hole again.
National Park Service
Step 5: Return Stone to Hole
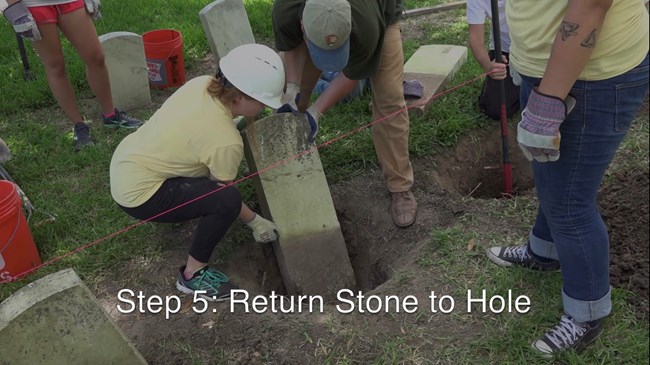
The stone can now be placed back in the hole.
This can be done manually or by using the gantry and strap.
If you're moving the stone manually, make sure at least 2 people are there to move the heavy stone.
National Park Service
Step 6: Add Gravel and Level Stone
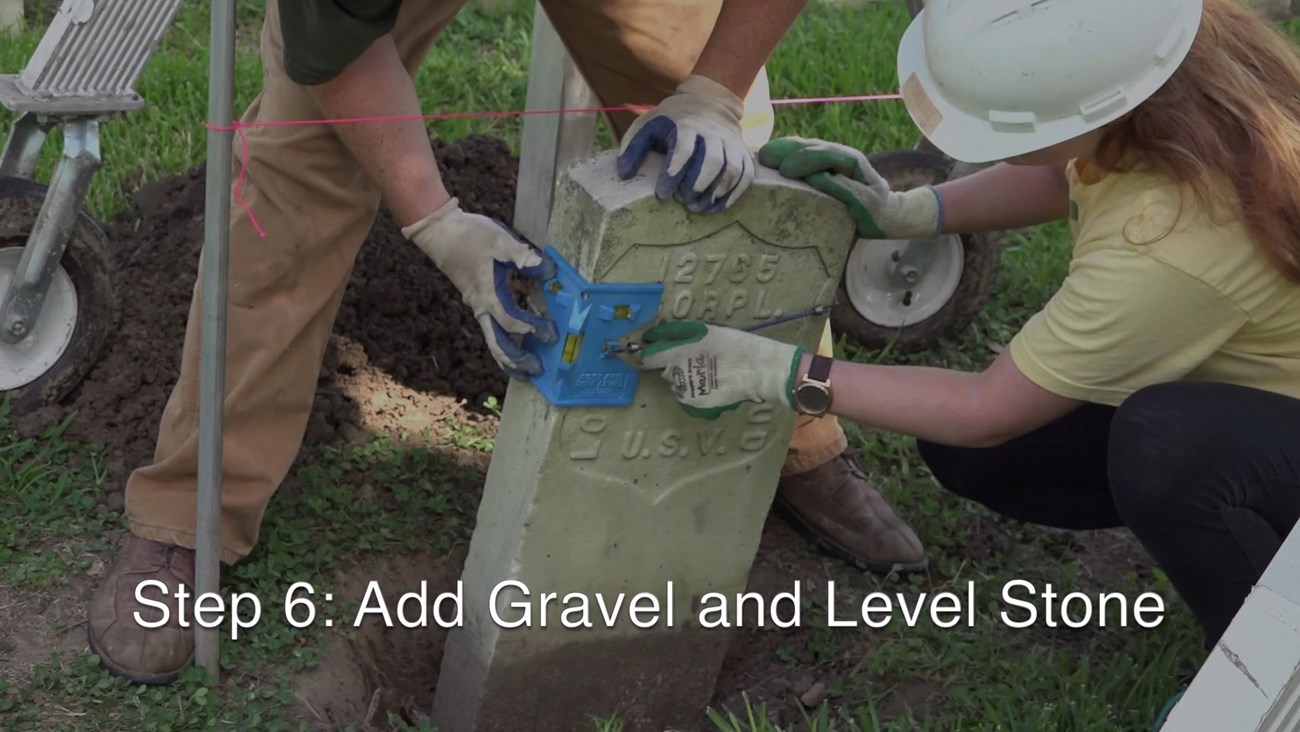
Now that the stone is back in the hole and at proper height, we'll use this post level to monitor that the stone stays plumb and level while we place gravel around it. Make sure that you do not contact the grave marker with the shovel or while tamping. It's recommended to only tamp with a wooden 2×4 to avoid any damage to the stone.
The gravel around and underneath the stone will help with drainage and to hold the stone tight, slowing future settling. When selecting gravel make sure to use a small sharp grade. This will hold the stone in place. Tumbled or round gravel should be avoided as it may help the stone to move in a freestyle situation.
Once the stone has been tamped in, leaving a few inches of room to add sand, soil, or the original sod back around the stone.
National Park Service
Step 7: Clean Headstone
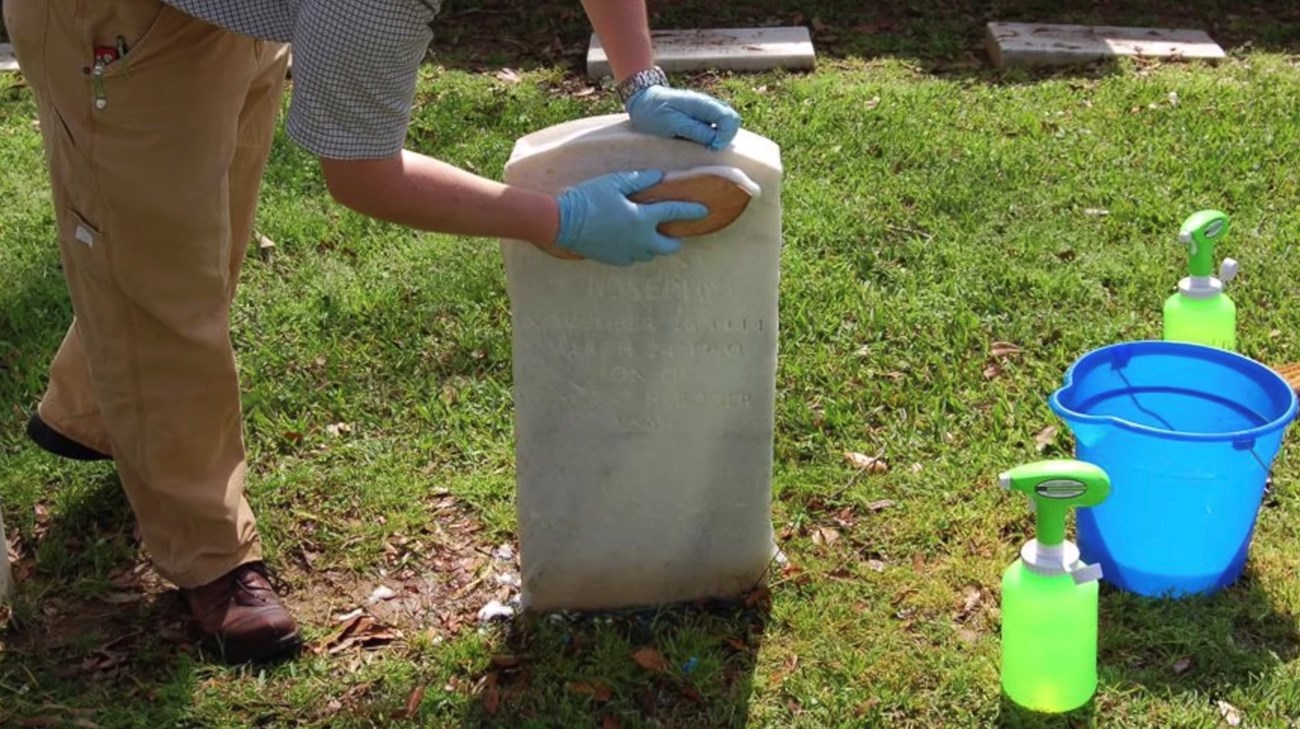
Finally, once the stone is properly reset it should be cleaned.
Now that you've read this article or watched a video, hopefully you have the knowledge you need to go out and reset ground supported grave markers at your historic site.
If you have any future questions, feel free to contact us.
Go out and do good work.
Learn more about NCPTT Cemetery Conservation.
