Overview
This user guide is designed for side-by-side use with the Simplified Author Template Version 1.4, required for submissions to the NPS Science Report Series. Because the NPS has a very small publishing team, we must ask the report authors/submitters to do some document formatting prior to submitting report for publication. The best way to ensure your document is processed in a timely manner is to follow the examples shown in the template and the requirements outlined in this user guide.
Please note: Reports not meeting the formatting requirements will be returned to the author or submitter for revision.
Copyright and Intellectual Property
All content found in SR reports must either be in the public domain (e.g., created by or for a federal agency), open-source, or used with written permission from the people or organizations that maintain copyright over it. It is the author's responsibility to ensure that permissions are obtained and proper credit is provided.
Written permissions for copyright-protected content must be collected by the author, passed on to the Peer Review Manager for that report, and made available upon request by the Peer Review Manager. See the Background Information About Copyright and Intellectual Property Rights section for more information about the NPS and federal US government rules and regulations concerning copyright.
Inside Science Reports, we use credit lines to denote the copyright and intellectual property rights for all images. See the Credit Lines Used for Images section below for more details about image credits.
Background Information About Copyright and Intellectual Property Rights
-
Copyright Considerations for Communicators: Guidelines for Developing Content
-
This is a SharePoint site that is visible only to people with an NPS Active Directory account or similar.
-
It is primarily concerned with image copyright, but also provides guidance about numerous other topics, including fonts, logos, and music.
-
It also explains the different types of written permission that are required for NPS employees, contractors doing work for the NPS.
-
It also suggests that you contact the Department of the Interior (DOI) Solicitor’s Office before signing any additional license use agreements required by other parties to use their material.
-
-
Guidance on the Public Display or Performance of a Copyrighted Work
-
This public-facing PDF document was prepared by the DOI Solicitor’s Office.
-
It includes sample language you can use to obtain written permission from private organizations or citizens to use copyright-protected content.
-
It also suggests that you contact the Dept. Interior Solicitor’s Office before signing any additional license use agreements required by other parties to use their material.
-
-
-
This is the official US government copyright office website.
-
It gives comprehensive information about current government polices concerning copyright and related issues.
-
The Frequently Asked Questions | U.S. Copyright Office page on this site provides answers to dozens of questions about copyright law pertaining to US government agencies.
-
How to Use the MS Word Template
The template contains the Word styles that must be applied to each element of your report. These include styles for headings (sr Heading 1–6), figures (sr Image line, sr Figure caption, etc.), and tables (sr Table header, sr Table cell), etc. (“sr” stands for “science report”).
Step 1: Download and save a copy of the most recent template.
Note: Templates will be updated as NPS guidelines and technology change, so it is recommended that you download the most recent template each time you start a new report. Manuscripts submitted to the Science Report series must be based on a report template downloaded no more than six months prior to submission.
Step 2: Make a copy of the template. Keep the original version containing the instructional text and examples for reference.
Step 3: Delete all content from the copy of the template that you are going to use to generate your report.
Step 4: Select one of the options below:
-
If you have not yet started your report:
-
create your report in the template document.
-
-
If you have started your report in another Word file:
-
Option 1: Copy-and-paste your existing report into the template document.
-
Option 2: Import the styles from the template into your existing document (search for “import styles from one Word document into another” in your internet browser).
-
Step 5: Apply a style beginning with “sr” to each piece of text (e.g., paragraph, table, figure caption) in your report.
Tip: To assign a style, open the Styles task pane in Word. Select the text to which you want to apply a style, then click on the preferred style.
Note The template should include all the styles you need to produce your report. If you have a compelling need for a custom style, please contact Fagan Johnson to submit a request for consideration.
First/Title Page
The content on the first/title page must occur in the order shown in the template and described below.
-
Report Title (required) (style sr Title). Please do not include a colon in the title.
-
Subtitle (optional) (style sr Subtitle). Please do not include a colon in the subtitle.
-
Cover Photo (style sr Image line).
-
Use the Insert tab to insert your cover photo.
-
The cover photo must be a single raster image file (.jpg, .png, etc.).
-
The photo should be sized to fit inside the page margins on a standard letter-sized page (up to 7.0 inches wide and less than 6.5 inches tall at 150-300 ppi).
-
See the Image Requirements section for more information about image requirements.
-
-
-
Cover Photo Caption (required) (style sr Cover image caption).
-
Cover Photo Alternate Text (required) (style sr Alternate text) (Section 508).
-
Alternate text should not just match the text used for the caption.
-
See the Credit Lines Used for Images section below for more details about image credits.
-
-
Cover Photo Credit(s) (style sr Cover image credit).
-
See the “credit lines in publications” section of the NPS HFC Editorial Style Guide webpage for guidance about credit lines.
-
-
List of Authors (required) (style sr Normal).
-
The basic syntax for each author is: FirstName MiddleInitial. (if provided) LastName and using commas to separate individual authors (ex: John P. Smith, Jane S. Doe).
-
Optional Open Research Contributor IDs (ORCIDs) can also be provided to the left of any superscript affiliation numbers and any commas used to separate multiple author names.
-
See the “8. Author Affiliations…” section below for more details about adding author affiliations.
-
-
Author Affiliations (required) (style sr Normal).
-
For each author, give the relevant address that supported the work. This is generally the institutional affiliation of the author during the period when all or most of the research was done.
-
For organizations, provide the organization name (NPS Office, University, etc.), street address (optional), city, US state name or similar, and zip code (optional).
-
For private citizens not working for an organization, provide the city, US state name or similar, and zip code (optional) (do not add a full personal mailing address).
-
Use a single superscript Arabic numeral after each author's name when authors have different affiliations from one another. Add the same Arabic numeral in front of the corresponding address.
-
Additionally, we do not list multiple affiliations for authors that worked for multiple entities while working on that project, or include notices about things like someone being retired or deceased here. Such information can be added to other chapters inside the report (usually in the Acknowledgments or Abstract).
-
Affiliations should only be mentioned once on the page.
-
- User Note (optional) (style sr Normal). Use this line to add a short special statement requested by external agencies or similar that are usually related to funding sources, specific disclaimer language, etc. This statement will be added to the official policy and related disclaimer page later.
To see SR Template examples of everything found on the first/title page,
-
open the reference copy of the template using MS Word that you downloaded earlier, and
-
see the examples located on page two.
Abstract
All reports must have an abstract written in paragraph format with 400 or fewer words. This will allow us to meet current publication policy requirements from the Digital Object Identifier Foundation (doi.org) and the Department of Interior. We will not accept anything but body text inside the Abstract (no numbered or bulleted lists, images or illustrations, tables, formulas, hyperlinks or URL addresses, additional heading levels, etc.).
If a longer executive summary chapter is also desired, that content should be added as an additional front matter section (see the Additional Front Matter Sections and Content section below).
Keywords
When choosing keywords for your report, focus on phrases of 1–3 words that accurately describe the main topics of your research and are commonly searched for. Your keywords will be copied over to the DataStore reference for your final report, which will help online search engines better find your report when it is available to the public. We will then delete the keywords from the MS Word file.
List of Terms or Acronyms (optional)
For lists of terms or acronyms, use a colon to separate the term or acronym from the definition. The items do not need to line up; this will be adjusted during layout. To see an SR Template example of a list of terms,
-
open the reference copy of the template using MS Word that you downloaded earlier, and
-
see the example located on page three.
Additional Front Matter Sections and Content
Add additional front matter sections, that occur before the Introduction or similar, as appropriate for your document. Examples include an Acknowledgments chapter, a separate Executive Summary chapter (if you desire one in addition to the required Abstract), a Dedication chapter, etc. In printed copies, these chapters will come before the Introduction or similar, and have lower-case Roman numeral page numbers.
Headings
-
Use the default headings styles built into MS Word for all headings (styles sr Heading 1, sr Heading 2, etc.).
-
There can be no more than six heading levels in a report (per Section 508).
-
Headings must always occur in logical numerical order (Heading 1 is always first, always followed by Heading 2, etc.).
To see SR Template examples of all template headings,
-
open the reference copy of the template using MS Word that you downloaded earlier, and
-
see the heading examples located on page four.
Numbered and Bulleted Lists
While we also provide template styles for bulleted lists (sr List bullet L1–L5) and numbered lists (sr List Number L1–L5), The lists that you see in your final report may look slightly different than what you originally sent us. This is because of potentially different MS Word settings on everyone’s individual computers that are beyond our control.
To see SR Template examples of lists,
-
open the reference copy of the template using MS Word that you downloaded earlier, and
-
see the heading examples located on page four.
In Text References
In text references should generally follow the Chicago Manual of Style and can be added at the end of the sentence inside parentheses or as part of the sentence. See the examples below.
In Text References for References Listed in the Literature Cited
Here are some basic examples showing the desired syntax to use for a single text reference that points to a single reference listed in the Literature Cited in a sentence.
“…observed across multiple habitat types (Hayes 2017).”
“Hayes (2017) noted that…”
“…with mixed results (Gonzales et al. 2021)
Here are two basic examples showing the desired syntax to use for multiple references listed in the Literature Cited in a sentence.
“…observed across multiple habitat types (Hayes 2017; Comiskey 2019).”
“Hayes (2017) and Comiskey (2019) observed...”
In Text References for Figures
Here are two basic examples showing the desired syntax to use for referencing a single figure in a sentence.
“…with 125 sample plots (Figure 4).”
“Figure 4 displays the…”
Here are three basic examples showing the desired syntax to use for referencing multiple figures in a sentence.
“…(Figures 5–7).”
“Figures 5–7 show…”
“…(Figure 3, Figure 8).”
In Text References for Tables
Here are two basic examples showing the desired syntax to use for referencing a single table in a sentence.
“…with mixed results (Table 10).”
“Table 10 shows the…”
Here are three basic examples showing the desired syntax to use for referencing multiple tables in a sentence.
“…(Tables 11–13).”
“Tables 11–13 show…”
“…(Table 9, Table 13).”
More Complex Text Reference Examples
Here are two basic examples showing the desired syntax to use to reference a figure, a table, and one reference listed in the Literature Cited in a sentence.
“…observed between 2020 and 2023 (Figure 19; Table 10; Comiskey 2023).”
“Comiskey (2023) found that…(Figure 19; Table 10)”
Here is a basic example showing the desired syntax to use to reference a single figure, multiple tables, and multiple references listed in the Literature Cited in a complex sentence.
“Figure 36 displays a significant trend in…and includes data from our 2024 findings (Table 21) and those from Comiskey (2023) (Tables 22–23) and Gonzalez et al. (2021) (Tables 24–25).”
In Text References Denoting Credit as a Courtesy
Here are two basic examples showing the desired syntax to use to reference a figure, a table, and one reference listed in the Literature Cited in a sentence.
“…observed between 2020 and 2023 (Figure 19; Table 10; Comiskey 2023).”
“Comiskey (2023) found that…(Figure 19; Table 10)”
Here is a basic example showing the desired syntax to use to reference a single figure, multiple tables, and multiple references listed in the Literature Cited in a complex sentence.
“Figure 36 displays a significant trend in…and includes data from our 2024 findings (Table 21) and those from Comiskey (2023) (Tables 22–23) and Gonzalez et al. (2021) (Tables 24–25).”
Image Requirements
Images must consist of a single image for each caption. The only exception to this rule is images of equations (see the Formulas and Equations section).
Image Size
All images should be designed to fit inside the page margins and at least half the page width (Table 1).
Table 1. Recommendations for image by size and resolution for images (pixels per inch, or ppi).
|
Figure Width (inches) |
Suggested for Images That Are |
Raster Minimum Print Pixels Wide |
Raster Good Print Pixels Wide |
Print Pixels Wide |
|---|---|---|---|---|
|
6.5 |
Full-page width for letter-sized paper with portrait orientation. |
975 |
1950 |
3900 |
|
9.0 |
Full-page width for letter-sized paper with landscape orientation |
1350 |
2700 |
540 |
Image Placement
Always use the MS Word Insert menu tools to add images directly to the pages of your MS Word files on a line using style sr Image line and with no text wrapping (do not import them as MS Office objects or similar).
-
For raster images (.jpg, .png, etc.) and vector images (.svg), use the Insert / Pictures menu tools to add an image to the page.
-
For dynamic MS Word data-driven charts (bar charts, scatter plots, etc.), always create the chart in MS Word using the Insert / Chart menu tools.
-
For dynamic MS Word flow-charts or organizational charts, always create the chart using the Insert /SmartArt menu tools.
-
Please do not import dynamic MS Office Object charts or images created in MS Excel, R, etc. Instead, export those images to either vector (.svg) or raster (.jpg,.png, etc.) formats and use the MS Word Insert tools to add them to the page as described above.
Image Styling
Consistent borders will automatically be added to all images in the final report by the publication team.
-
Do not apply border lines around images, either before or after adding them to the report.
-
A narrow and consistent band of white space should only be added to the outside of
-
digital graphics where a majority of the graphic consists of a white or transparent background (most charts, some maps, etc.), and
-
individual images that are combined into a single image.
-
Figures 1–10 show examples of how images could appear in a final PDF if you do or do not follow this guidance.
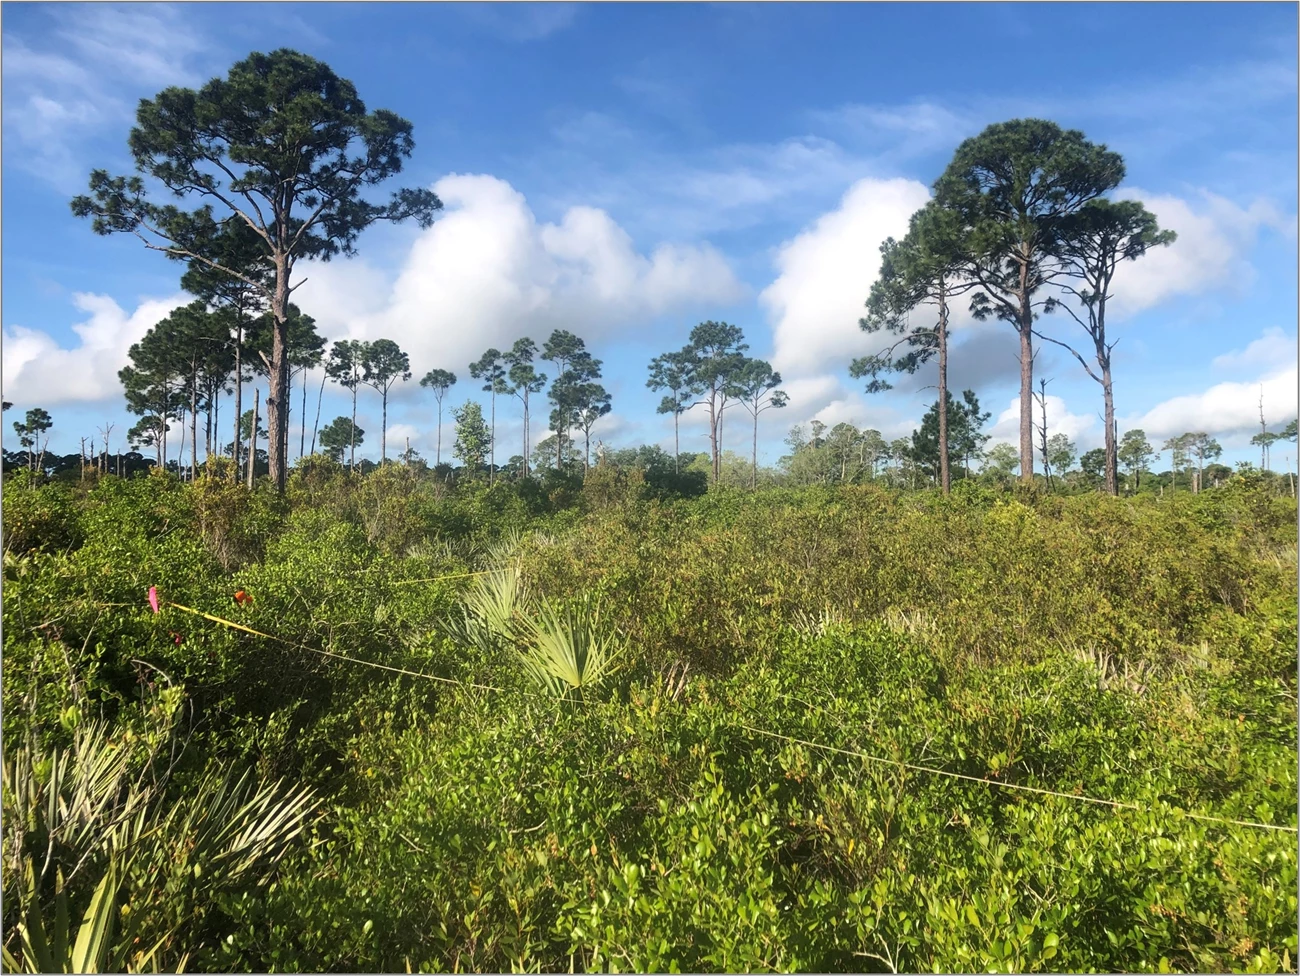
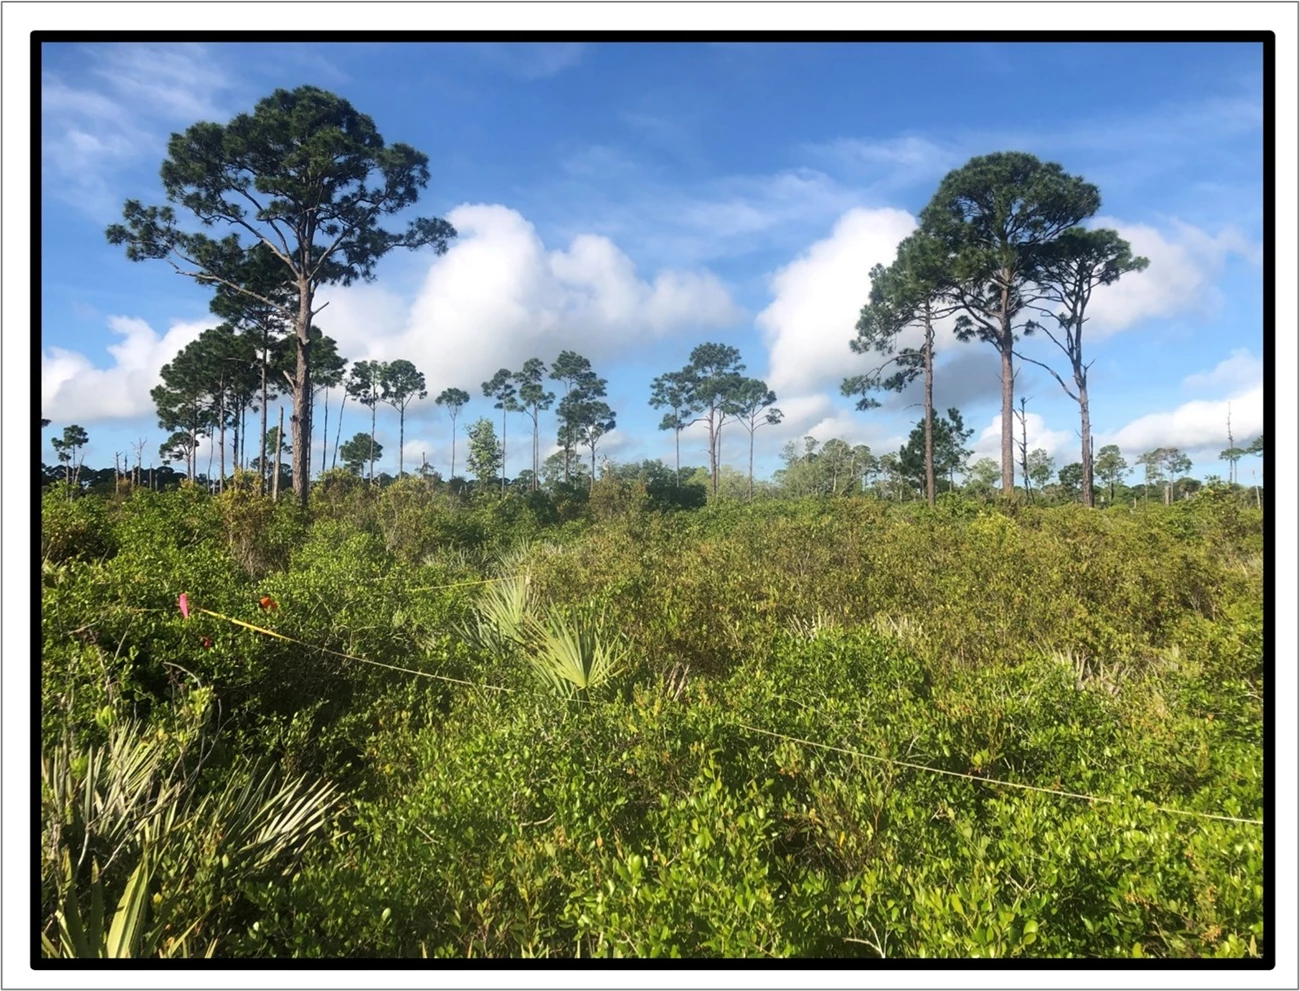
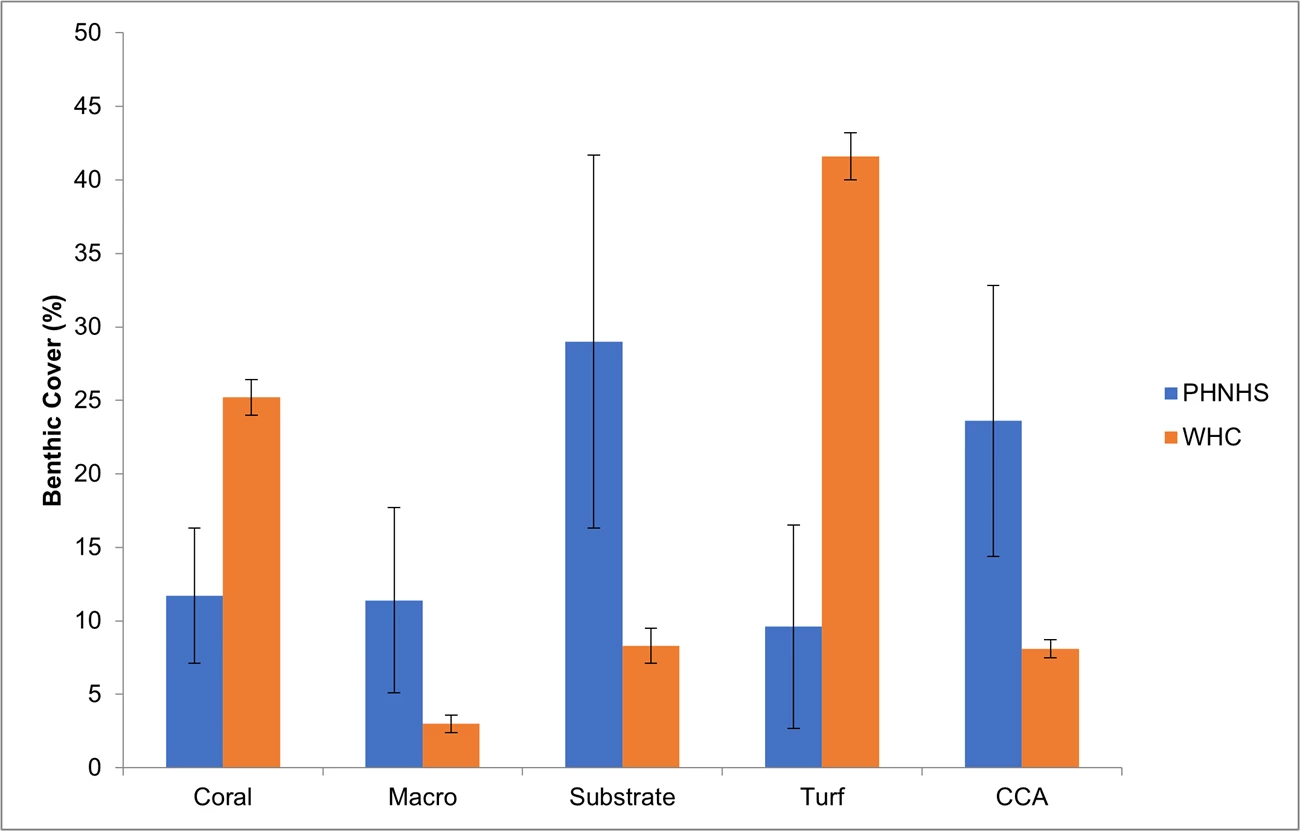
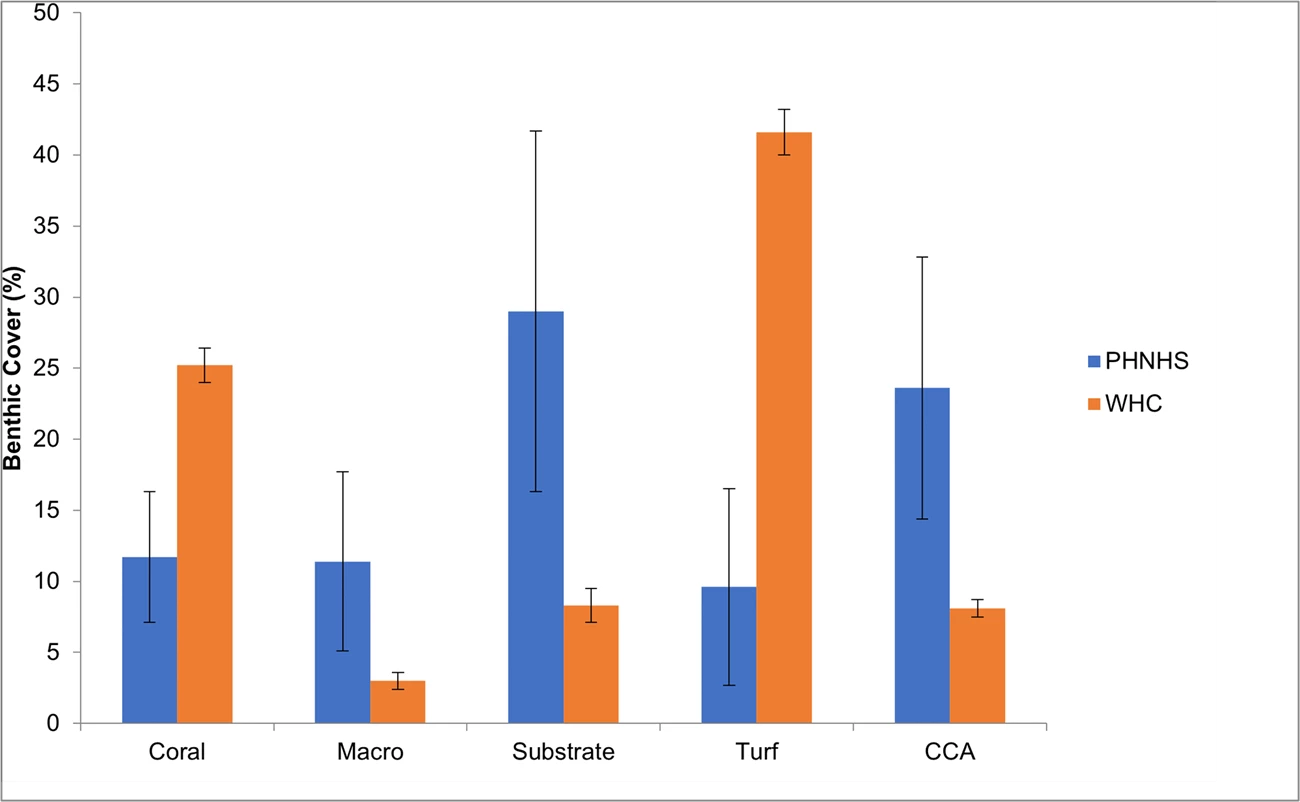
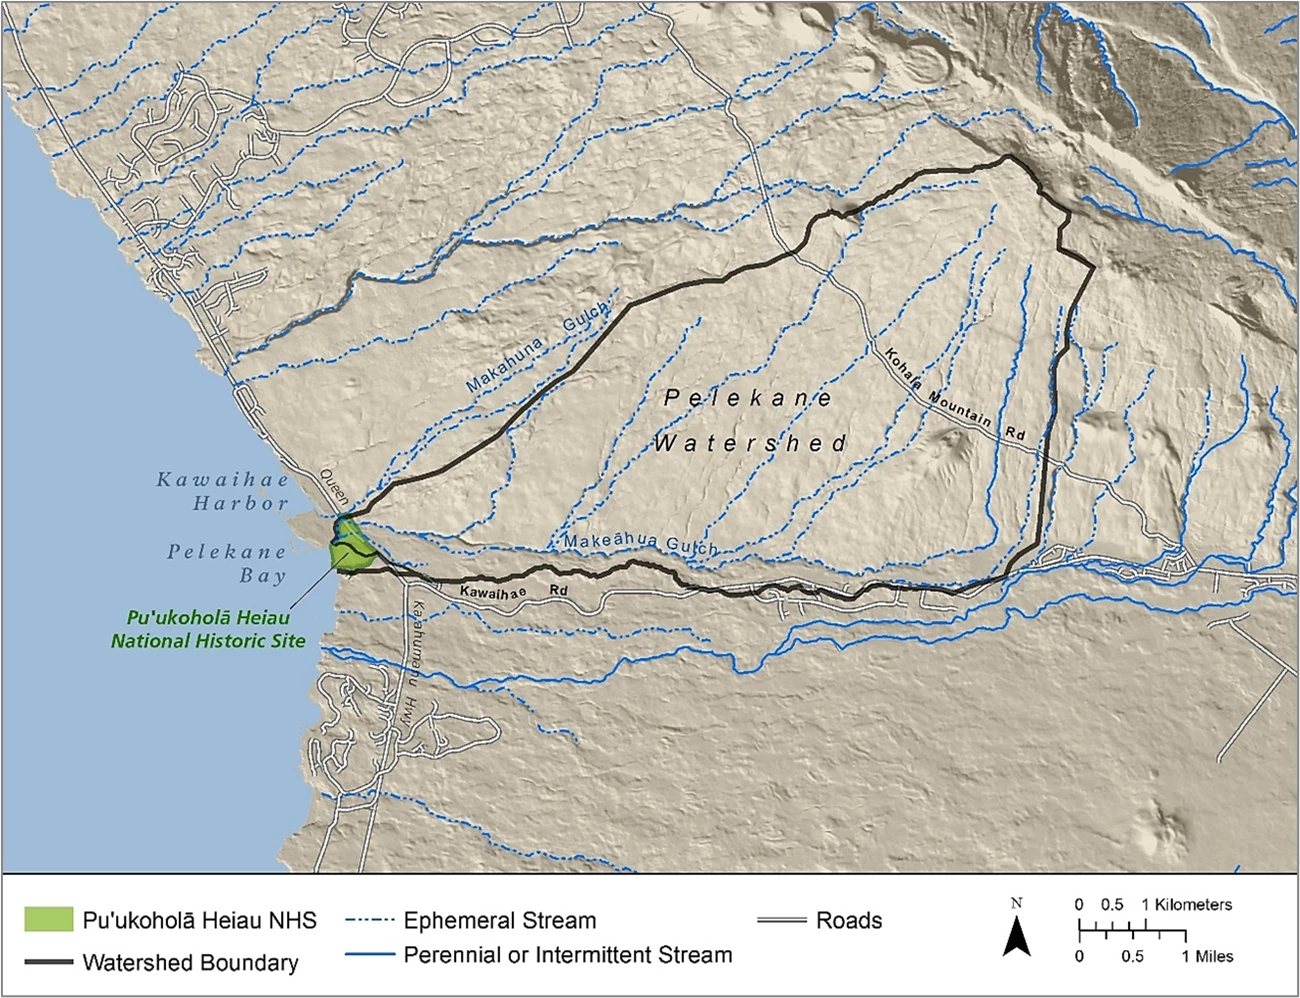
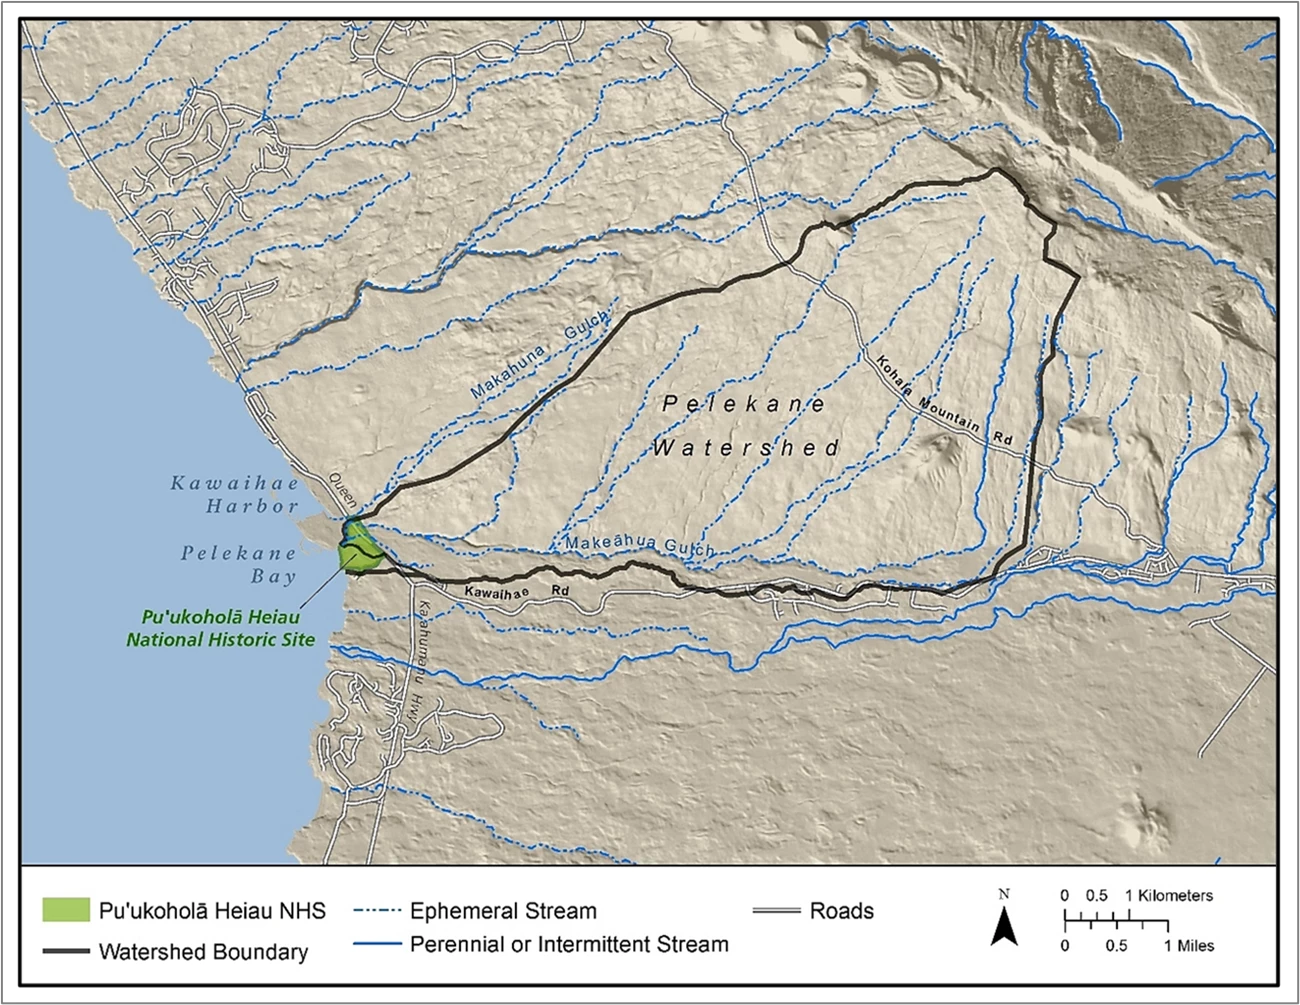

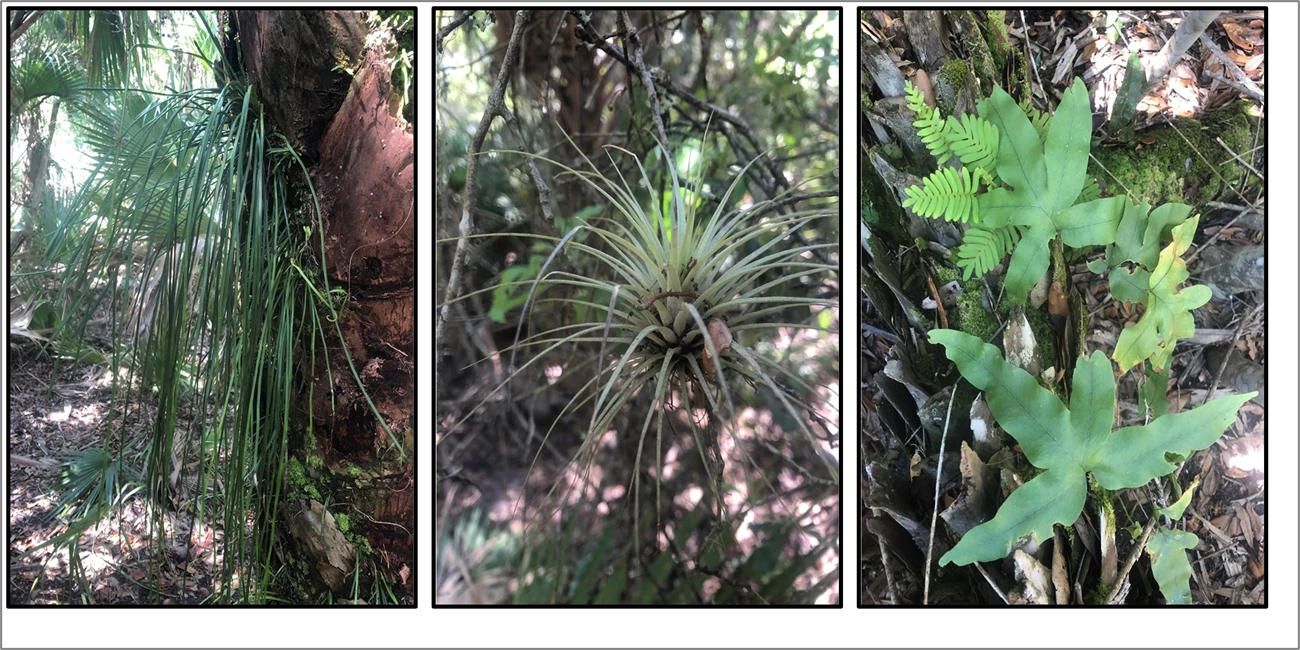
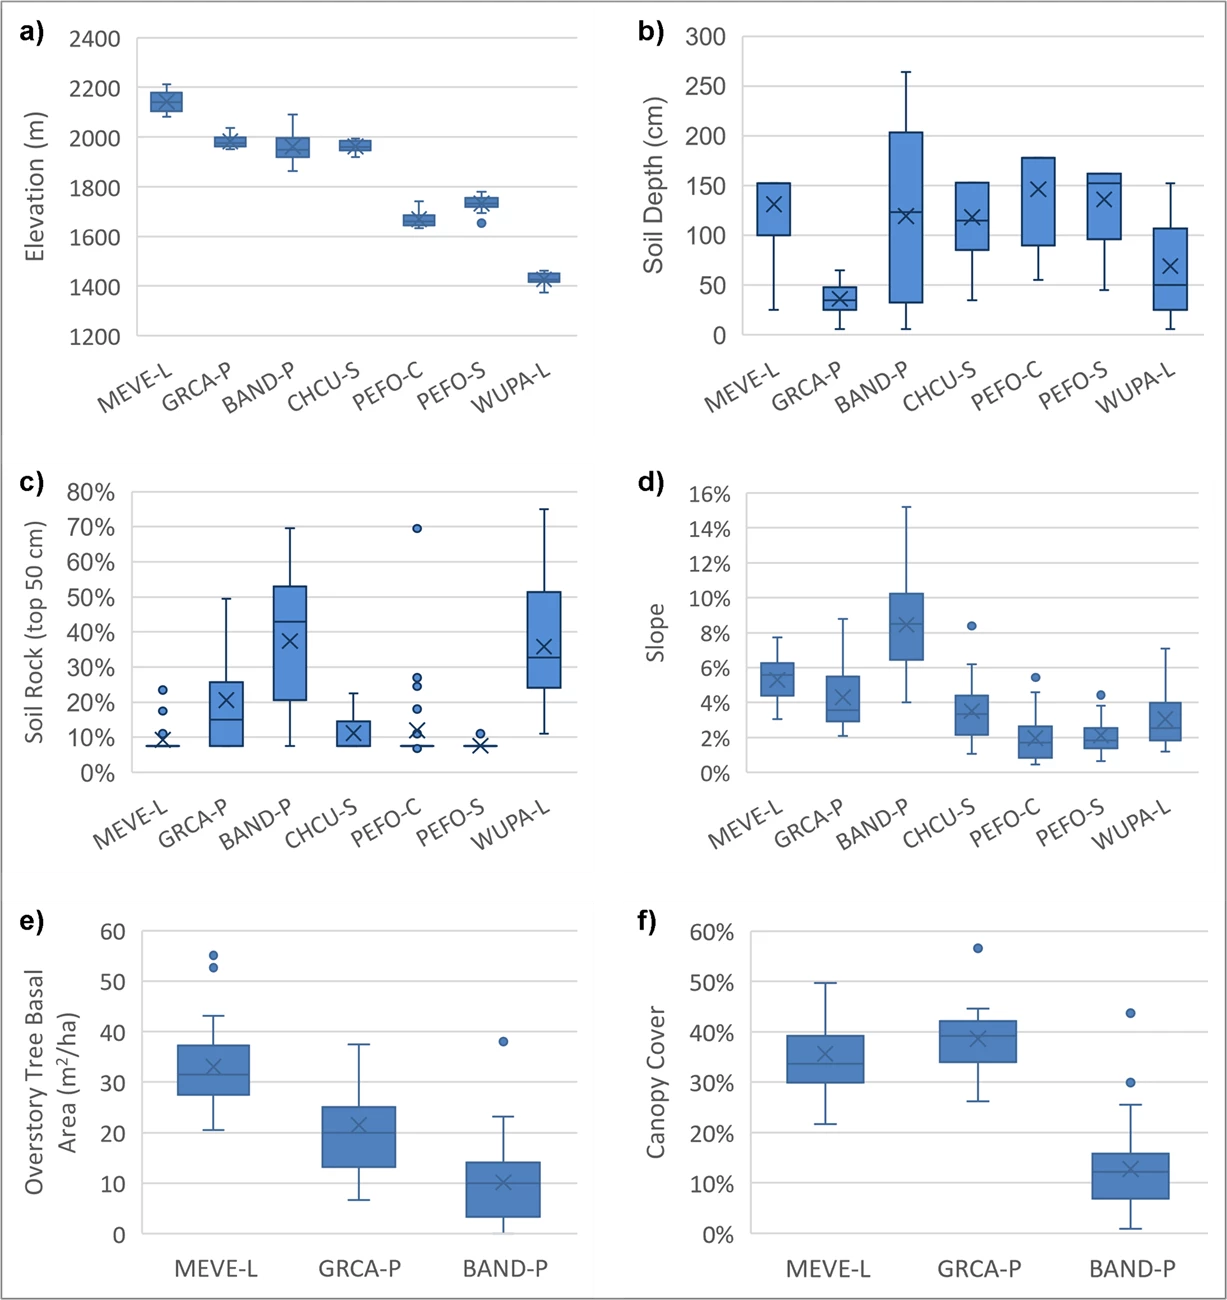
Image Accessibility
Alternate Text
Each image must have alternate text (alt-text) that can be read by screen readers. Alternate (Alt) text should be focused on what information the reader should gain from the image. Do not repeat the caption as alt text.
-
What are the main points in a graph? Don’t just describe what is shown on the axes, legend, etc. What is the purpose of adding that graph? You do not have to be concise, and sometimes longer alt text is necessary (e.g., graph results, flow diagrams). However, if you have discussed the key points of your graph or flow diagram in your body paragraphs or figure caption, you can use less alt text. The key is to make sure that the reader can get all the content without having to see the graph.
-
Why did you add that photograph? What do you want the reader to know?
-
Do start with "a line graph" or "a pie chart" or similar for graphs.
-
Don't include copyright information or photo credits in the alt-text.
-
Write alt text in full sentence form with correct punctuation.
-
Automatic alt text should be checked as it is frequently not correct.
-
One informal tip for writing good alternate text, is write-out what you would say aloud while presenting that image on a stand-alone slide during a live conference in a room where a significant number of people cannot see the slide that well
Text Labels
All text labels and similar inside images should be readable by people with normal vision when printed (recommend a minimum of 6 pt effective font size on printed pages), unless the text is not meant to be read.
Color Contrast
It is important to check for color contrast to make sure that images are Section 508 accessible. We suggest that you check your images using one of the following online color and contrast simulators and checkers.
-
Coblis—Color Blindness Simulator webpage (free online color blindness simulator for raster images).
-
WebAim Contrast Checker webpage (free online color contrast checker—all vector text in your images should pass the WCAG AA standard when compared to the background).
Informative Images (Figures)
To see an SR Template example of a figure,
-
open the reference copy of the template using MS Word that you downloaded earlier, and
-
see the example located on page six.
Figure Numbering and Placement
-
All images that provide contextual information or are mentioned in the text must be
-
added to the report as sequentially numbered figures using whole numbers (no letter or decimal designations),
-
referenced in the text in the first paragraph before they occur,
-
placed immediately below the first paragraph where they are first referenced, and
-
added to the page using the MS Word Insert tool (see the Image Placement section).
-
-
Do not reference specific figures within the main body of the report if they are located in an appendix; instead, refer to the relevant appendix.
- The only exceptions to these rules are for images that provide contextual information are the image found on the cover page (See the First/Title Page section ) and images of equations (see the Formulas and Equations section),
Figure Captions, Credits, and Alternate Text
The following three paragraphs must occur beneath each numbered figure image.
-
Figure Caption: The entire figure caption that you want to see on the page (style sr Figure caption).
-
Please make sure that a figure and its entire caption will fit onto a single printed page.
-
Write the first sentence of your caption to adequately describe your figure using under 220 characters (about two full lines of text on a portrait page). Why?
-
Everything in the first sentence will be dynamically added to the Table of Figures. Adequately describing the Figure, while also keeping the sentence under two lines long, makes the Table of Figures easier to use.
-
We do not allow customization of the entries dynamically added to the Table of Figures.
-
-
-
Alternate Text: Alternate text that will be read by screen readers used by people with visual and certain cognitive impairments (Section 508, style sr Alternate text, see the Figure Accessibility section).
-
Image Credit: All figures must have a credit line (style sr Image credit). See the Credit Lines Used for Images section below for more details about image credits.
Decorative Images
Decorative images must never be referenced in the text, and their captions must never be numbered. There are no examples of decorative images in the SR Template.
Placement of Decorative Images
The following three paragraphs must occur beneath each decorative image.
-
Photo/Image Caption: The entire figure caption that you want to see on the page (style sr Photo caption)
-
Alternate Text: Alternate text that will be read by screen readers used by people with visual and certain cognitive impairments (Section 508, style sr Alternate text, see the Figure Accessibility section).
- Image Credit: All figures must have a credit line (style sr Image credit). See the Credit Lines Used for Images section below for more details about image credits.
Credit Lines Used for Images
Credit lines must be provided for each image on the third line located beneath that image using style SR Image credit in upper case per the NPS HFC Editorial Style Guide. Credit lines should reflect the Copyright and Intellectual Property Rights for that image. The only exceptions to this rule are for images used to display equations (see the Formulas and Equations section).
For a single image, or if multiple images from the same source have been combined into a single graphic, one text credit is sufficient. Here are some examples:
NPS
(means that the image was created by or for the NPS)
NPS / PERSON NAME or NPS / ORGANIZATION NAME
(means that the image was created by or for the NPS and a person or organization name was added as a courtesy)
PERSON NAME or ORGANZATION NAME
(means that the image was created by a person or organization that does not have copyright ownership of that image)
© PERSON NAME or © ORGANIZATION NAME
(means that the image was created by a person or organization that has copyright ownership of that image and you also have written permission to use that image)
When multiple images from different sources are combined into single graphic, then multiple credits must be used. Here is an example of a credit line for four sub-images that were labeled A through D and that came from different sources:
CREDITS: A) PRODUCED BY THE NPS, B) MODIFIED AND USED WITH PERMISSION FROM JOURNAL ECOLOGY, C) ORIGINALLY GENERATED BY USGS / TIFFANY GONZALES, AND D) USED WITH PERMISSION FROM © LAURA PLOUGHE
Prefix statements are sometimes added to credit lines associated with images. Both the prefix statements and the credited names remain in upper case. Here are a few basic examples.
ORIGINALLY PRODUCED BY FIRSTNAME LASTNAME OR ORGANIZATION NAME
PERMISSION FOR USE OBTAINED FROM FIRSTNAME LASTNAME OR ORGANIZATION NAME
MODIFIED FROM CONTENT ORIGINALLY PUBLISHED BY © FIRSTNAME LASTNAME OR © ORGANIZATION NAME
Formulas and Equations
-
Formulas and equations must be referenced in the text, placed immediately below the first paragraph where they are first referenced, added as either single images or using the MS Word Insert / Symbols / Equation tool.
-
Formulas inserted as images
-
should be imported as either a single raster (.jpg, .png, etc.; usually generated in MS Office) or vector (.svg, usually generated in R or similar) image,
-
set to be the size that you want to see on the printed page, and
-
can have much narrower widths than standard figures or graphic images added to a report, but they also need to fit inside the printed page margins (Table 1).
-
-
All equation symbols added to text lines should use Cambria Math font face where the font size for the baseline symbols (not superscript, or subscript, or over-sized, etc.) is 11.5 pt when printed.
-
If formulas and equations do not use black text over a white background, it is important to check for color contrast to make sure that they are Section 508 accessible. We suggest that you check your images using one of the online color and contrast simulators and checkers listed above.
- White space around the outside of the visible parts of the formula should be minimized (suggest zero to five pixels on all sides).
To see an SR Template example of a formula,
-
open the reference copy of the template using MS Word that you downloaded earlier, and
-
see the formula example located on page five.
Table Requirements
To see SR Template examples of tables,
-
open the reference copy of the template using MS Word that you downloaded earlier, and
-
see the examples located on pages seven and eight.
Table Size
Tables must fit inside the page margins (width) on a printed page (Table 2). Consider splitting tables that have too many columns to fit on a printed page.
Table 2. Maximum table widths and recommended maximum number of columns for tables.
|
Page Size (inches) |
Page Orientation |
Absolute Maximum Table Width (inches) |
Recommended Maximum Number of Columns |
|---|---|---|---|
|
Letter (8.5x11) |
Portrait |
6.4 |
5-7 |
|
Letter (8.5x11) |
Landscape |
8.9 |
8-13 |
|
Legal (8.5x14) |
Landscape (only) |
13.9 |
14-18 |
|
Tabloid (11x17) |
Landscape (only) |
16.9 |
19-23 |
Table Placement and Numbering
-
All tables must be (see template examples)
-
added to the page using the MS Word Insert / Table tool,
-
added to the report as sequentially numbered tables using whole numbers (no letter or decimal designations),
-
referenced in the text, and
-
placed immediately below the first paragraph where they are first referenced.
-
-
Do not dynamically add tables from external files or programs as MS Office Objects.
-
Do not reference specific tables within the main body of the report if they are located in an appendix; instead, refer to the relevant appendix.
Table Captions (see template examples)
Please write the first sentence of your table caption to adequately describe your table using under 220 characters (style sr Table caption, about two full lines of text on a portrait page). Why?
-
Everything in the first sentence will be dynamically added to the Tables of Tables.
-
Adequately describing the table, while also keeping the sentence under two lines long, makes the Table of Tables easier to use.
- We do not allow customization of the entries dynamically added to the Table of Tables.
Table Styling (see template examples)
-
Tables must consist of multiple columns and multiple rows (use lists in the text for content with just one column or one row).
-
Use the template styles for all table content.
-
Use style sr Table header for the header row(s) (top one to two rows).
-
-
Use style sr Table cell for all data cells (located beneath the header row(s)).
-
Use style sr Table note for table notes.
-
Do not change the font face, size, or text direction (horizontal, vertical, etc.) of alphanumeric symbols found inside table cells.
-
All text-based content should have left cell justification.
-
All number-based content should have either right cell justification or center cell justification (pick one document-wide).
-
Consider removing any tables that span vertically for more than three printed pages. Instead, you can
-
distribute them as separate stand-alone spreadsheets (.xlsx or similar) or delimited text (.csv or similar) files, and
-
reference them in your report like you would any other external reference.
-
Table Accessibility
The following rules allow us to make the tables in your reports more accessible to people with certain visual and cognitive impairments in a timely manner, per NPS and related policies stemming from Section 508 of the Rehabilitation Act (Section 508).
-
Merged table cells must (see template examples)
-
only occur on the top-most row (only when there are two header rows) and the left-most column, and
-
never span all table columns or rows.
-
-
Unless you stick with black text over a white background for your table cells, it is also important to check for adequate color contrast to make to be readable by people with color-blindness and other visual impairments.
-
Use the free online WebAim Contrast Checker webpage tool to make sure that the alphanumeric content inside your cells meet the WCAG AA standard when compared to the cell background color.
-
-
Always use superscript table note markers and corresponding table notes located below the table to provide additional information or definitions related to cell content (see template examples).
-
Do not use visual-only treatments to denote information inside table cells (bold fonts, colors, etc.).
-
However, you can combine the use of visual treatments (bold fonts, colors, etc.) with superscript table note markers and corresponding table notes.
-
-
Do not have blank cells in your tables. Instead, you can
-
use an endash (–) to denote a null result,
-
a zero to denote none detected, or
-
N/A for “not applicable” as needed.
-
-
To denote presence or absence in a table, please do one of the following (in order of preference).
-
Use whole words (Yes or No, Present or Absent, etc.).
-
If you use single letters (X, Y, etc..), endashes (–), or other symbols to denote presence or absence, either
-
add descriptions about what the symbols are supposed to mean in the caption, or
-
add super-script table note markers to the column header or text and create a corresponding table note that defines each letter or symbol used.
-
-
Literature Cited
Citation style follows a modified author-date system outlined in The Chicago Manual of Style, as found in the journal Ecology (style sr Literature cited).
-
The author-date system combines a reference list at the end of the article with brief text citations of the author’s last name and the year of publication within the article, which serves as a pointer to the source in the full list.
-
The list should be in alphabetical order without subheadings.
-
Whenever possible a digital object identifier URL should be provided.
To see SR Template examples of most reference types that we see in Literature Cited chapters,
-
open the reference copy of the template using MS Word that you downloaded earlier, and
-
see the reference examples located on pages 9–11.
Appendices
Treat appendices like you would any other major chapter in the report, but always place them after the Literature Cited chapter. Lengthy appendix content, such as many page tables and content originally written as separate stand-alone documents, should be published separately and referenced in the report. Additionally, figures, tables, and page numbers must be numbered sequentially document wide.
Procedural Content and Standard Operating Procedures (SOPs)
Content representing step-by-step procedures (such as Standard Operating Procedures, user manuals, field data forms, or survey instruments) may not be published in the SR Series. Such content may be uploaded separately to DataStore and referred to in the report.
Last updated: November 19, 2025
