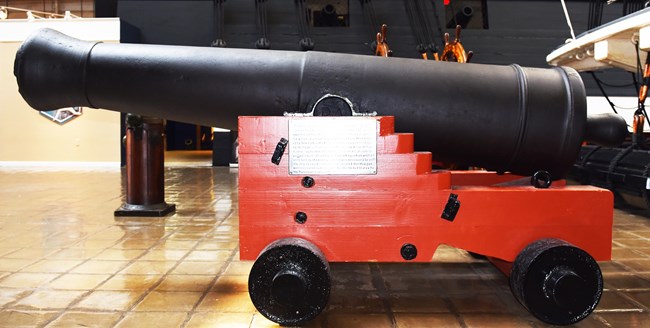
So you want to build your own carronade.Before you start you should know a little about the piece of artillery you are making. Instructions to build your carronade are below. A carronade is a special type of naval gun that would have been used during the Battle of Lake Erie in 1813. When we imagine naval artillery we’re usually thinking long guns such as the ones you see here.
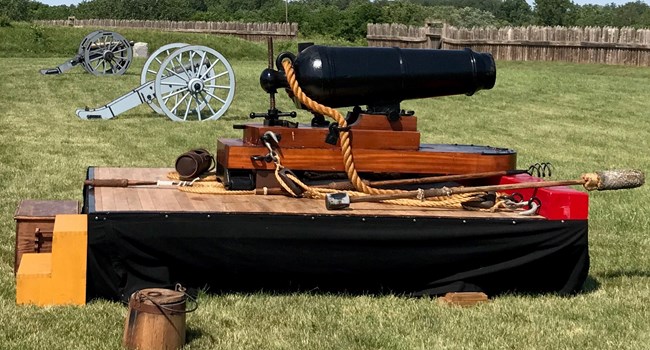
Carronades were different, they were short stubby guns that looked like this. They had two main advantages over the long guns: they didn’t weigh as much and they fired a much larger cannon ball. However, the carronade had about half the range of the long gun so you had to get a lot closer. During the Battle of Lake Erie Commodore Perry’s American fleet had mostly carronades, while the British had more long guns; which is why Perry had to get in so close.
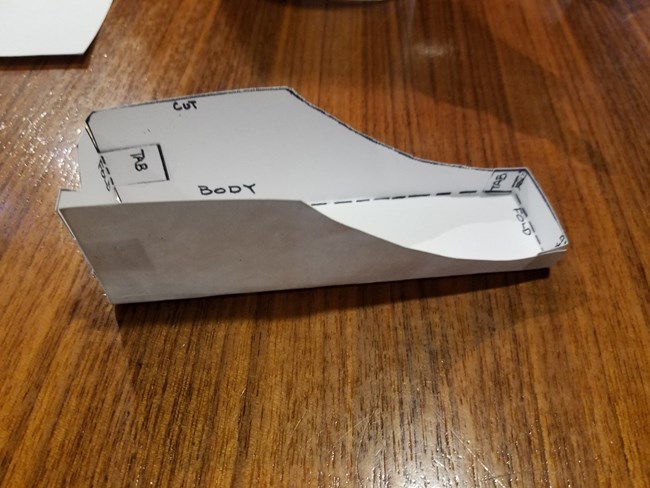
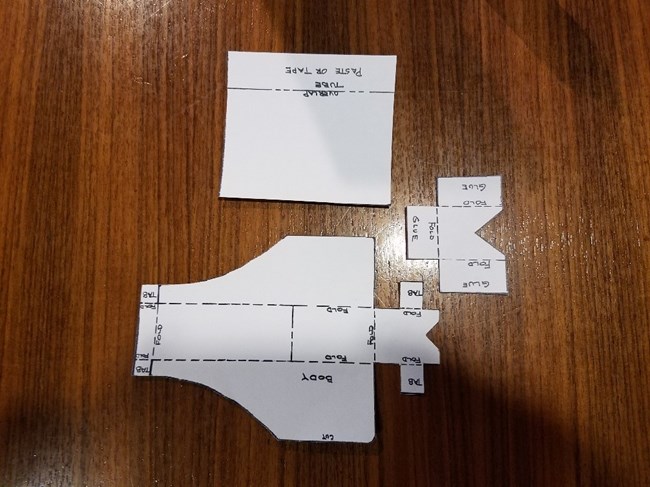
First you need to download and print the paper template found by clicking here or on the picture of the three cut out pieces. You will also need a pair of siccisors and glue or tape to assemble your carronade. 1. Cut all three parts out of sheet by cutting along black lines. (large carriage piece, square for the barrel, and a t-shirt shaped piece to hold barrel in place).
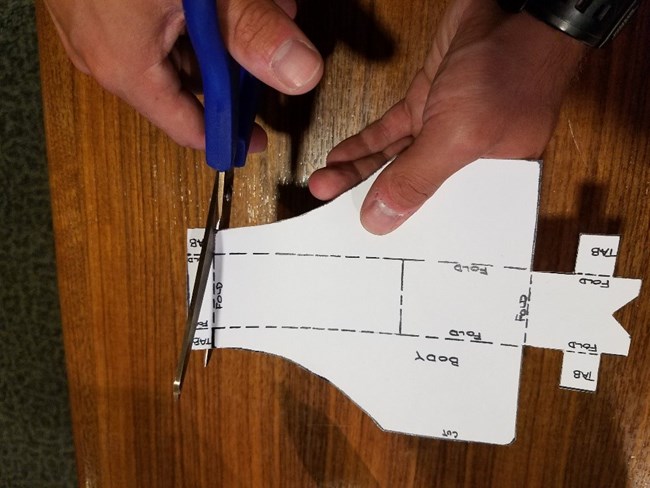
2. Make two small cuts along the thick black lines on the carriage piece so that the tabs can be folded.
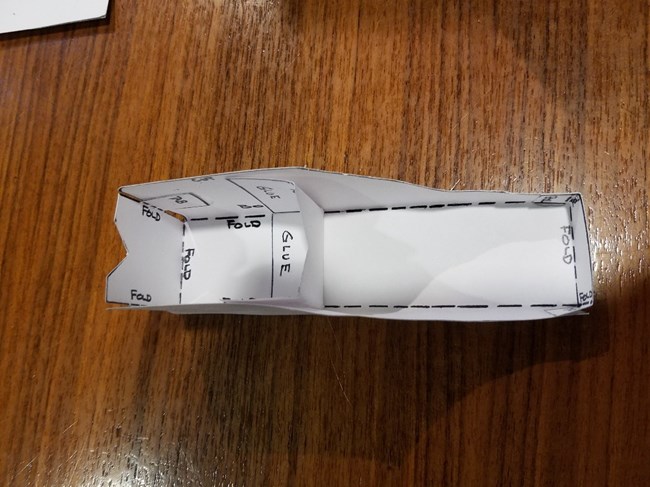
3. Fold along the dotted lines on the carriage piece so that the folded pieces are all going in the same direction.
4. Put glue on the tab of the carriage piece to hold the sides in place.
5. Fold along the dotted lines of the t-shirt shaped piece and put glue on the tabs.
6. Glue the t-shirt shaped piece to the inside of the carriage piece along the printed line.
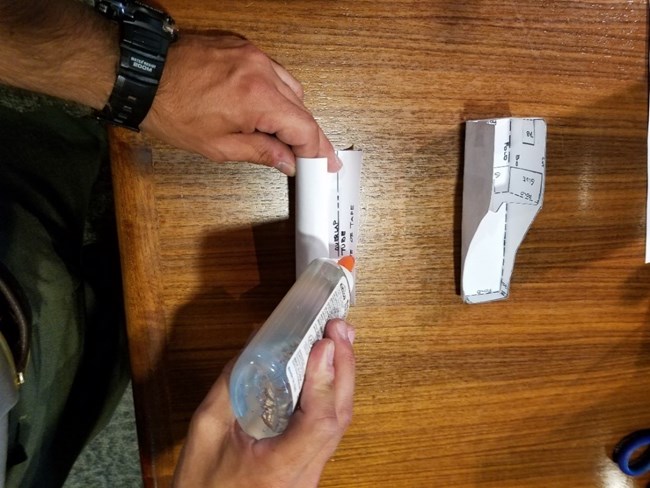
7. Roll the square piece into a cylinder and put glue along one side to make your barrel.
8. Place the barrel into the two notches and you’re done.
|
Last updated: April 7, 2020