Last updated: January 5, 2022
Article
Create Your Own Ink
As humans, we love to talk and interact with our friends, families, and community members. What are some ways that we communicate with each other today?
During the 1800’s, they did not use snapchat, texting or emails to talk to each other. Instead, they had to either write down a message in a letter, tell someone their message and hope it made it to the right person, or go visit someone to talk directly with them. To make things even more challenging, they did not even have pens that they could go to the store and buy. Instead, they had to make their ink and writing utensil from the resources they had around them – which is what we are going to do in this activity
Making the Ink!
Ink is a liquid or paste that contains colored pigments and is used to write or draw on to a surface to create a design. Historically, people made ink out of a variety of things such as plants, animals, or minerals that they could easily find near their home or trade for in their community. Check out a few exmaples of inks below:
- Carbon Ink – was made of soot, glue and water. This ink was popular during the Greek and Roman times, but it was known to smear and fade quickly.
- Iron Gall Ink – is made from iron salts and tannic acids from vegetable sources. This ink is still sold today!
Let’s try to make an ink with items from around your house! Choose one of the inks below to get started.
Ingredients:
- 1 cup fresh black raspberries
-
1/2 cup water
-
1 tsp. alum
-
1/2 tsp. gum Arabic or raw unfiltered honey (optional)
- Sauce pan
- Coffee filter or old T-shirt
Directions: Boil the raspberries with the water and alum for about 15 minutes then mash the berries really well to release the juice. Use and old T-shirt or a few coffee filters to strain out the liquid into a bowl. Whisk in the gum Arabic or honey until dissolved to thicken the ink. Let it cool and it is ready to use! You can also pour it into a small bottle or glass jar to use again.
Ingredients:
-
1/2 cup tea leaves
-
1 cup water
-
1/2 tsp. gum Arabic or raw unfiltered honey (optional)
-
Sauce pan
- Coffee filter or old T-shirt
Directions: Boil the tea leaves with the water for about 15 minutes. Use and old T-shirt or a few coffee filters to strain out the liquid into a bowl. Whisk in the gum Arabic or honey until dissolved to thicken the ink. Let it cool and it is ready to use! You can also pour it into a small bottle or glass jar to use again.
Ingredients:
-
1/2 cup ground coffee
-
1 cup water
-
1/2 tsp. gum Arabic or raw unfiltered honey (optional)
- Coffee filter or old T-shirt
Directions: Boil the coffee with the water for about 30 minutes. Use and old T-shirt or a few coffee filters to strain out the liquid into a bowl. Whisk in the gum Arabic or honey until dissolved to thicken the ink. Let it cool and it is ready to use! You can also pour it into a small bottle or glass jar to use again.
Making the Writing Utensil!
Before we had ball point pens or pencils, people used a variety of tools to write with, one of them was a quill feather. The tip of the quill feather was cut into a point that was crafted to hold a little bit of ink and used to write. What could be some of the challenges with using a quill pen?
Let’s find out! The calamus, or hollow shaft of the feather, is kind of like a plastic straw just a lot thicker. When both are cut just right they can be used as a pen to write. Follow the directions below to test it out.
-
Plastic Straw (you may need a few to experiment with)
-
Scissors
-
Paper (optional)
-
Glue (optional)
-
Cut your straw at an angle to create a point.
-
Cut a VERY TINY slit into the point of your straw, the slit should be no longer than 1/8 inch.
-
(optional) Create some feather like characteristics and cut them out.
-
(optional) Glue them onto the side of your straw.
Now that you have your ink and pen, it is time to test it out! Use them to write a letter or draw a design. Do you think you would be able to complete your homework with a quill pen today? Why or why not?
The quill pen had a variety of difficulties that made it challenging to use, so eventually someone created a fountain pen that could store a little bit of ink which meant you did not have to dip it as much. How do you think they created it?
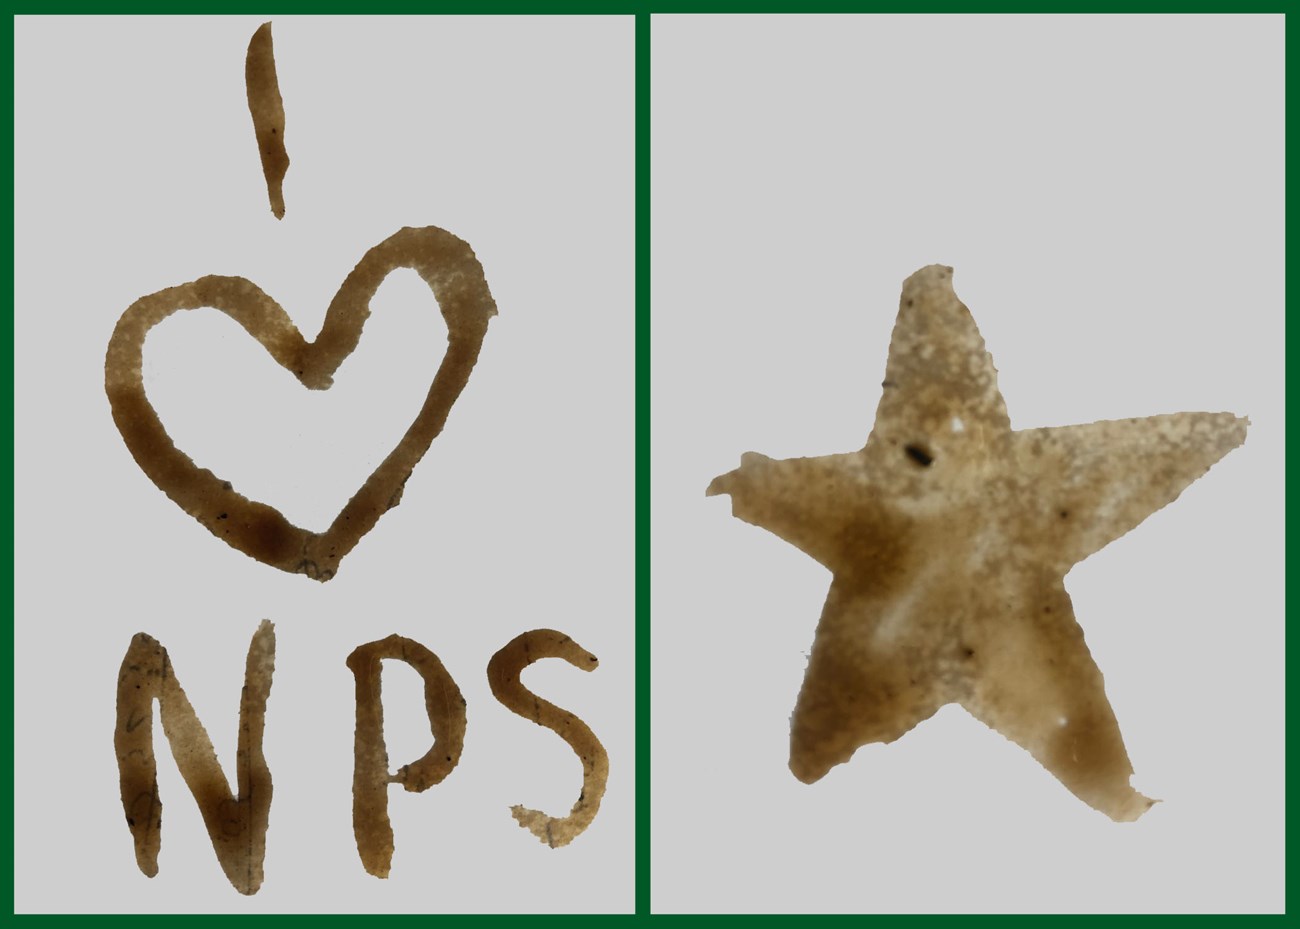
Share your quill pen masterpieces with us on social media using #FindYourPark / #EncuentraTuParque and tag us @FirstStateNHP for a chance for it to be featured below.

NPS Photo
