Last updated: April 7, 2025
Article
Iron Fence Repair
Video
Transcript
The rust converter must be brushed or sprayed on all surfaces of the iron, paying attention to coat any under surfaces and crevices. Use extreme caution if spraying the converter because any contact with stone will cause an irreversible black staining. Once all iron surfaces have been treated with the rust converter, it must have adequate time to cure before you can move forward with the restoration. Check the manufacturer's label for the curing time of the converter that you were using. Once your surface has dried and the converter has had time to properly cure you can begin priming the fence. You want to choose an oil-based primer that is specifically designed for use with metal. Some primers have rust preventative additives. These are good but not necessary since you already used a rust converter. One or two coats may be needed depending on the coverage. You want a nice even coating that is free of any gaps. It is recommended that all primer and paint be applied by brush to prevent over spraying and staining in the cemetery. Now that your primer has had time to dry we can begin our topcoat. The color that you choose to paint the fence is your own choice that may it be affected by the fences original color or colors commonly used when the fence was originally installed. You may need to consult local ordinances to see if there are any color restrictions in your cemetery. When choosing paint you want an oil-based paint designed specifically for the use with meta. Two coats of paint are preferable to get a good solid surface coating.
Now that you've watched this video hopefully you have all the basics you need to preserve your historic iron fence. One thing to keep in mind, if your fence is heavily damaged or corroded is to consult a professional conservator and always remember to exercise personal safety and to do no harm to the object itself and good luck.
- Duration:
- 9 minutes, 2 seconds
Materials Conservator Jason Church demonstrates how to properly repair an iron fence. A Spanish language version of this video is planned.
National Park Service
Hello my name is Jason Church and in this video I am going to discuss the basics needed to protect your iron fence for future generations.
Documentation
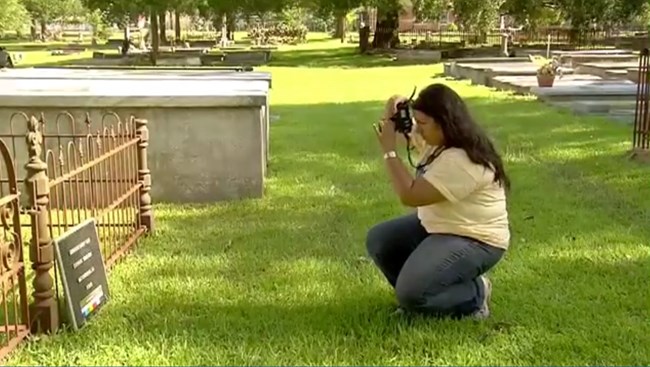
The first step before beginning any restoration project is documentation. It is important to document the fence as you found it before any work begins. This may be done by filling out a survey form or just writing a narrative description of the fences condition. It is always a good idea to take lots of before, during and after pictures of the project Keep in mind to take pictures of both the details and the overall area.
One detail to keep in mind when documenting your fence is to look carefully on the ironwork for remnants of the original or older paint. On a heavily weathered fence these may be found underneath the rails or where parts connect. Generally, we think of fences as painted black but historically a fence could have been painted a variety of colors such as green, white, or even have metallic plating. If any remnants of the older paint are left this should be photographed and included in the documentation. This may also help you decide what color to paint the fence.
While we are writing our documentation let us discuss ways to distinguish between cast and wrought iron- Cast iron is made by heating it to a fluid state and then pouring it into a mold. It is fabricated in sections that are then bolted together. Cast iron is heavier but cheaper to make. The molds allow for more intricate details. Wrought iron is iron drawn and worked slowly with continual heat and pressure. Since it is shaped by forging, this allows for simpler, more delicate pieces and is lighter than cast iron. The pieces are put together with rivets and by fusing them. The fence that we will be working on in this video is a wrought iron fence with cast iron corner posts.
National Park Service
Cover Up Objects
Now that we have documented the project, the next step is to always cover up any objects in the area that are now going to be worked on. It is particularly important to cover up any stone grave markers. As well as any stone or masonry curbing that may be under the iron work. Rust, chemicals and paint all will cause damage to the stone.
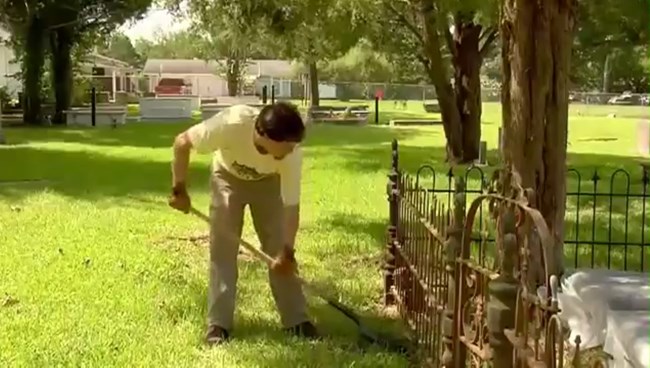
Another important thing to check on the fence is that the bottoms of the iron panels are free from the ground. Only the corner posts and support brackets should be in direct contact with soil. Any unnecessary ground contact will cause the iron to corrode. If the fence is setting on the ground the fence may need to be raised but usually only a small amount of soil needs to be scraped away.
National Park Service
Repair the Structure
Now that you have been paying particular attention to the fence you may have noticed loose, disconnected or broken connections. It is important to fix these so that the fence will be properly supported.
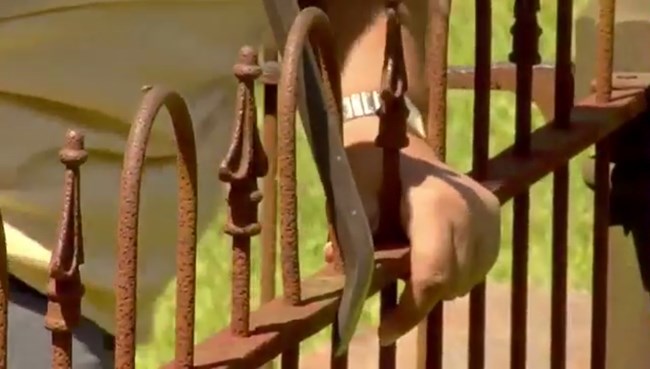
Tighten all loose bolts first; this may require the additional use of a lubricant. If any bolts are missing these will need to be replaced at this time, you may want to remove one of the original bolts to match the size and style together Iron bolts are best but stainless steel may also be used.
Occasionally, bolts are broken or rusted off in the brackets. These will need to be carefully drilled out and the hole re-tapped to its original size if possible. It is important to center punch the hole and use a drill bit smaller that the bolt hole.
Ok, let's get started checking to see if the fence panels and posts are straight and level. If they are not you may need to lift or lower the corner posts. This is only important if the panels are so far out of alignment that they are not fitting together correctly. In some cases posts may be set in stone or concrete.
If the base of the stone is too heavy or large to dig around then it should be left alone. Otherwise the base of the post will need to be exposed and lifted to the desired height. Gravel or dirt can then be placed under the base to stabilize it at the needed level.
The next order of our project is to check if any of the wrought iron parts are bent or damaged. If there are any bent elements on our fence, these can usually be straightened with little effort and the right tools.
National Park Service
Stabilize the Iron
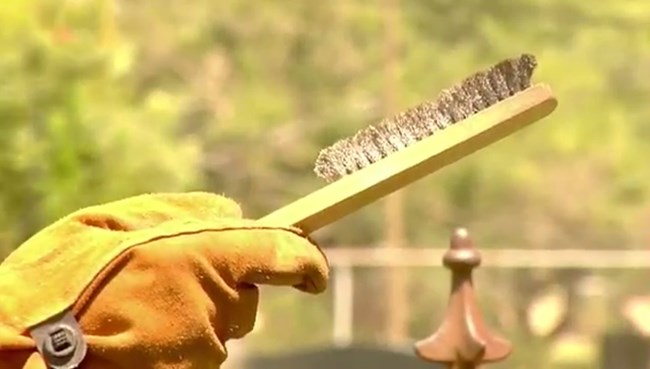
Now that we have addressed all of our structural issues lets work toward stabilizing the iron. We want to remove only the loose powdery oxidation and any rust scale that is on the fence. Keep in mind that we are going to treat this fence with a rust converter so some rust must remain. To do this we are going to use a stainless steel fine wire brush. Heavy corded or twisted wire brushes are too aggressive for historic iron work and can easily remove too much material. When selecting a wire brush you want to choose a finer wire. The finer wire lasts longer and has more flexibility to reach tough spots and corners. I do not recommend sandblasting since some of the fences’ detail could be lost and the iron will get over cleaned.
Once the fences surface has been wire brushed all of the loose rust and dirt need to be removed. Washing the surface with a solvent or a non-ionic detergent that can be mixed with a solvent will clean and prepare the surface for painting. This wash will also remove any oil left behind around the bolts.
National Park Service
Treat with Rust Converter
Next the surface is completely dried of all moister, we then treat it with a rust converter. Keep in mind this is a rust converter; not a rust inhibitor or rust dissolver but a converter. A converter works by chemically changing the iron oxide into a more stable iron tannate or iron phosphate. Most commercially available rust converters are phosphoric acid or tannic acid based; some are even a combination of the two.
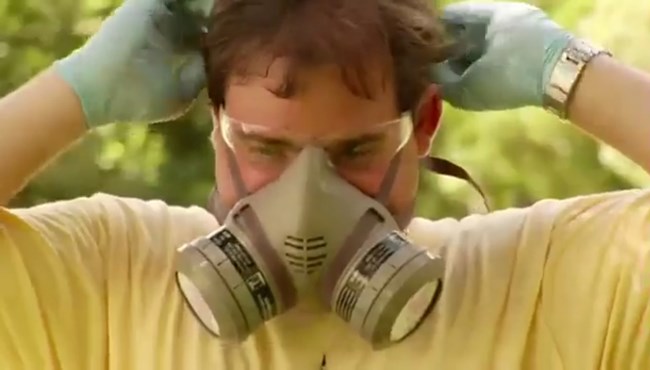
The only word of warning if using a phosphoric acid based converter is that moisture including high humidity can not come in contact with the surface until the treatment has completely cured. If affected by moisture the surface will turn a chalky white and must be re-cleaned. Keep in mind that when using any chemical to follow the manufacturer’s recommendations for safety and personal protective equipment.
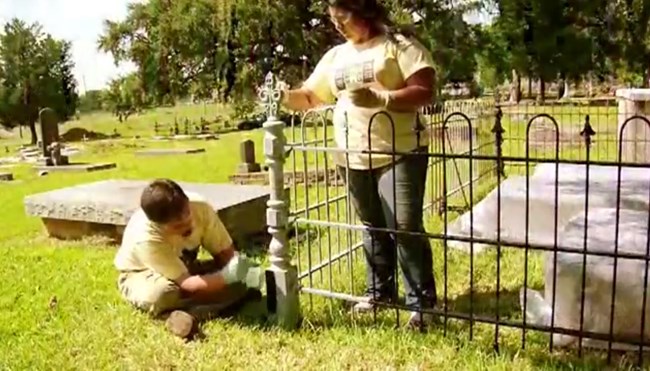
The rust converter must be brushed or sprayed on to all surfaces of the iron, paying attention to coat any under surfaces and crevices. Use extreme caution if spraying the converter any contact with stone will cause a irreversible black staining. Once all iron surfaces have been treated with the rust converter it must have adequate time to cure before you can move forward with the restoration. Check the manufacturer’s label for the curing time of the converter that you are using.
National Park Service
Prime
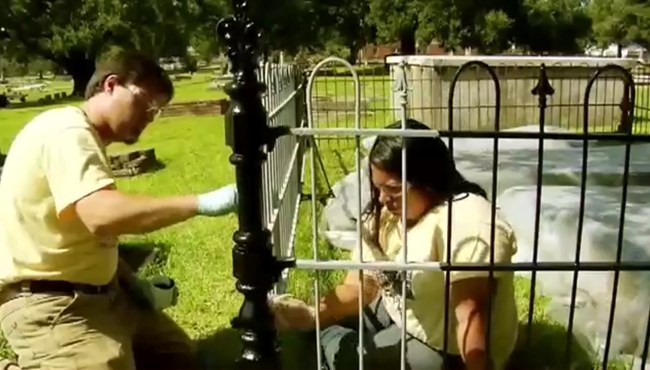
Once your surface had dried and the converter has had time to properly cure you can begin priming the fence. You want to choose an oil based primer that is specifically designed for use with metal. Some primers have rust prevention additives these are good but not necessary since we have already used a rust converter.
One to two coats may be needed depending on the coverage. You want a nice even coating that is free of any gaps. It is recommended that all primer and paint be applied by brush to prevent over spray and staining in the cemetery.
National Park Service
Paint
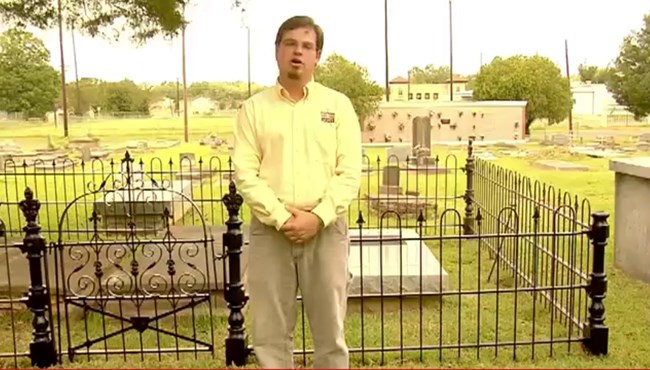
Now that your primer has had time to dry we can begin our top coat. The color that you choose to paint the fence is your own choice that may be affected by the fences original color or colors commonly used when the fence was originally installed.
You may need to consult local ordinances to see if there are any color restrictions in your cemetery. When choosing paint you will want an oil based paint designed for use with metal.
Two coats are preferable to get a good solid surface coating.
National Park Service
Conclusion
Now that you’ve watched this video, hopefully you’ll have all the basics you need to preserve a historic iron fence.
One thing to keep in mind: if your fence is damaged or heavily corroded, consult a professional conservator. And always remember to exercise personal safety and to do no harm to the object itself. And good luck.
Learn more about NCPTT Cemetery Conservation.
