 icons and selecting Edit scheduling properties. Note that this menu also gives you the option to delete an existing Element. You can also delete Elements through the Edit Rendering Criteria dialog.
Use the Schedule/Personalize dialog to set criteria for rendering Elements contained within a Scheduled Element. To edit an existing entry, open the Schedule/Personalize Element dialog from the Define Elements to Schedule/Personalize dialog by clicking one of the edit icons and selecting Edit scheduling properties. Note that this menu also gives you the option to delete an existing Element. You can also delete Elements through the Edit Rendering Criteria dialog.
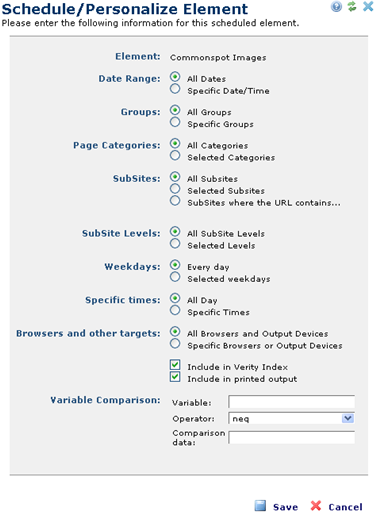
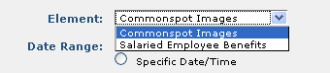
To create a new scheduling entry, open the Schedule/Personalize Element dialog from the Edit Rendering Criteria dialog by clicking Add New Element or by clicking the edit icon for an existing Scheduled Element and selecting either of the Insert new entry options. The Element field displays a dropdown for positioning the new Element relative to an existing Element.
The available scheduling criteria include:
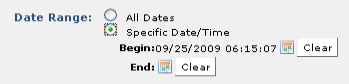
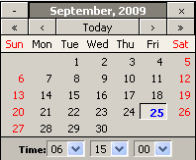
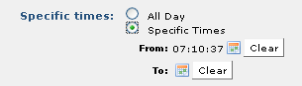
If you want this content to display every day without variation, select All Dates. If you want this content to display for a certain day or period of time, select Specific Date/Time and click the calendar icons  to open the date picker for entering start and end times.
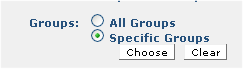
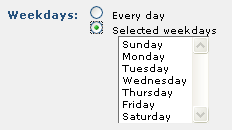
You can control rendering for CommonSpot groups defined through the Admin - Group Administration function, such as Faculty or webmasters.
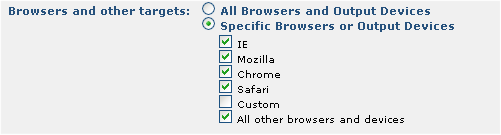
You can also choose to selectively render content to anonymous or authenticated visitor groups created through the Visitor Context feature. This feature groups site visitors using rules that you specify. Contributors are typically not members of visitor context groups. See the Administrator's Reference for details.
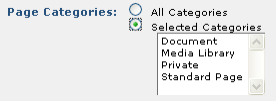
Defaults to displaying the Element for all categories. To schedule the Element to render for one or more page categories, click Selected Categories. The option will expand to include a list of existing categories. Select the desired category or categories from the list.
To choose the sites for which the Element will render, click the subsite’s radio button. The drop down list displays a list of all the subsites. Choose the site(s) for which the Element will display.
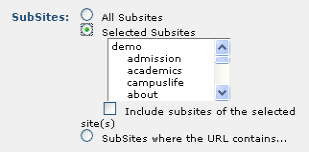
To select subsites where the URL contains a specified string, select the SubSites where the URL contains radio button. This option allows flexibility in specifying directories that have the same or similar name, but are in different parts of a site’s hierarchy.
Click the calendar icons to open the Date/Time Element.

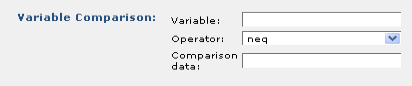
For example, to select a schedule that is visible only to users with “paperthin.com” in their email address, you would enter the following data:
Tip: To schedule items based on custom metadata, reference it like this:
Request.Page.MetaData.METADATA_FORM_NAME.METADATA_FIELD_NAME
where METADATA_FORM_NAME and METADATA_FIELD_NAME are replaced with the names of the actual metadata form and field whose values you want used in your scheduling expression.
Note that your scheduling expression must be the name of the variable holding the value you want to reference, in a form usable by IsDefined() and Evaluate(), so dot notation will work, but structName["fieldName"] will not.
Also note that CommonSpot doesn't show or log any errors evaluating expressions used in this context. If you're having problems with an expression, try creating a custom script that outputs its value, and/or dumps its containing structure a number of levels up, to help you determine how to reference the variable you're looking for.
Click Save to keep your changes or Cancel to exit without saving.
Related Links
You can download PDF versions of the Content Contributor's, Administrator's, and Elements Reference documents from the support section of paperthin.com (requires login).
For technical support:
