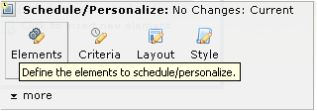
After inserting the Schedule/Personalize Element from the Miscellaneous Elements section of the Element Gallery dialog, click the Element Tool icon and select Elements to open the Define Elements to Schedule/Personalize dialog.

Click Add New Element to open the Scheduled Element Entry dialog to add an Element. Once you add an Element, it displays within this dialog.
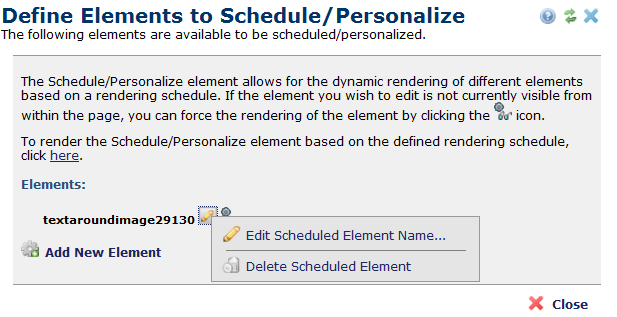
To edit an Element name, click the edit  icon and select Edit Scheduled Element Name to open the Scheduled Element Entry dialog.
To delete an Element click Delete Scheduled Element
Click Close to return to the page.
By default the current Element, if any, displays based on the specified rendering schedules.
Configure Elements contained within a Scheduled Element using the type-specific links and edit menus, just as you would without the Schedule container.
For a contained Element that is not currently scheduled to display, you may render on the page so that it can be edited by clicking on the View mode icon within the Schedule Entries dialog. To open this dialog, click the edit icon and select Edit Scheduled Element Name.
After clicking the View mode icon, the entry will be displayed within the Scheduled Element container where you can view and edit the Element in Author mode. To revert to viewing the currently scheduled Element, click the here link in Define Scheduled Elements to Schedule/Personalize dialog.
Related Links
You can download PDF versions of the Content Contributor's, Administrator's, and Elements Reference documents from the support section of paperthin.com (requires login).
For technical support:
