Last updated: April 22, 2022
Lesson Plan
Clay Caves

- Grade Level:
- Lower Elementary: Pre-Kindergarten through Second Grade
- Subject:
- Math,Science,Social Studies
- Lesson Duration:
- 30 Minutes
Essential Question
How does water create or carve a cave?
Objective
The students will be able to:
Work productively in small groups to make a cave
Conceptualize how water carves or creates Mammoth Cave
Background
The two basic kinds of rocks found in the Mammoth Cave area are limestone and sandstone. Limestone is the “soft” rock (more water soluble) that is dissolved more easily by water. Sandstone and shale are the rocks that are on top of the cave. They are “harder” (less water soluble) and don’t let the water soak into the cave.
The limestone was laid down in this part of Kentucky around 270-350 million years ago. At that time Kentucky was further south, close to the equator. A shallow, warm inland sea covered the land. As the animals that lived in that sea died, their hard bodies (shells) fell to the bottom of the ocean. With time and pressure the shells compacted together to form limestone. The limestone in this area is between 700-1200 feet thick. After many years of deposition the sea receded, as the continent slowly drifted north.
The next major geological period to affect the Mammoth Cave area was a glacial period. Glaciers were found to the north of Kentucky. These large glaciers began to melt and formed rivers, which flowed south. This part of Kentucky became the river’s delta. The river left behind additional sand, silt, and sediment it carried with it. This sand and silt became our caprock or the layers of sandstone and shale.
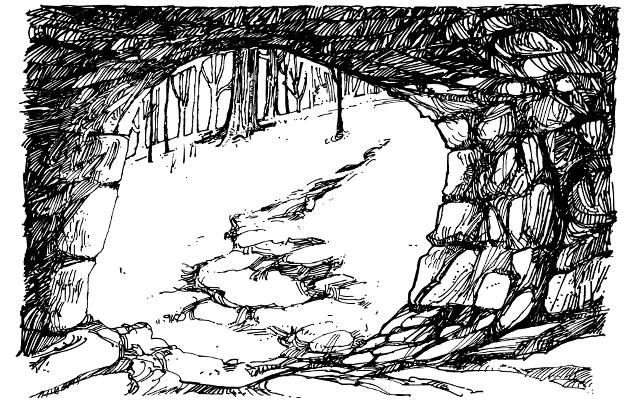
Mammoth Cave was formed when water seeped through cracks in the caprock. The water formed underground rivers that carved large cave passageways in the limestone. It has taken a lot of water and a lot of time to create Mammoth Cave.
Preparation
- Modeling clay (4 oz. per student or group)
- Sugar cubes (3-6 per cave)
- Warm water
- See-through bowls (1 per student or group)
- Making the Caves Diagram Sheet*
- Clay Caves Activity Sheet*
*Available in a downloadable Lesson Plan, please contact the park.
Procedure
CLOSURE: We have made models of a limestone cave. For natural places like caves to form we know it takes a long time and the right ingredients. That is why we need to take care of our special natural places.
Vocabulary
model, cave, Mammoth Cave,
sandstone, shale, limestone, water, time, ocean, shells, dissolved
Assessment Materials
The teacher is able to evaluate the students during their class discussion and by reading over their activity sheets.
Enrichment Activities
It takes a long time for a cave to form. At Mammoth Cave National Park, water began to dissolve the limestone rock about 10 million years ago. Mammoth Cave is now over 400 miles long! It is the longest know cave system on our entire planet.
Extensions
- A follow-up activity could be to make rock candy and talk about how that relates to the formations found inside the cave.
- The class may want to visit a cave within the Mammoth Cave region to identify the differences between the sandstone and limestone while being in the field.
- The students could find other items that would dissolve in water, that could act as models for the limestone, and other items that do not dissolve that could be models for the sandstone.
Contact Information
Email us about this lesson plan
