Last updated: December 15, 2021
Article
Ranger's Nightcap Hat Pattern

NPS
Over the years there have been dozens of different hats, including ball caps, pillbox hats, cowboy hats, helmets, fur hats, a variety of caps, and a few different iterations of the classic flat hat. Want to know more? (Want to know everything?) Check out chapter 2 of the NPS Uniform History report.

NPS
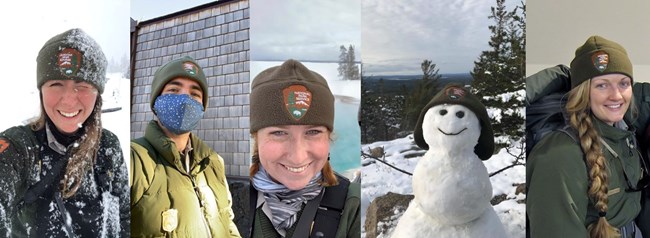
These days, the NPS beanie is a crowd favorite. When we asked for photos to use on this page, a lot of the pictures we got back were of rangers wearing the beanie!

NPS
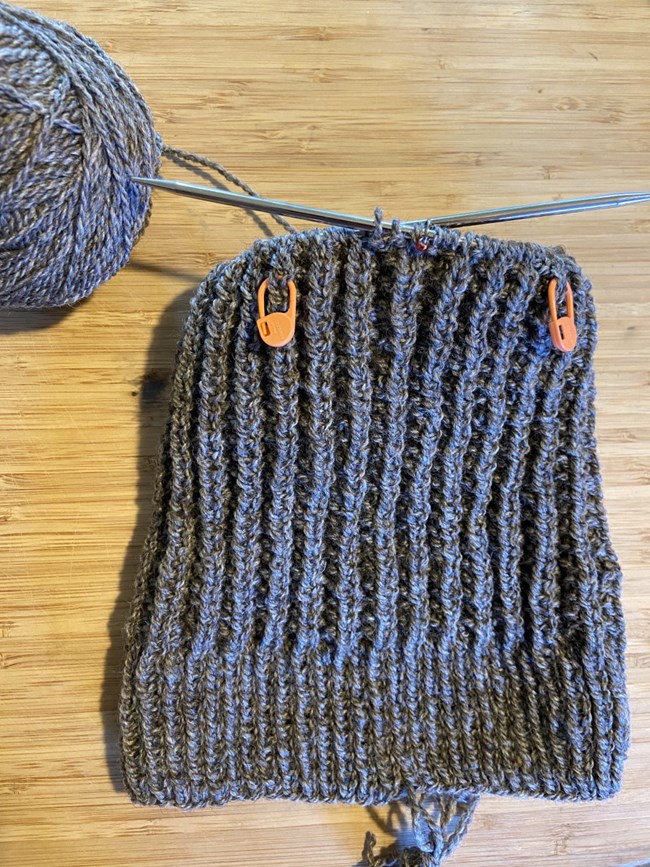
The Nightcap is a textured hat with a folded brim, knit in a dk weight yarn. Three sizes are available: adult small (medium, large). To make one, you'll need
-
about 100 grams of yarn (between 150-225 yards, depending on what size you make)
-
US size 4 and 5 needles (or as needed to get gauge): 16" circular and DPNs, or a longer circular needle if you like to use the magic loop technique
-
Five stitch markers: one for beginning of round, plus four locking/hanging stitch markers for decreases
-
tapestry needle and blocking materials for finishing
Abbreviations and techniques used in this pattern:
-
k = knit
-
p = purl
-
cdd = center double decrease: slip 2 stitches knitwise, knit the next stitch, pass slipped stitches over the knit stich
Cast on:
With your smaller needle, cast on 104 (112, 120) stitches using a long-tail cast on method. Join to knit in the round, being careful not to twist. Place marker at the beginning of the round.
Brim:
*k1, p1* around. Repeat until you have about 2" of fabric.
Body of hat:
Switch to larger needles and work mistake rib as follows.
Round 1: *k2, p2*
Round 2: *k1, p2, k1*
Repeat these two rounds until the hat measures about 9" from cast on edge.
Crown:
Set up markers: Work 8 (12, 16) sts in mistake rib pattern, then place hanging marker in 9th (13th, 17th) stitch. Then *work 23, (27, 31) sts in mistake rib and place marker in 24th (28th, 32nd) stitch.* Repeat from * twice more - 4 markers placed. Work in pattern to end of round.

NPS
Decreases:
Round 1: *Work in mistake rib pattern to 1 stitch before marked stitch, CDD,* work in pattern to end of round
Round 2: Work in mistake rib pattern as established. Remember that the pattern will be disrupted around the decreases!
Repeat rounds 1 and 2 until 16 sts remain. Break yarn, draw through the remaining sts, secure all ends and block to fit.
