Part of a series of articles titled Preservation Matters.
Article
Preservation Matters: Disasters - Saving Wet Photographs
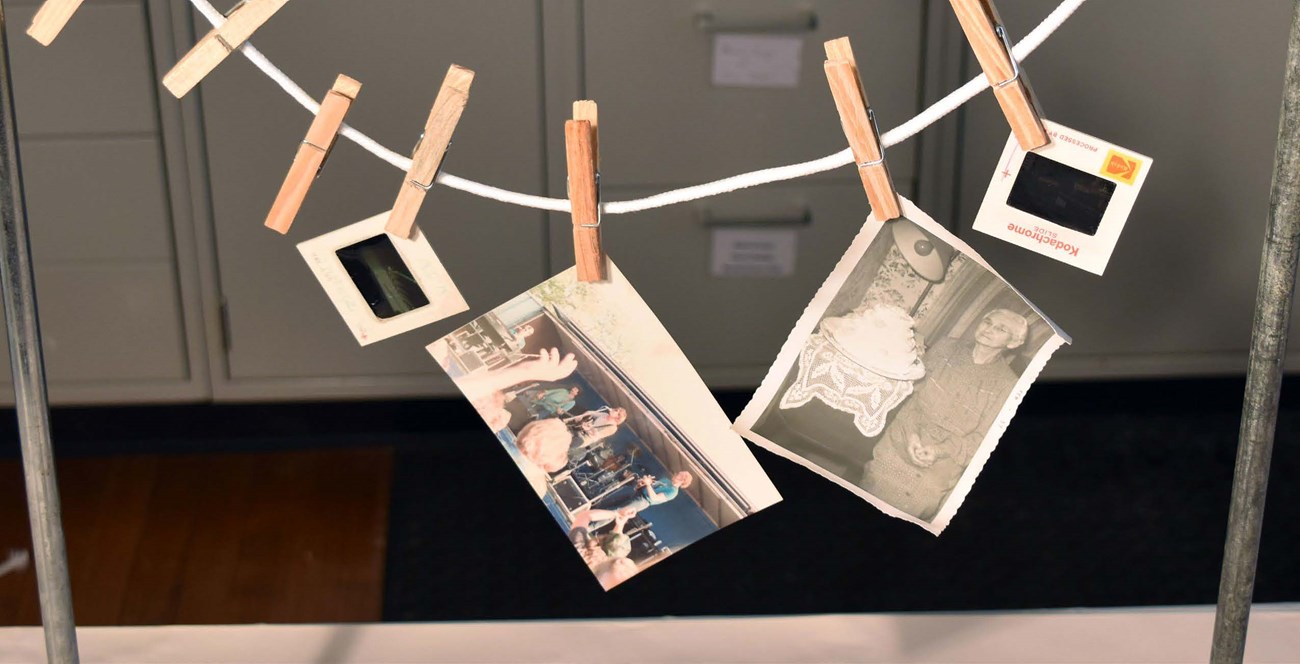
When a disaster strikes the cleanup and recovery can be overwhelming leading to the disposal of cherished possessions. Preservation professionals commonly see homeowners throwing away items that can be recovered and saved after a flood. This document outlines steps that individuals can take to assess and salvage valuable family photographs after a devastating flood or storm.
Although this document is intended for lay person usage, a professional conservator or specialist should be consulted when you have an extensive collection of irreplaceable photos, a valuable photo collection, photos that are sticking to glass frames or album pages, or photos that are stuck together in a clump. Visit the American Institute for Conservation of Artistic and Historic Works (AIC) online at https://www.conservation-us.org/ for more information. You can use the “Find a Conservator” tool to locate photographic conservators in your area.
ASSESSMENT
First triage, or assess, your photographs to determine a prioritized order of action.
- What is the photo condition? Separate any dry, undamaged photographs and move them to a safe, dry place.
- Can you reprint the photograph from an electronic version, or are there undamaged negatives that can be used to replace the photograph? If so, reprint the photo and discard the wet photo.
- Is the photograph irreplaceable? Is it valuable or an heirloom photo that holds special meaning to you? If so, you will need to take action within 48 hours. Some photographs will quickly deteriorate when wet, and mold can begin to grow within 48 hours. If you cannot treat these photographs within 48 hours, you may consider freezing the photographs. Do not freeze older or valuable photos without first consulting a professional conservator.
- Are the photographs loose, in photo albums or a frame? The image surface of a wet photograph, called the emulsion, may want to stick to itself, the album page or the frame. Remove all photographs from frames, album pages, and sleeves where adhesion is not a problem. If a valuable photos are stuck together or stuck to the glass of the frame, do not pull them apart; consult a professional conservator.
- Treat the least stable photographs first. Start with wet color prints since they are more susceptible to water damage. Next, move to black and white prints which tend to be more stable. Finally, treat negatives and transparencies.
SAFETY MEASURES
It is essential to take safety measures for yourself and those working around you.
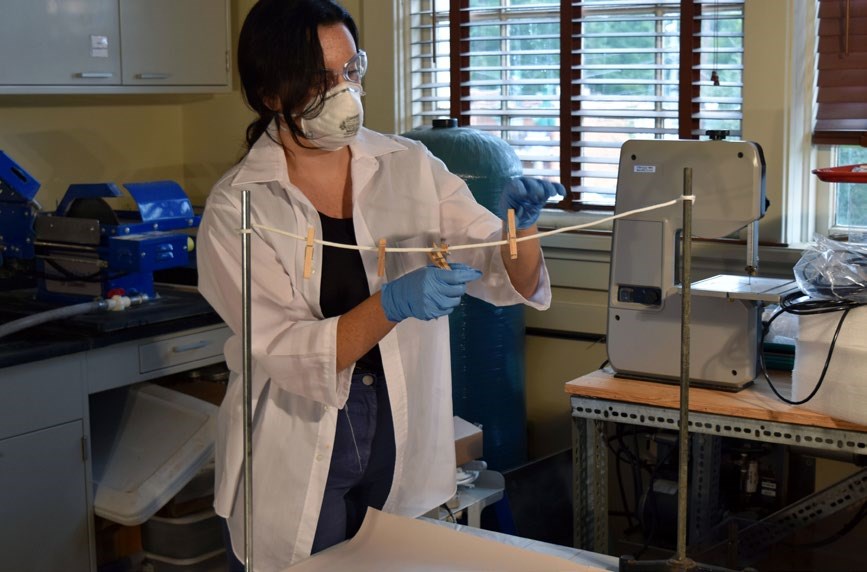
- Use personal protective equipment. Wear a long-sleeved smock or shirt. Use gloves, eye protection, and a N95 respirator.
- Contain contaminated water and spores by covering your work table with plastic, such as a drop cloth or a disposable plastic table cloth, topped with unprinted newsprint paper to absorb excess water.
MATERIALS
Assemble all necessary materials and supplies in your work area before work begins.
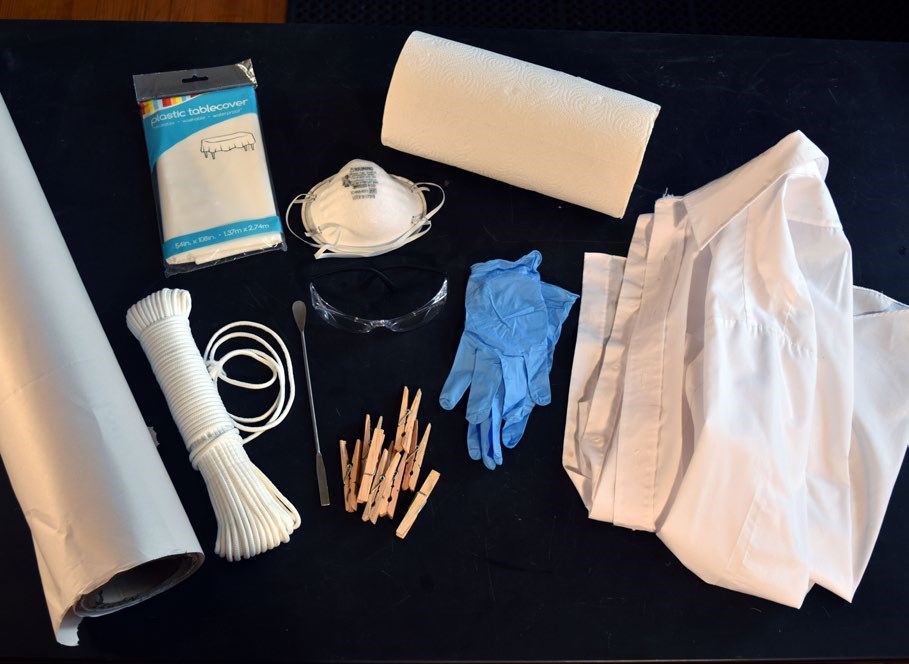
- Smock
- Gloves
- N95 Respirator (in case of mold)
- Eye protection
- Fans
- Clean water
- Trays or tubs
- Paper towels
- Clothespins
- Plastic table cover
- Newsprint
- Plastic spatula (in case photos are sticking together)
PREPARATION
Prepare your work area with a rinsing station and an adequately sized drying area.


RINSING
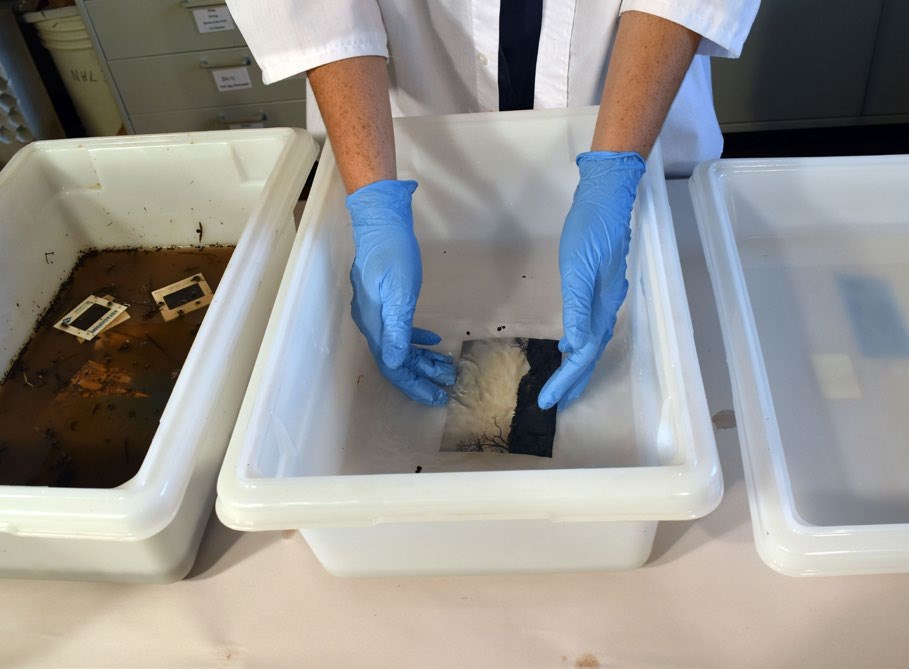
If the photographs are visibly dirty and the emulsion is intact, rinse photos one at a time in a tray of clean water.
- Work with one photograph at a time in the rinsing station. Most importantly, do not touch the image surface of a wet photo until it is dry. Cradle the photo from beneath in the palm of your hands.
- Rinse the photograph by gently lowering the photo into the clean water of the first tray and rocking the photo back and forth slowly in the water.
- Move the photograph to the second tray and repeat the rinse.

DRYING
Once photos are rinsed, wet photos must be air dried completely.
- Establish an open drying space outdoors in the shade or in a room with a dehumidifier.
- Lay photographs flat on clean blotter paper, paper towels, or clean cloth towels. Make sure the emulsion (the side with the image) is facing up.
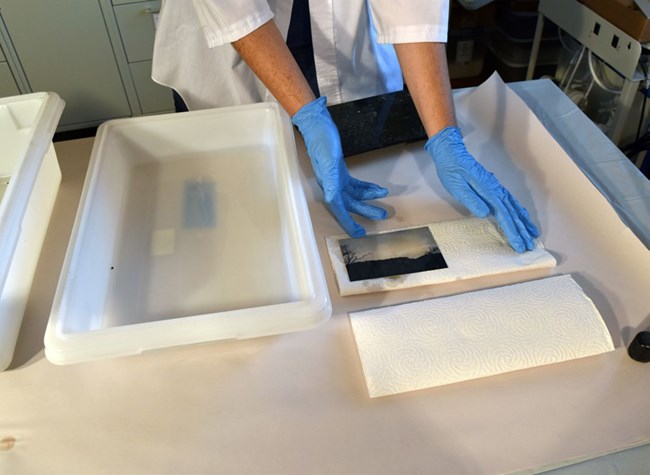
- Circulate the air with fans to speed up drying time and minimize molding.
- If you are limited in space, hang the photographs on a clothesline. Make sure that the clothes pins you use touch only the edge of the photos. Space photographs far enough apart so that they won’t flap or stick to each other while drying.
- The photographs may warp or distort, and some stains may be left behind. The pictures may be flattened later, once they have dried, by placing them under a heavy weight for several days.
REFERENCES
- 3.7 Emergency Salvage of Wet Photographs. Northeast Documentation Conservation Center. https://www.nedcc.org/free-resources/ preservation-leaflets/3.-emergency-management/ 3.7-emergency-salvage-of-wet-photographs.
- A Consumer Guide for the Recovery of Water-Damaged Traditional and Digital Prints, Image Permanence Institute. https:// www.imagepermanenceinstitute.org/webfm_ send/314.
- Conserve O Gram: Salvage At A Glance, Part 1: Paper Based Collection, National Park Service. https://www.nps.gov/museum/publications/ conserveogram/21-04.pdf
- Emergency Salvage of Flood Damaged Family Papers, National Archives and Records Administration. https://www.archives.gov/ preservation/conservation/flood-damage.html.
ABOUT NCPTT
NCPTT publishes its Preservation Matters Series to provide easily accessible guidelines for preserving cultural materials.
National Center for Preservation Technology and Training 645 University Parkway Natchitoches, LA 71457 Website: www.nps.gov/ncptt Phone: (318) 356-7444
CREDITS
Series Editor: Kirk A. Cordell, NCPTT Executive Director
Author: Mary F. Striegel, NCPTT Materials Conservation Chief
Last updated: September 29, 2022
