Part of a series of articles titled Oral History Project Process.
Previous: Designing a Project
Article
Choosing recording equipment is an important step in the oral history process. The decision will affect how the oral history recordings will be archived, preserved, used, and disseminated. The decision will also influence your budget.
For years the primary goal of oral history projects was to create sources for research archives. While recording quality was important, few people strove for broadcast quality recordings. Now the watchword is access as well as preservation. Oral history practitioners are sharing recorded interviews in any number of ways—podcasts, documentaries, and museum exhibits, both physical and digital. Quality of recording has become more important, and so equipment choice has assumed greater significance, too.

NPS / Marie Acemah
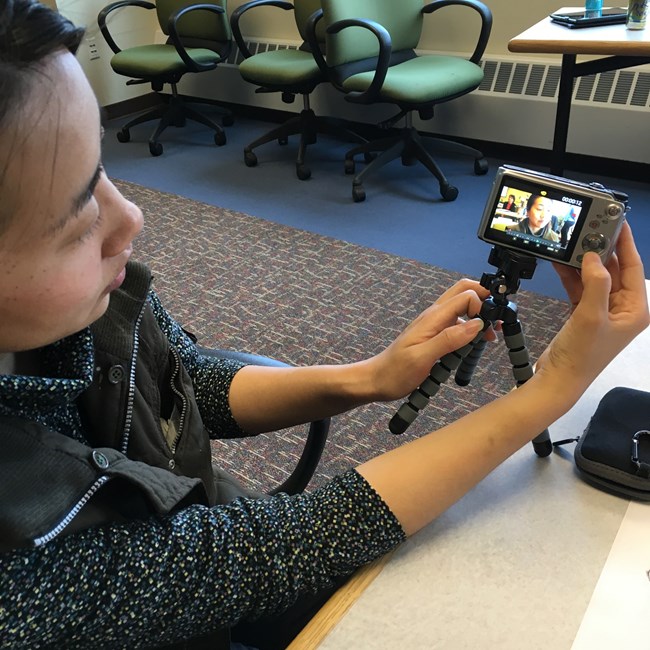
A fundamental decision is whether you will make audio recordings or video recordings. As you debate audio or video, consider these questions:
What are the project's purpose and goals?
What are the short-term and long-term uses of the recordings and transcripts?
How much does the recording method cost and how does it fit into the project budget?
Who is the audience for the oral history interviews?
Does the oral history project team have the skills to produce good video recordings, or can you afford to hire someone who can?
What are the narrators’ wishes for the interview? Will they feel comfortable on camera?
The decision to record audio or video will affect all aspects of your project.
Budget: video equipment is more expensive than audio recorders.
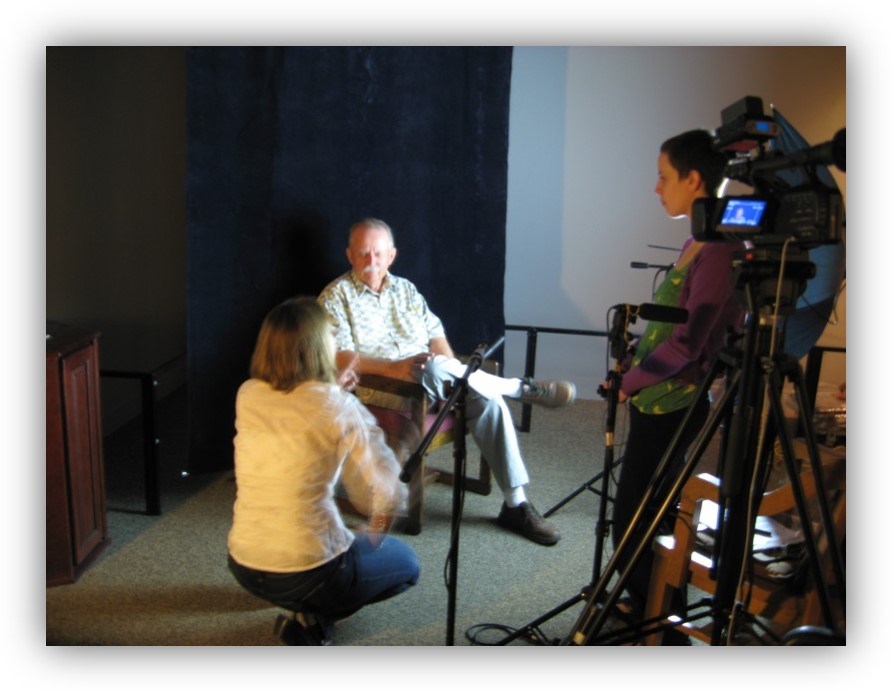
Location: video may require artificial lighting if done indoors and special considerations if recording outdoors.
Time: setting up video equipment and accessories takes time.
Expertise: video equipment requires more technical proficiency than audio recorders.
Archiving: video recordings require greater digital storage capacity than audio recordings.

NPS
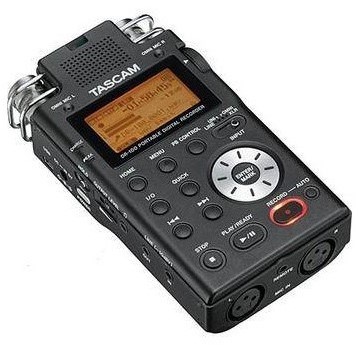
It’s easy to find good audio recorders that can fit a variety of budgets and goals and are simple to use. Choose the most durable and reliable recorder that you can afford. Among the brands that oral history practitioners favor are Marantz, Sony, Tascam, and Zoom.
Choose an audio recorder that can record at what is considered the archival standard of 24 BIT / 96 KHz / STEREO / .WAV. Recordings created in highly compressed formats such as .mp3 are not as stable as those created as .wav files.
When choosing a recorder make sure that its lights and displays are easy to read. Can you tell at a glance that the electrical power is working, the machine is indeed recording, and the sound level is good?
Make sure you can power the recorder by either plugging it into a wall outlet or using batteries. Batteries are essential should the power fail or you want the mobility that allows you to accompany the narrator to new locations. Pack an extension cord in your equipment bag to offer options.
If you’d like help evaluating different models of audio recorders, consult the Ask Doug - Recorders feature on the Oral History in the Digital Age site. Doug Boyd, director of the Louis B. Nunn Center for Oral History at the University of Kentucky, is an authority on oral history digital technologies. Using a matrix of factors that Boyd has created, you can choose a recorder whose cost, quality, and level of complexity meet your budget, needs, and skills.

Although some digital recorders have good internal microphones, external microphones usually provide better sound quality and more flexibility for interview set-up and recorder placement.
There are different types of microphones, and the best for recording oral history interviews are condenser mics. Power for condenser microphones comes from either the recording device itself or a separate battery. Condenser mics rest on a table and are usually supported by a small tripod.
Lavalier microphones are another option. They are especially valuable if a narrator has a soft voice. There are some drawbacks. To clip a lavalier microphone to a narrator’s clothing, the interviewer often has to get what can seem uncomfortably close. While men usually wear shirts with plackets or collars where a lavalier can be easily attached, women’s tops often offer awkward attachment options. In addition, a lavalier mic rubbing against rough clothing can mar the recording quality.
A microphone with a balanced XLR connection offers the best quality sound input. Test the microphone carefully, and practice using it.
You can find excellent information about various types of microphones at Doug Boyd and Charles Hardy, “Understanding Microphones,” in Oral History in the Digital Age, edited by Doug Boyd, Steve Cohen, Brad Rakerd, and Dean Rehberger (Washington, D.C.: Institute of Museum and Library Services, 2012), Understanding Microphones. Key topics that the authors discuss include microphone placement and how microphones pick up sound; ambience and acoustics; and microphone accessories.
Fortunately, Doug Boyd has created a matrix to help you evaluate different models of microphones at Ask Doug - Microphones feature on the Oral History in the Digital Age site. Using a rubric of factors that Boyd has created, you can choose a microphone whose cost and quality meet your budget, needs, and skills.
The equipment you choose is only as good as your ability to use it to best advantage. And the best way to learn the possibilities and nuances of a recorder and microphone is to practice with them.
Set up your recording equipment and test the sound quality from various distances and at various recording levels.
Determine how room acoustics and ambient sounds affect the sound quality. Does a recording made in a big room furnished with wooden or metal furniture sound hollow compared to the warmer sound of a recording made in a small room furnished with upholstered chairs and drapes on the windows? How well does the recorder pick up the hum of a refrigerator or air conditioner, the ticking of a wall clock, the chatter of a television turned on in an adjoining room?
Practice turning on the recorder and monitoring the sound level. Anticipate locating electrical outlets in different kinds of spaces.

NPS
The place to begin when determining the best equipment for your oral history project is Oral History in the Digital Age.
You’ll find excellent advice at Ask Doug - Recorders and Ask Doug - Microphones.
Articles offer in-depth discussions of recording equipment, accessories, and techniques.
Scott Pennington and Dean Rehberger, “Quick Tips for Better Interivew Video,” in Oral History in the Digital Age, edited by Doug Boyd, Steve Cohen, Brad Rakerd, and Dean Rehberger. (Washington, D.C.: Institute of Museum and Library Services, 2012); Quick Tips for Better Interview Video – Oral History in the Digital Age (msu.edu).
Scott Pennington, “Video Equipment: Guide to Selecting and Use,” in Oral History in the Digital Age, edited by Doug Boyd, Steve Cohen, Brad Rakerd, and Dean Rehberger (Washington, D.C.: Institute of Museum and Library Services, 2012); Video Equipment – Oral History in the Digital Age (msu.edu).
Doug Boyd and Charles Hardy, “Understanding Microphones,” in Oral History in the Digital Age, edited by Doug Boyd, Steve Cohen, Brad Rakerd, and Dean Rehberger. (Washington, D.C.: Institute of Museum and Library Services, 2012); Understanding Microphones – Oral History in the Digital Age (msu.edu).
Doug Boyd, “The Art of Lighting for Recording Video Oral History Interviews,” in Oral History in the Digital Age, edited by Doug Boyd, Steve Cohen, Brad Rakerd, and Dean Rehberger. (Washington, D.C.: Institute of Museum and Library Services, 2012); The Art of Lighting for Recording Video – Oral History in the Digital Age (msu.edu).
Scott Pennington and Dean Rehberger, “Quick Tips for Better Interview Video,” in Oral History in the Digital Age, edited by Doug Boyd, Steve Cohen, Brad Rakerd, and Dean Rehberger. (Washington, D.C.: Institute of Museum and Library Services, 2012); Quick Tips for Better Interview Video – Oral History in the Digital Age (msu.edu).
Part of a series of articles titled Oral History Project Process.
Previous: Designing a Project
Last updated: October 25, 2023