Last updated: October 14, 2021
Article
How to Photograph Acadia's Night Skies

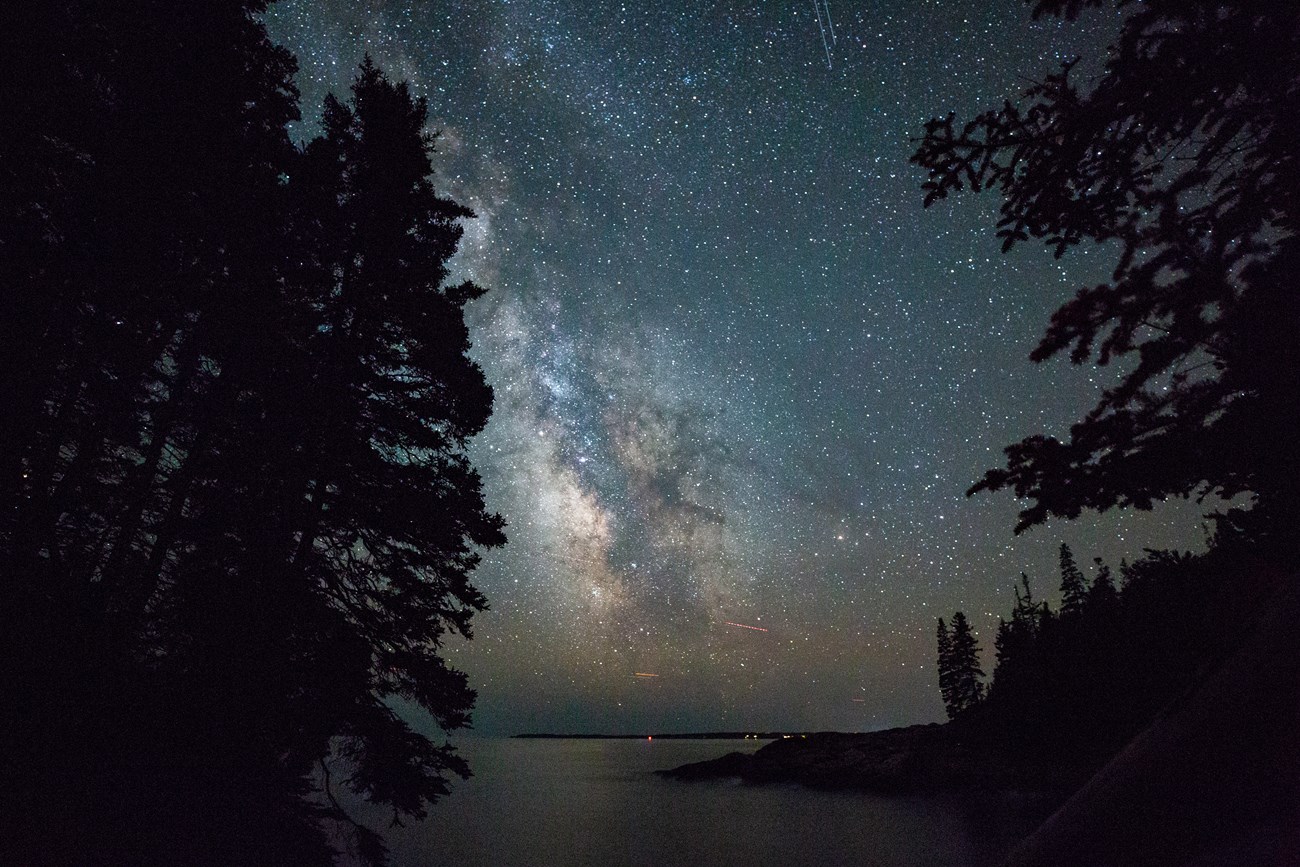
Photo by Emma Forthofer, Friends of Acadia, NPS
Have you ever attempted to take a photo of the night sky only to discover that the photo you took did not do the scene justice? That’s okay! A few park rangers at Acadia National Park are experienced night sky photographers and want to help you on the journey towards capturing beautiful images of the cosmos. Years of experience, practice and an array of tools go into capturing breathtaking night sky photos. This will cover the very basics: equipment and set up.
Equipment List
Here is a list of everything you will need to get started:
- Digital camera with manual settings and a wide-angle lens
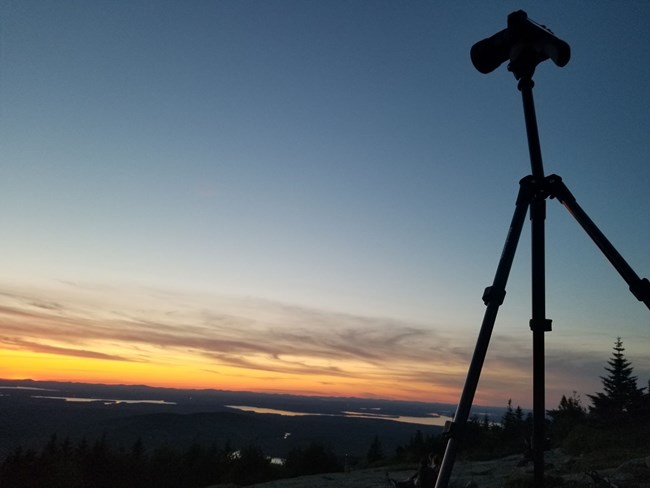
- Sturdy tripod
- An app or website to locate optimal dark zones (search for “dark sky map” online to find one)

NPS Photo/Josh Cosgrove
Set Up
It is recommended to shoot the night sky in “manual mode.” Unlike our eyes, cameras can stay open for a very long time in order to take in as much light as possible. This is very useful in low-light situations, such as photographing a dark landscape or the Milky Way.
There is no limit to how long your camera shutter can stay open, but there is a limit to how long you may keep it open until you experience “star trails.” These form as the earth is rotating and your camera’s shutter is still open, causing the stars to streak across the scene. This can be countered with extra equipment.
Here are suggestions for great settings to avoid star trails without the need of extra gear:
-
Use the widest aperture that your lens is capable of, anywhere from f/1.4 to f/3.5 works well.
-
Start ISO at 400 and adjust higher as needed. This is something to experiment with. The lower the ISO, the better the image quality will be. This greatly depends on the camera and lens that you are using.
-
Choose a shutter speed from 10 to 20 seconds and experiment with different variations to get the best result.
-
Leave your white balance setting on auto.
-
Use a two to five second self-timer, shutter remote, or smart phone (if your camera is capable).

NPS Photo/Josh Cosgrove
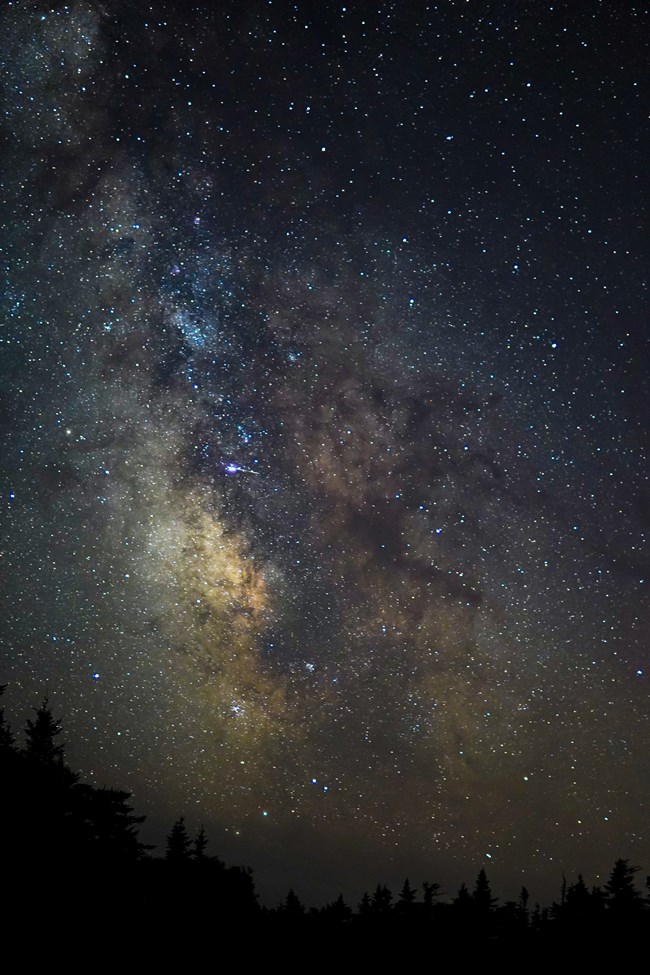
Once you have found a prime location to photograph, it is time to set your camera and tripod into position. You will want to manually focus your camera using a distant bright light, such as a star, streetlight, or house. Point your camera towards the south to capture the Milky Way and see what happens!
Astrophotography is an amazing way to experience the night sky no matter where you are in the world. Acadia National Park has fantastic dark sky locations such as Sand Beach, Otter Point, Cadillac Mountain, and Eagle Lake. For those who prefer admiring our night skies instead of photographing them, these areas are optimal for stargazing too. See the list below for detailed location descriptions.
