Last updated: December 5, 2021
Article
Lava Flow Crochet Pillow

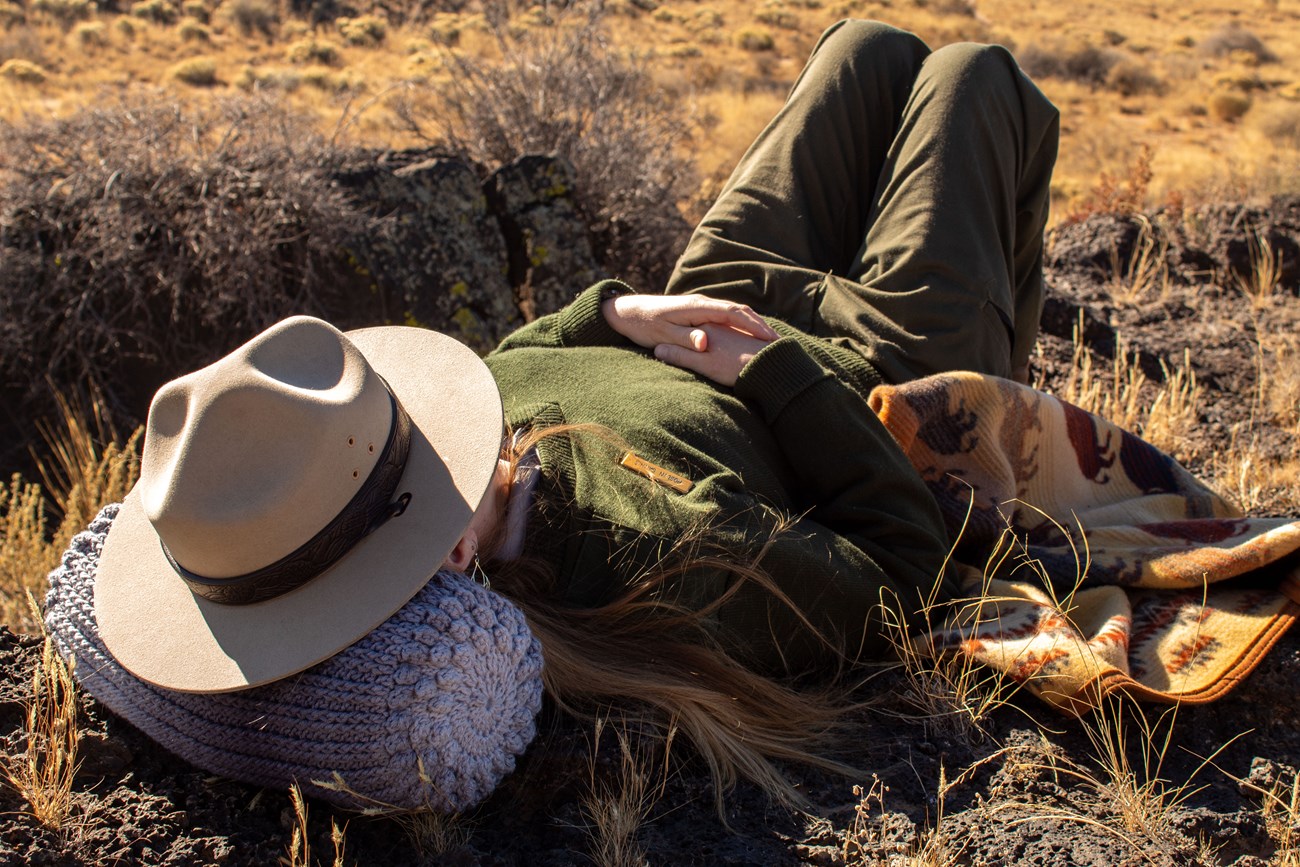
It's tricky to find a good napping spot when there's 114,000 acres of lava at El Malpais. And even when you find one, the sleeping area is...well...rock solid. Lava isn't known to be very comfortable. That is unless you crochet a lava pillow for yourself!
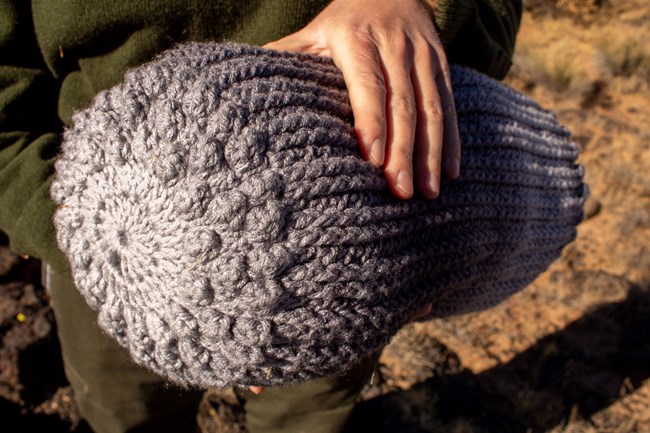
Bumpy edges mimic the rough and blocky texture of ‘a‘ā lava (pronounced AH-ah), which forms on the edges of lava flows where hot rock cooled quickly while it moved forward. The middle, ridged section of the pillow mimics pāhoehoe (pronounced puh-HOY-hoy), which is more common in the middle of lava flows were hot rock flowed slower and folded against itself.
When both features are crocheted, they make a home-sized lava flow and a punny version of a different lava feature: pillow basalt! Make your own lava pillow to add some geology to your home decor!
Materials
- Hook: Any size you like! Lava flows come in all shapes and sizes. A 5 mm/US H hook was used for the pictured project.
- Yarn used: Any acrylic/mixed fiber blend, with 12 sc and 15 rows gauge. Pictured project is Red Heart Super Saver Ombre, Anthracite, 10 oz.
- Filling: fiber fill, (clean) old socks and other fabric, a pre-existing pillow
- This pattern is written using United States stitches and abbreviations. US to UK/AU stitch coversions are listed at the bottom of "Stitches and Abbreviations."
Stitches and Abbreviations:
- Yo: yarn over
- Ch: chain st
- Sl st: slip stitch
- Dc: double crochet
- Fpdc: front post double crochet (see special stitches)
- PC: popcorn stitch (see special stitches)
- dc2tog: decrease double crochet (see special stitches)
- St/sts: stitch/stitches
- Lp/Lps: loop/loops
US to UK/AUS stitch conversions: ch=ch; sl st=ss/sl st; dc=tr; fpdc=rtrf; yo=yoh, dc2tog=tr2tog

NPS Photo
Special stitches:
- Popcorn (PC): Yo, insert hook in indicated st , yo, pull up a loop (yo, pull through 2 lps) twice (first dc made), (yo, insert hook into same st, yo, pull up a loop, [yo, pull through 2 lps] twice) 3 times (3 more dc made), remove hook, insert hook through first dc made from front to back then through the loop once again, and pull the loop through the first double crochet stitch.
- Fpdc: Yo, insert hook from front to back between the posts of the first and second dc of previous round, then from back to front between the posts of second and third sts. Yo and pull yarn through, one lp on hook. Yo, pull through two lps. Yo, pull through last two lps.
- Dc2tog: Yo, insert hook in next st, yo and pull 1 lp through (yo, pull through two lps). Repeat in next st, 3 lps on hook. Yo, pull yarn through 3 lps on hook. Yo, pull through last 2 lps on hook.
Note: Ch 3 at first of every round counts as first dc.
Crochet Pattern:
Difficulty: Medium to Moderate Skill Level
Round 1: Ch 5, join with sl st. Ch 3 (counts as first dc), 15 dc in center of ring. Join with sl st at top of ch 3. (16 st)
Round 2: Ch 3, dc in same st. 2 dc in each st around. Join with sl st at top of ch 3. (32 st)
Round 3: Ch 3, dc in same st. *PC in next st, 2 dc in next st. Repeat from * around (45 st)
Round 4: Ch 3, dc in same st. *PC in next st, dc in next st, 2 dc in next st. Repeat from * around. Join with a sl st at top of ch 3 (60 st)
Round 5: Ch 3, dc in same st. *PC, dc, PC , 2 dc in next four st. Repeat from * around. Join with a sl st at top of ch 3. (75 st)
Note: You can repeat this trend to make a wider pillow. Ch 3, dc in same st. *PC, dc, PC, dc... 2 dc, as desired.
Round 6: Ch 3. 1 dc in each st around. Join with sl st at top of ch 3. (75 st)
Round 7: Ch 3. 1 dc in next st. *Fpdc in next 2st. Dc in next st. Repeat from * around. Join with sl st at top of ch 3. (75 st)
Round 8: Repeat Round 7 until piece reaches your desired length.
Round 9: Ch 3. *Dc2tog, PC, 1 dc, PC. Repeat from * around. Join with sl st at top of ch 3. (61 st)
Round 10: Ch 3. *Dc2tog, PC, 1 dc. Repeat from * around. Join with sl st at top of ch 3. (45 st)
Round 11: Ch 3. *Dc2tog in next 2 st, PC. Repeat from * around. (30 st)
Fill with material of choice.
Round 12: Ch 3. Dc2tog around. Join with sl st at top of ch 3. (15 st)
Round 13: Ch 3. Dc2tog in next 2 st around. (8 st)
Fasten off, leaving a tail 6” long. Weave tail between last 8 sts and pull to close. Weave in ends.
