
Cold Storage Packaging
How To Prepare Boxes With Filler Material
Presentation Transcript:
After your film-based materials are properly housed in their storage containers, you will need to fill in the empty spaces with “filler” before adding the vapor-proof packaging. (11 SEC)
Before you pack your film-based photographic materials, you may find it necessary to add filler materials to your boxes. If you have several boxes of the same or similar dimensions, you may find it useful to make a pattern for yourself and cut all of your pieces ahead of time. This is particularly useful if you have large sheets of Ethafoam, such as this. The reason why we want to add filler materials to our boxes is not only to fill in this additional space that we may have, but it also provides additional support in the event that you need to turn your boxes inside the freezer to fit them in appropriately.
Here you can see we have a card file box. It's filled with 5x7 envelopes, and we have a little space along the side and also along the top. And here I have a piece of the precut corrugated archival board, and that I'm going to insert directly on the side of the envelopes to really give a nice, rigid support and hold those envelopes in place.
Next I have a series of precut Ethafoam sheets, and those I'll put on the outside of that support board to fill up the rest of that space. You can see this fits nice and tight in there, not allowing those envelopes to move around at all inside that box. And to fill up this top space I have two pieces of Ethafoam sheet, which will just be inserted like that, allowing the lid to fit snugly on top and the materials to be secure inside.
One other example of a different way to use Ethafoam is to roll the Ethafoam and tie it with twill tape, or you can use packaging tape to secure the rolls. This is particularly useful if you have small scraps of Ethafoam. This uses much less material, and you can just insert the rolls just to take up that space and make sure that the items aren't moving around inside the box. The use of filler materials is very important because it protects the contents from shifting inside the box or can and reduces the free air space.
List of Recommended Supplies
Filler Materials
1.Ethafoam sheets
2.Archival corrugated board
3.Coroplast sheets
4.Archival tissue paper
5.Cotton twill tape
6.Mat board
7.Archival paper stock
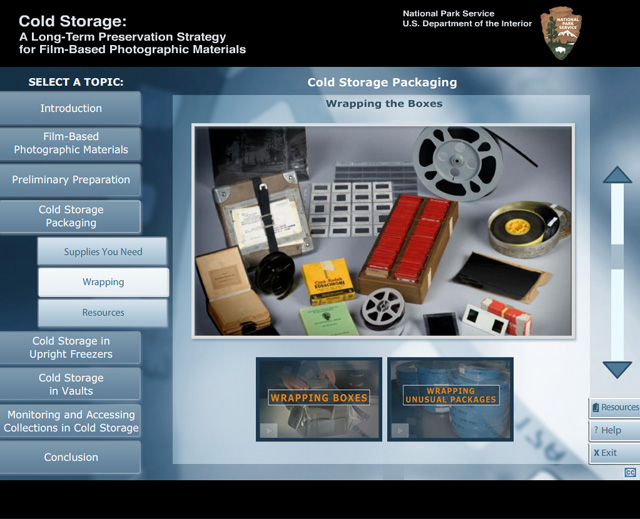
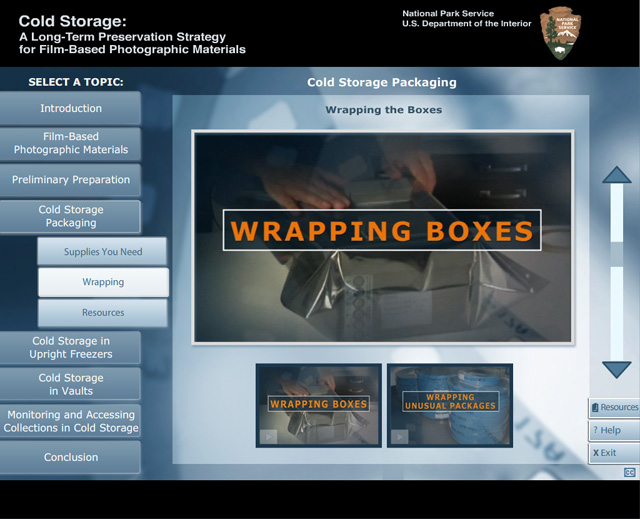
Wrapping The Boxes
Presentation Transcript:
When your film-based photographic materials are ready to pack, you need to prepare two labels for each box. We want to place a label on the short side and the long side of the box with as much information as possible to identify the contents.
At a minimum, you should include the accession number, catalog number, and a subject or brief description of the materials. At this time you need to apply a humidity indicator card to the box. Apply two pieces of double-sided tape to the back of the card. Be careful to not tape over any of the indicator spots. Place the card next to one of the labels. Select the side you will be able to view when the box is in cold storage.
The next step is to place your box in the inner barrier bag. Make sure that the label end with the humidity card is facing into the back of the bag. Push the box all the way back and center it in the bag.
At this point you can add weights to the top of the box to help hold the bag in place as you wrap. It helps at this point, because you'll be taping down all these seams, to create a bunch of little taped tabs that we like to put along the edge of our table, maybe around this size, so you have them ready, because you'll need a bunch of these. It is usually easier to start wrapping the sides of the box. Fold the side seam and any excess bag material in the direction that will not obscure a label or a humidity card and place a piece of tape over it. Press out air as the bag is tightened against the sides of the box. To get a good seal, use a bone folder or any other type of tool that will help smooth and secure the seam.
Next, you need to use tape to secure the flaps hanging out on the end of the box. Fold these flaps back. Be sure to secure both sides of the box. Next, secure the end of the bag. The first stage of this method is to seal the end, so you'll want to gather the two end pieces. Once again your weights can help push some of the air out or just using your hands along the side of the bag to push as much air as you can out of there.
Grab the two end pieces together, and depending on the length of the bag, folding this in one or two times... Creating a nice end to your bag. You should place a short piece of tape on each side flap of the folded end. These will keep air out and hold the folded end in place... Assisting you in the next step by using a long piece of tape to properly seal the bag. We use this long piece of tape to cover the entire fold from end to end. Before you secure the long piece of tape against the box, we recommend making a little tab on one end of the tape to help the next person who needs to open the bag.
After you finish wrapping the barrier film bag around the box, you need to apply a second humidity indicator card to the outside of the static shielding bag. Use the same method of application as you did for the first card. If possible, keep it on the same side of the box, but be careful not to obscure the label.
After the second card is in place, you can insert the box in a ziplock polyethylene bag, or poly bag. Again, be sure to avoid obscuring the label and cards with seams or the ziplock end. The bottom end of the bag is usually the best place to view your label and cards. As with the first bag, you will need to fold and secure all the sides of the poly bag to create a tight fit. Secure the sides of the poly bag with pieces of tape. Keep in mind you may need longer pieces of tape to hold the side seams because the folds on the poly bag tend to pop if not fastened securely.
As with the barrier film bag, you need to avoid trapping air inside. Make sure you push as much air as possible out of the bag as you seal the ziplock end. Use the weights to help with this task. When you have the ziplock end sealed, you need to fold it so it can be secured against the box. Use small pieces of tape to secure the sides of the folded end against the box. Then use a longer piece to wrap around the entire fold from end to end. Be sure to place the tape over the fold so you cover it entirely. If not properly sealed, the ziplock can pop, and air can leak into the bag. Different sized and shaped boxes require various wrapping techniques, but the goal stays the same-- to create an airtight package with a stable microclimate.
Wrapping Unusual Packages:
When wrapping film canisters such as these, you may only need to use one bag. If the canisters are plastic or metal in stable condition, they already provide an acceptable barrier.
This metal canister is not rusting and is in good condition. To seal this container, you can place tape all the way around the outer rim. This film canister has vents on each corner in addition to some openings along the side. These vents must be sealed with tape. After all the vents have been sealed, the canister can be inserted into a bag and wrapped. The type of bag you use is at your discretion. Wrapping techniques used may be different, but the same preservation objectives apply to the wrapping process.
Things to Watch Out For – Labels Covered by Folds or Seams
Make sure when you insert your box into the bag that you insert the label end to the back of the bag so the label and the humidity card are clearly visible. As you can see in this box here, you can clearly read the humidity card and the label. On this box, the label and the humidity card are obscured by the fold of the bag.
Things to Watch Out For – Too Much Air Trapped in the Bag; "Pillowing"
Make sure when you close the end of your bag you remove as much air as possible from the interior of the bag. If you don't, your bag will pillow like this one. This bag has too much air inside, and as you can see, as I touch it, there's movement and there's air inside the bag.
Things to Watch Out For – Tape Not Covering Folded End
Jenny: Be sure when you're taping the outer polyethylene bag that you tape across the seal. As you can see on this box, the tape was below where we folded the ziplock seal down, and we have space here. You want to put your piece of tape over this seam.
Things to Watch Out For - “Flaps” Not Secured
Be sure when you're taping the flaps down that you secure them well to the side of the box. As you can see here, this piece of tape became loose and the flap came off. We don't want this to happen inside the freezer.
Things to Watch Out For – Tears in the Bags During Packaging
Be sure to take care when you are placing your box inside the polyethylene bag. As you can see here, there's a hole in the corner of the bag. This is something we definitely want to try to prevent from happening, as it will compromise the microclimate inside the bag.
Things To Watch Out For When Packaging
- Tears in bags (from metal edged boxes, corners, finger nails, tools, etc)
- Air trapped in bag (i.e. “pillows” or small pockets of air)
- Seams and/or folds covering labels and/or humidity indicator cards
- Tape not covering seams completely
- Press-to-seal end of bag not sealed completely
- Loose flaps (sides and/or edges)
- Tears or holes in bags as boxes are being inserted and wrapped
- Not enough length bag to fold and/or seal the open end
- Bag(s) not folded enough times or not folded properly
- Too much bulk in folds, allowing air to be trapped or escape
- Forgot to attach humidity indicator card(s)
- Forgot to attach label(s)
