|
Preparing for a cave survey trip:
Before a survey team enters the cave, some preliminary steps need to be taken. A surface contact needs to be chosen, who knows when the group plans to return from the cave and where they plan to go. Survey gear needs to be checked and carefully packed for the trip. This equipment includes a laser distance meter or measuring tape, compass, clinometer, a camera, and books for recording survey and inventory data. Detailed maps of the group's travel route and destination need to be photocopied and taken into the cave. If the group will be staying underground for several days, additional gear is needed for cooking and sleeping. 
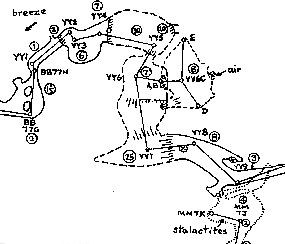
Navigating through the cave: Once the group enters the cave, a great deal of time is spent traveling to the area to be surveyed. Usually this travel is along a “flagged” route, which is marked with plastic surveyor’s tape. The tape is color-coded for different routes. Small pieces of tape are visible on rocks along the trail, pointing the way. Turns are marked by bending the flagging tape to make an “L” shape. One end of each piece of tape is cut into a point: this arrow always points to the quickest way out of the cave. Only main routes through the cave are flagged. Therefore, every survey trip will involve traveling away from a flagged route. The cave maps are used to travel between flagged routes and the team’s destination. Maps show the location of cave survey stations, passage walls, and features such as pits, ledges, and large rocks. When entering unmapped territory, the group surveys passages as they go, placing new survey stations that they can follow on the way back. Exploring and mapping leads: Cave maps show the location of “leads,” or unexplored passages. Sometimes a team will enter a lead and find that it ends after only a few feet. Sometimes a lead will go on for miles and reveal several new leads. The team surveys leads until they end, or until it is time to head back to the surface. In order to add these new discoveries to the cave map, the team begins their survey at the nearest pre-existing station and surveys into the lead. 
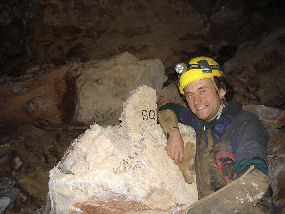
NPS Photo Survey stations are specific points in the cave. Each station has a unique name, which is a combination of letters and numbers. An example of a station name is XC25. One member of the survey team creates a new station, making sure that there is a straight line-of-sight between it and the previous station. The team then measures the distance between the two stations, using a laser distance meter. Another person is positioned at the previous station and reads the compass and clinometer while looking toward the new station. A light is held on the new station and pointed back at the instrument reader. This enables the reader to line up the light with the numbers on the instruments and obtain an accurate reading. The compass, read in degrees from 0 to 360, gives the compass bearing, or azimuth. The clinometer, read in degrees from –90 to +90, gives the inclination (or vertical angle) between the two stations. 
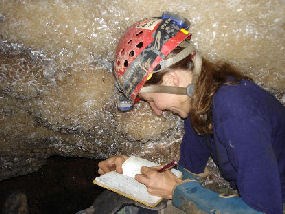
NPS Photo All survey data (distances, compass bearings, and vertical angles) are recorded in a book by another team member, the "sketcher." The sketcher also records estimated passage dimensions at each station. The dimensions are the distances to passage walls up, down, left, and right of the station. The data is recorded on the left-hand page of the survey book. On the right-hand page, which is gridded, the sketcher draws lines representing the survey shots. A north arrow (usually pointing up) and scale are always drawn on this page. Around the lines, the sketcher draws the passage walls to scale, making sure to include leads and major passage features. A detailed inventory of cave formations, wet areas, geological and biological features are recorded in a separate book. All of the features found near a particular station are listed next to the station name in the inventory book. After the trip: Once the group comes out of the cave, the survey data is entered into special cave mapping software. The software adds up the lengths of all of the survey lines in the cave and gives the official surveyed length of the cave. The software generates a “line plot” of the cave, which shows the survey lines that connect each pair of survey stations. Using the sketch that was made in the cave, the passage walls and features are drawn by hand around the computer-generated line plot. These new maps are then connected to the "master map" of the entire cave. Inventory data is also entered into the computer. This information can be used to generate maps of the cave highlighting areas where water is found or where a certain unusual feature can be seen. |
Last updated: September 19, 2023
