The other day, as we chiseled, drilled, hammered, lashed, and otherwise repaired the sled used in Denali National Park’s summer sled dog demonstration, I couldn’t help but think of the scene where Dorothy finally sees the reality of the Great and Powerful Oz: “Pay no attention to that man behind the curtain!”
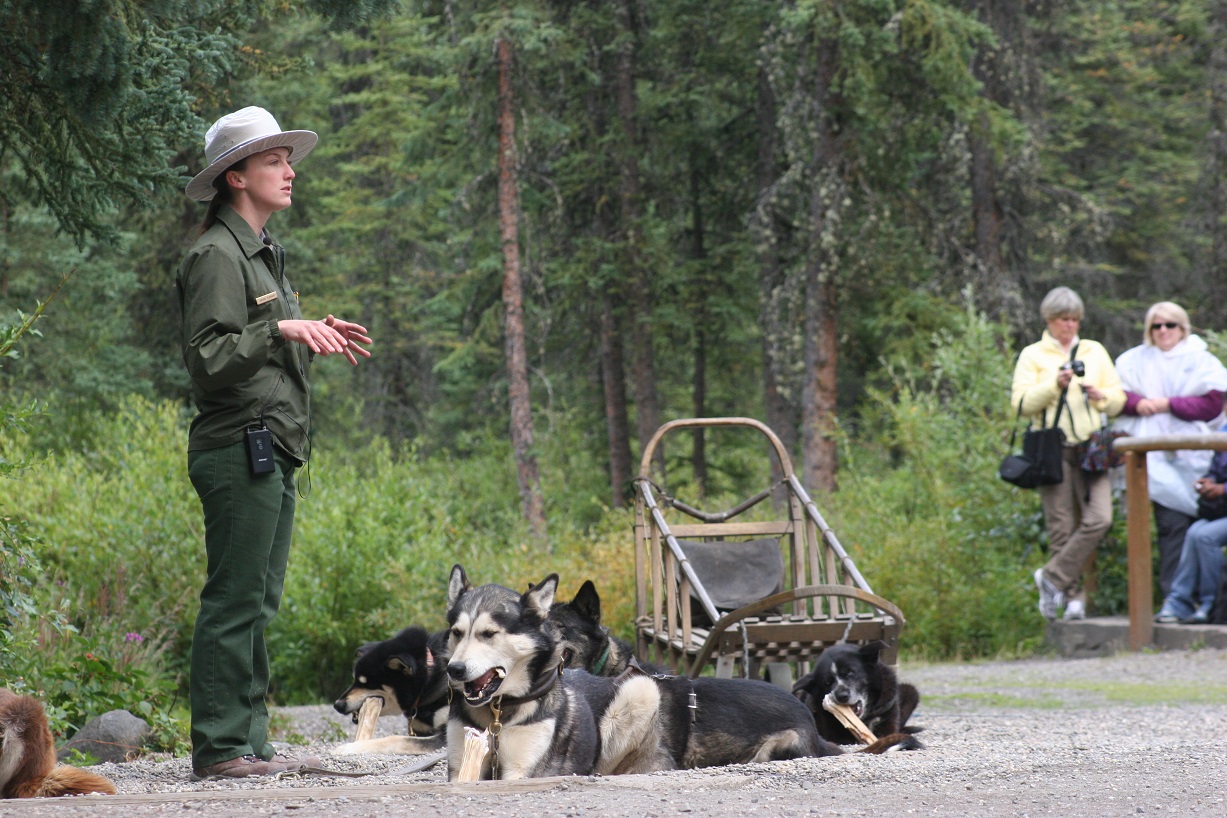
You see, you don’t have to look too closely at the summer sled to know it is an amazing piece of craftsmanship. It was originally built in the early 2000’s in a traditional basket style. Since then, this sled has had one purpose – allowing our summer visitors a sneak peek into the real lives of our sled dogs. At the height of the summer, a small team is attached to the sled and it is pulled around a gravel track three times a day. Over the course of one summer season, our sled will make over 300 of these energetic laps for the enjoyment of our 50,000+visitors.
Summer demo photo
For me, giving this presentation has been one of the main highlights of being a Denali National Park ranger. After three years of riding around the track, I thought that I knew the sled pretty well, and yet it turns out that I had never really looked closely. Despite a few modifications to help it manage the gravel and the many repairs the kennels staff has completed throughout its lifetime, the constant use had taken a toll on the sled’s runners. They were in need of replacement.
We were lucky that the original builder of the summer sled was available to assist us with the daunting task of separating the sled basket from the runners and making a pair of newly created runners fit. The builder’s name is Matt Emslie. (If you have read our other blogs, this name likely sounds familiar. He assisted the winter kennel staff last year in understanding the fading art of using the geepole.) So, with the carpentry shop at our disposal and the amazing resource that is Matt on hand, we were eager to complete the repairs.
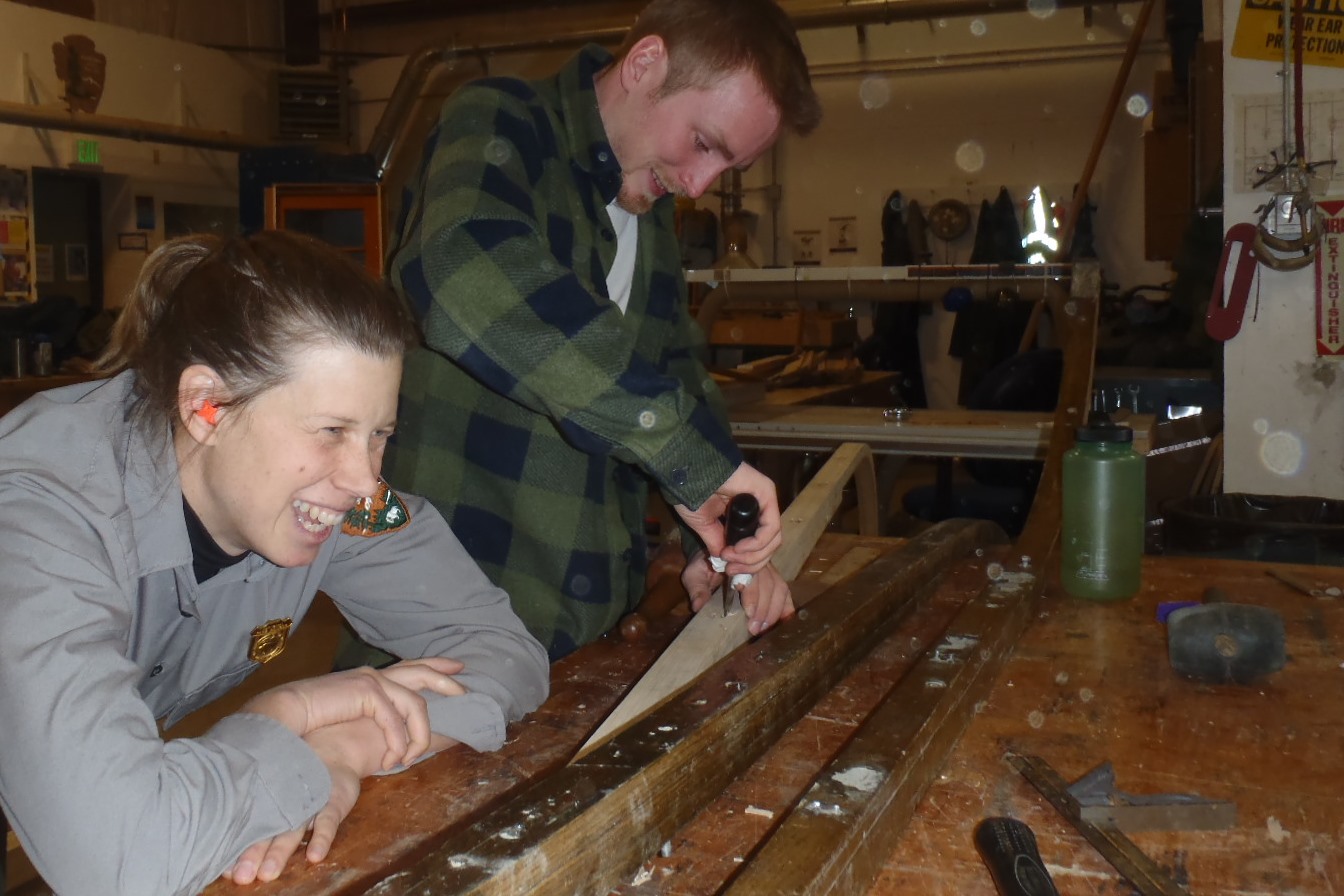
Kennels staff at work on the runners
Like I said in the beginning, throughout this process I couldn’t help but think of the scene where Dorothy finally sees the Great and Powerful Oz… and pity her. Sure, sometimes seeing the inner workings of something incredible can be a disappointment. But this experience? Wow. It could not have been more opposite. As we pulled back the curtain from the summer sled, the reality continued to amaze every single one of us there.
The truth is that not many people make basket sleds from scratch anymore. Matt learned years ago from a man named Donald Smithwho lived in the remote village of Kiana. Pronounced like the spice cayenne, Kiana (cayenne-uh) is about 60 miles east of Kotzebue and an approximately 380+ mile flight from Fairbanks. Donald was 76 years old when Matt became an informal apprentice. Since then, Matt has made about 30 sleds on his own. This is as authentic as it gets.
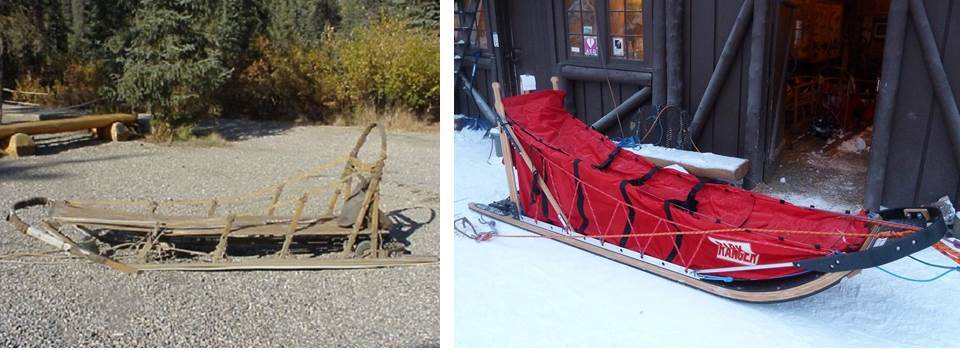
As with anything, there are pros and cons to the basket style. Because the bed of the sled is raised, they can be difficult to maneuver in deep snow (a toboggan style sled, by comparison, has the bed of the sled almost even with the runners which allows the snow to help support the weight of the load). The basket style can be steered more nimbly, however, because of its limited snow contact. Also, traditional basket style sleds are tied together with cords instead of bolted together with metal. The ties allow the sled to flex, which is especially important in extreme cold temperatures and hard use. Bolts, while easy to fix on the trail, limit the ability of the sled to flex due to metal’s unforgiving nature. We have chosen to use the basket sled in the summer because of the uniqueness of running on gravel and the kennel’s mission to preserve the cultural heritage of mushing. Early rangers in Denali had used the traditional basket style exclusively for many years. Today, we use toboggan style sleds in winter.
Comparison photo of basket sled (on left) and toboggan sled (on right)
Any sled, regardless of style, is composed of parts that have been specially measured, cut, and molded to function with precision. A traditional basket sled, however, forgoes plastic and is made entirely of wood. Having a very limited background in woodworking, I couldn’t believe the amount of thought that had gone into our summer sled… and we weren’t even building the whole thing. In our case, some of our major steps are as follows:
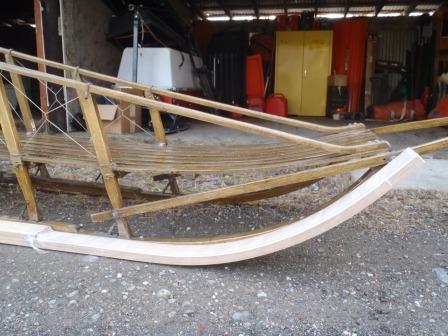
First, as previously alluded to, we needed replacement runners of the right length. While Matt had made the original sled, we owe musher Cody Strathe the thanks for creating and forming this new set.
Photo of new runners sitting next to the summer demonstration sled
The next need was tools. Over the course of the project, we used power drills with several different sized bits, as well as screws, a hammer, nails (including double headed nails), 9 gauge wire, wire cutters, chisel, square, angle-finder, rasp, pencils, leader line, knife, lighter, saws, and various 2x4s (some as long as the sled runners). We also had personal protective equipment, several people with strong technical skills, and a few others who were like me (there to learn and able to help).
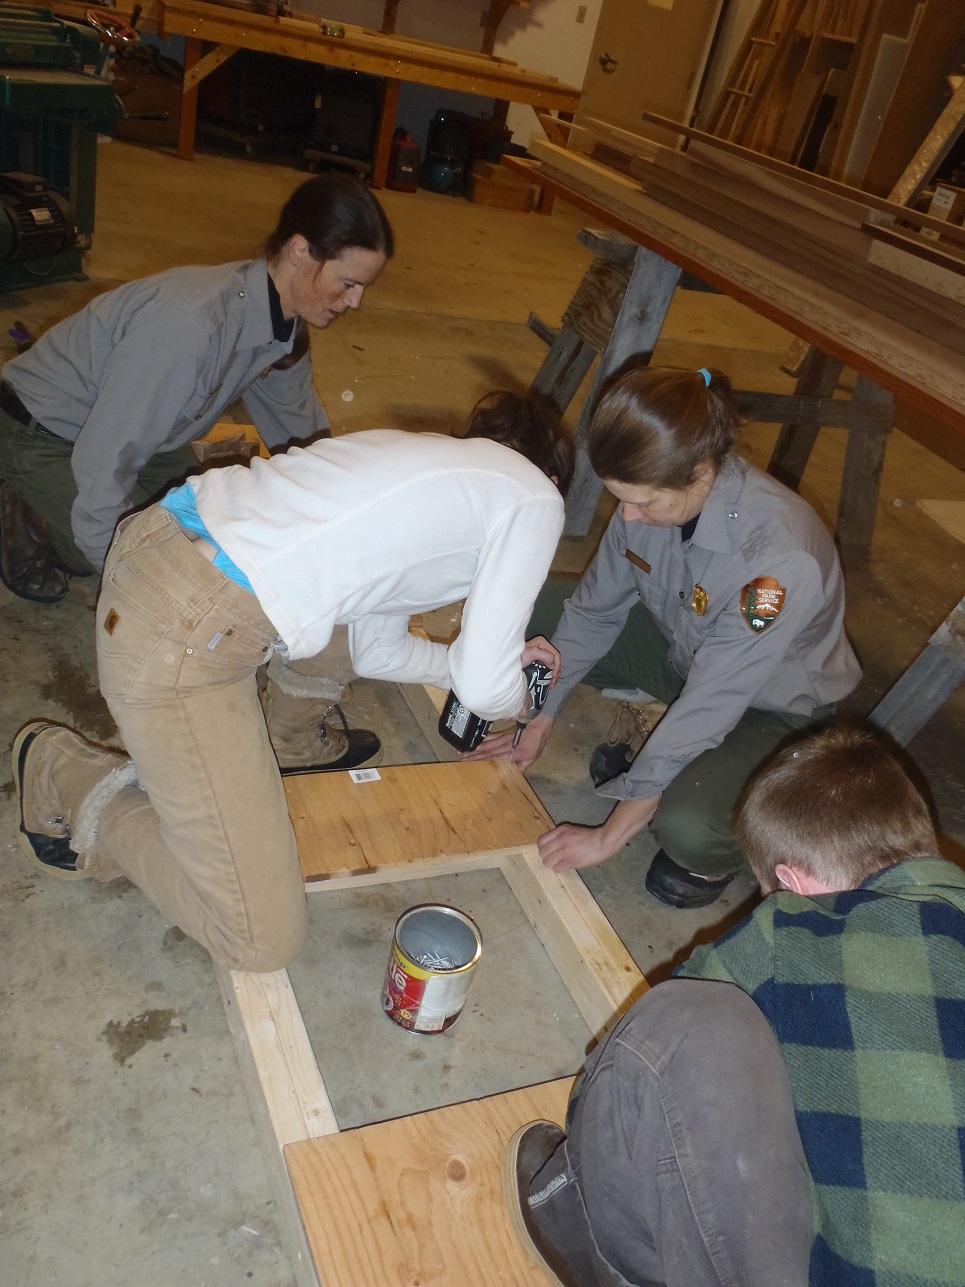
Before we could do much with the sled itself, we had to make a form. This is a frame which you will ultimately nail your runners to, in order to ensure that the sled stays square and true through the rest of the construction process. Therefore, it was also important that the form was square and true.
Creating the form
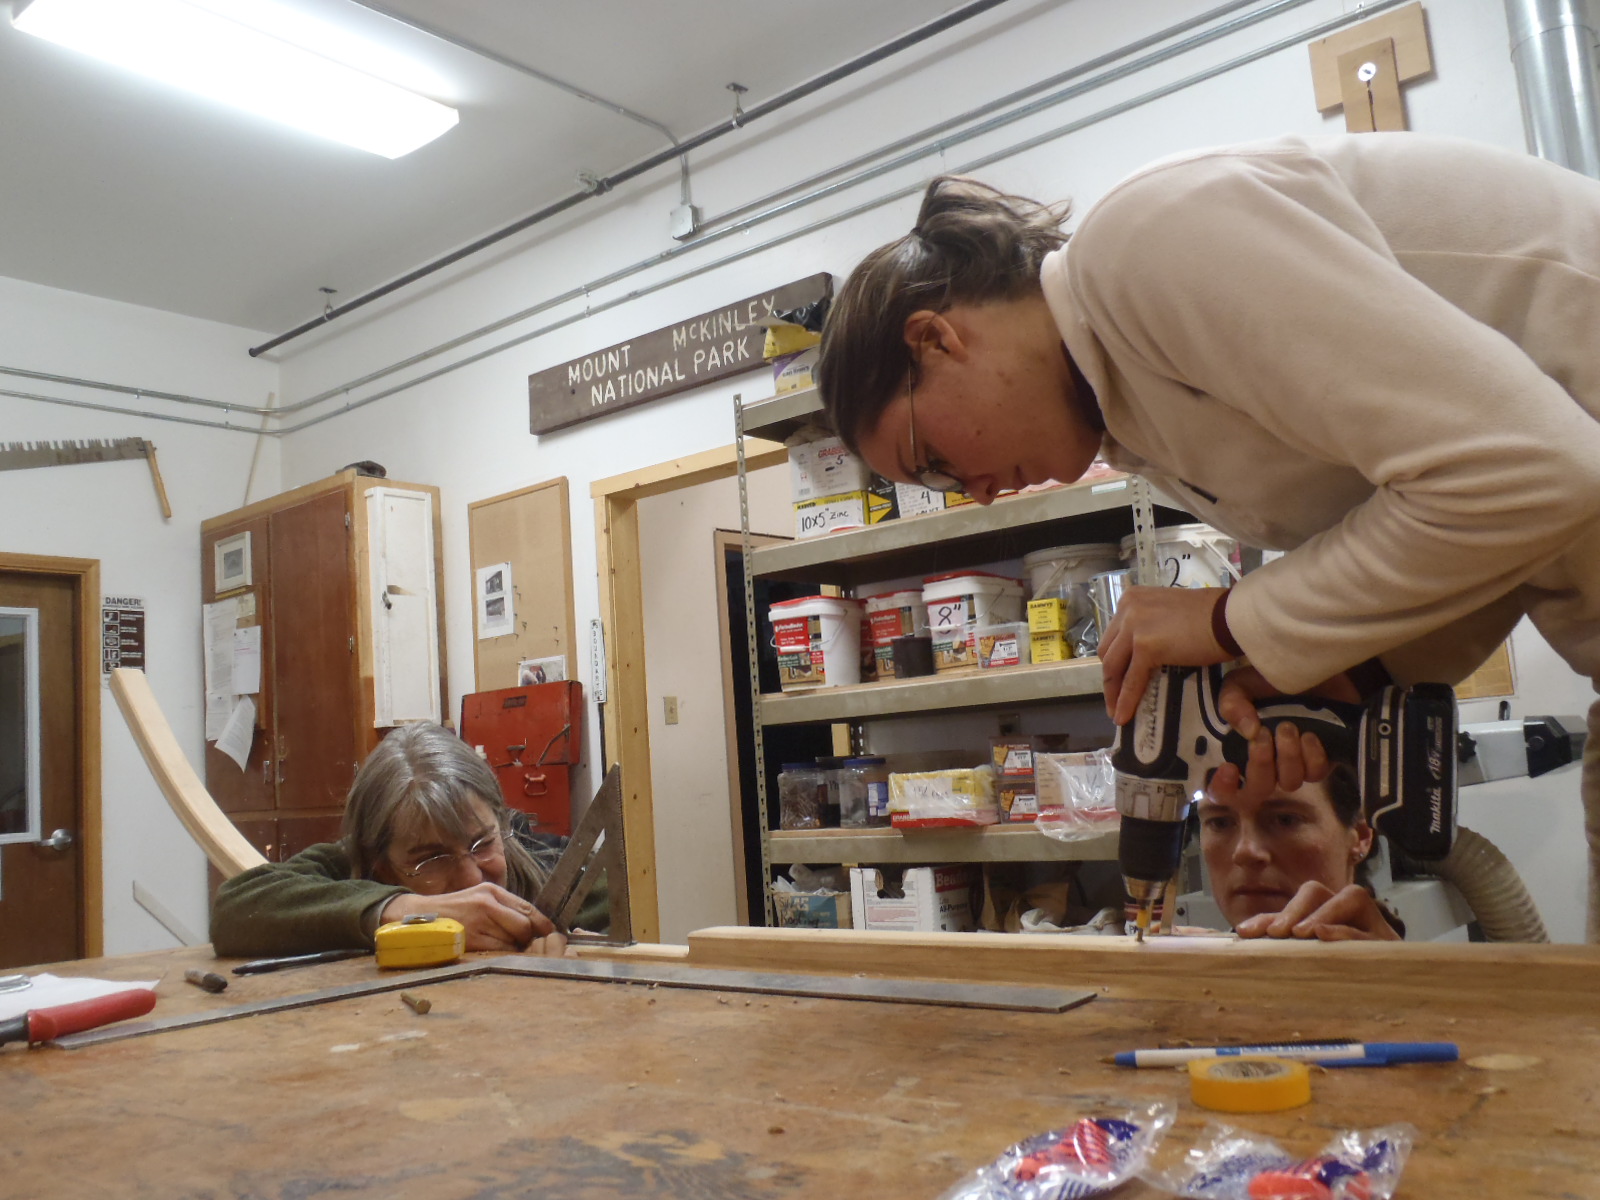
Although Cody had created the runners themselves, there were still other preparations to be completed. One task was to create mortise holes. Doing this involved drilling and chiseling out holes in the runners for the stanchions of the basket to rest in. (Think of stanchions as the vertical pieces of wood that support the raised bed of the sled and create the sides of the basket.) The bottoms of the stanchions are specially whittled to be slightly narrower; this part is known as the tenon and will ultimately fit into the mortise hole on the runner. As if drilling into your runners isn’t nerve-wracking enough, most of the mortise holes had to be drilled in at a 15 degree angle for proper fit with the tenons.
Drilling mortise holes into the runner
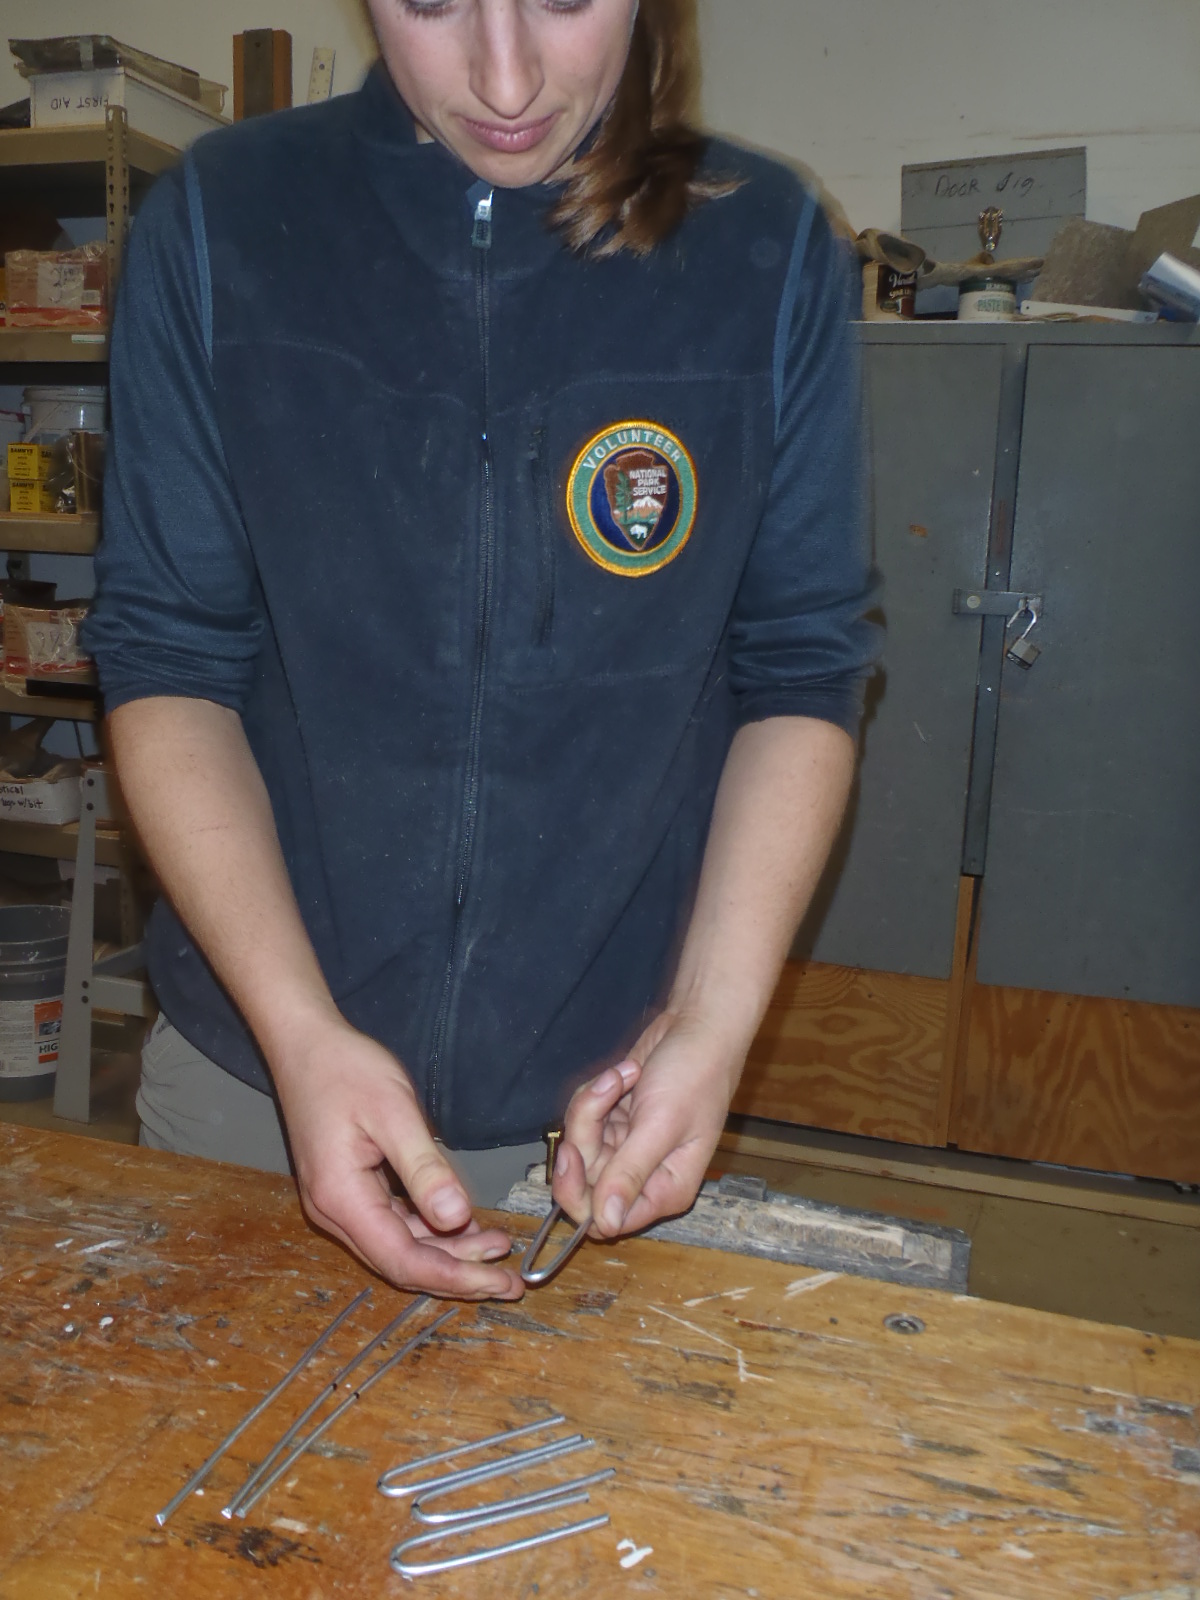
While the joints were being created, others of us cut the 9 gauge wire into 8” sections and bent them to create staples. They were hammered into the runner using pre-drilled holes until the tops were about 1/2” above the runner height. To finish, we flattened the ends of the staple into pre-cut grooves so they are flush with the bottom of the runner.
Bending staples
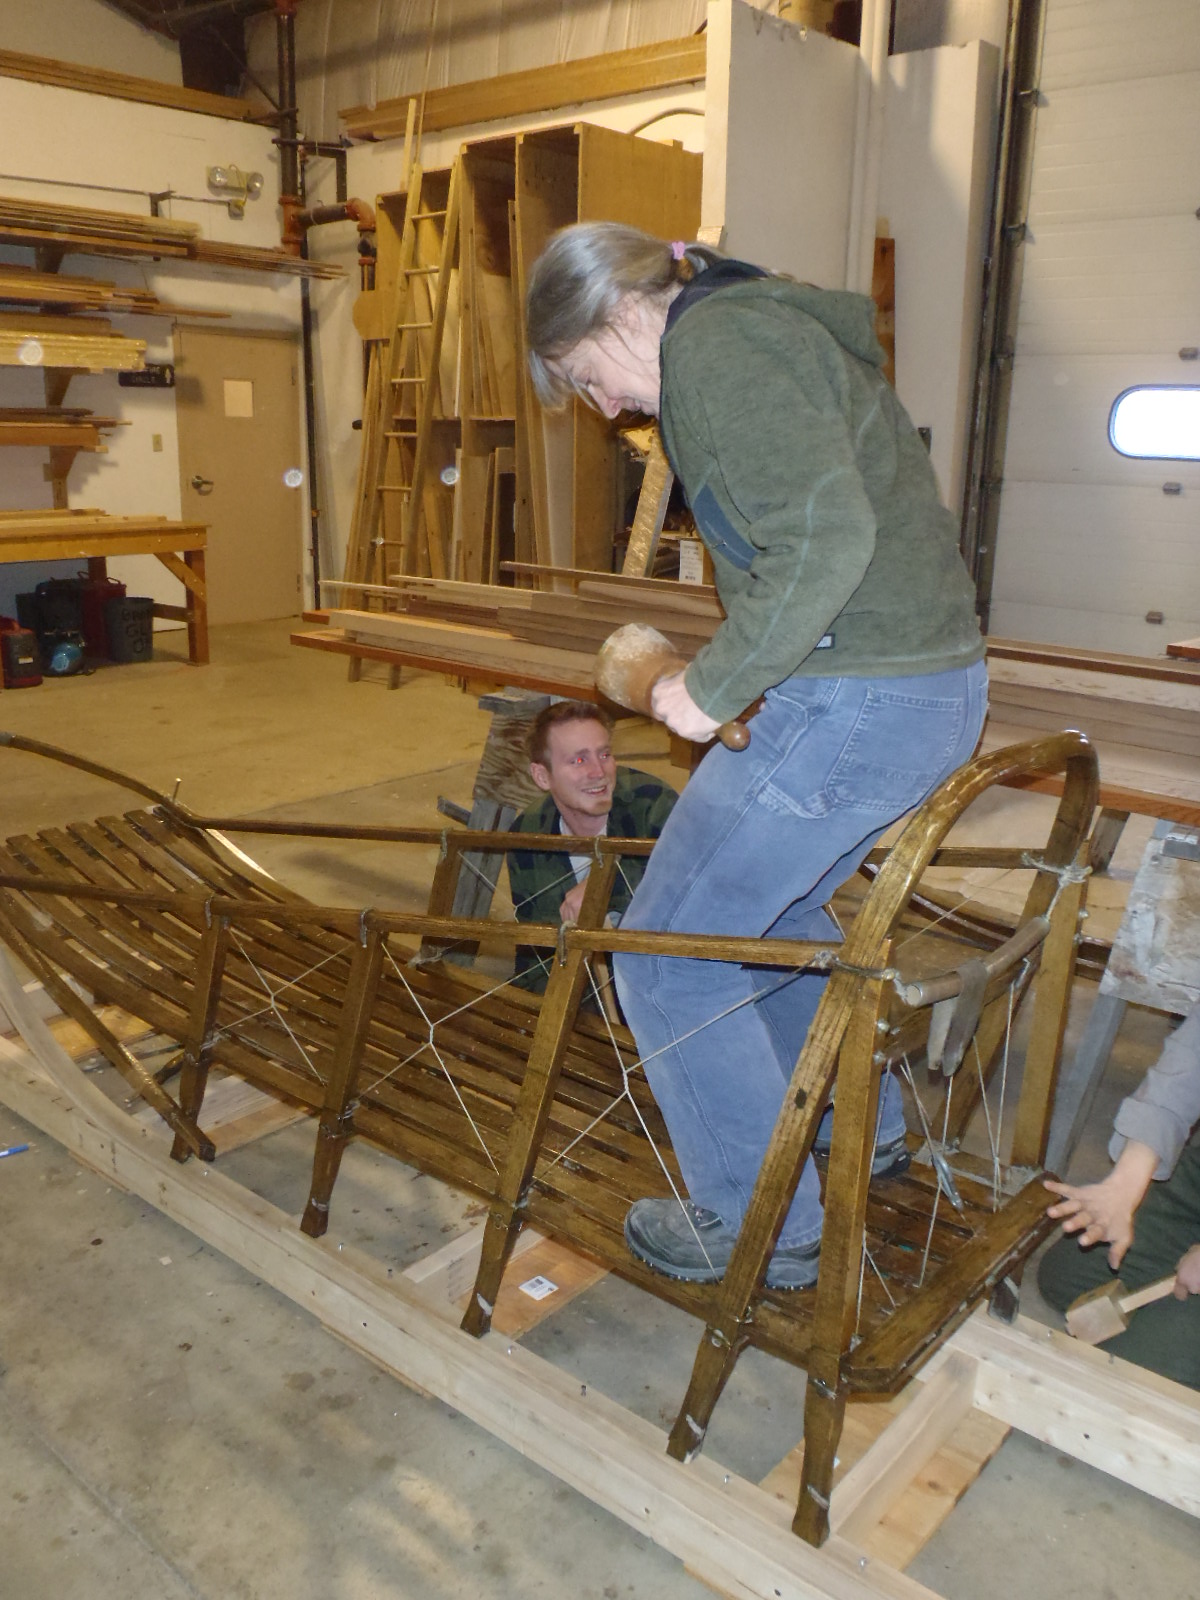
With these tasks done, we nailed the prepared runners onto the form, ensuring their height was equal and that they had the same curve. Holding our breath in anticipation, we set the sled basket on the runners and hoped that we measured, drilled, and chiseled correctly. Thankfully, we did! It helped to have someone weigh down the sled basket to ensure that the mortise and tenon joints had seated completely.
Setting the basket on the new runners
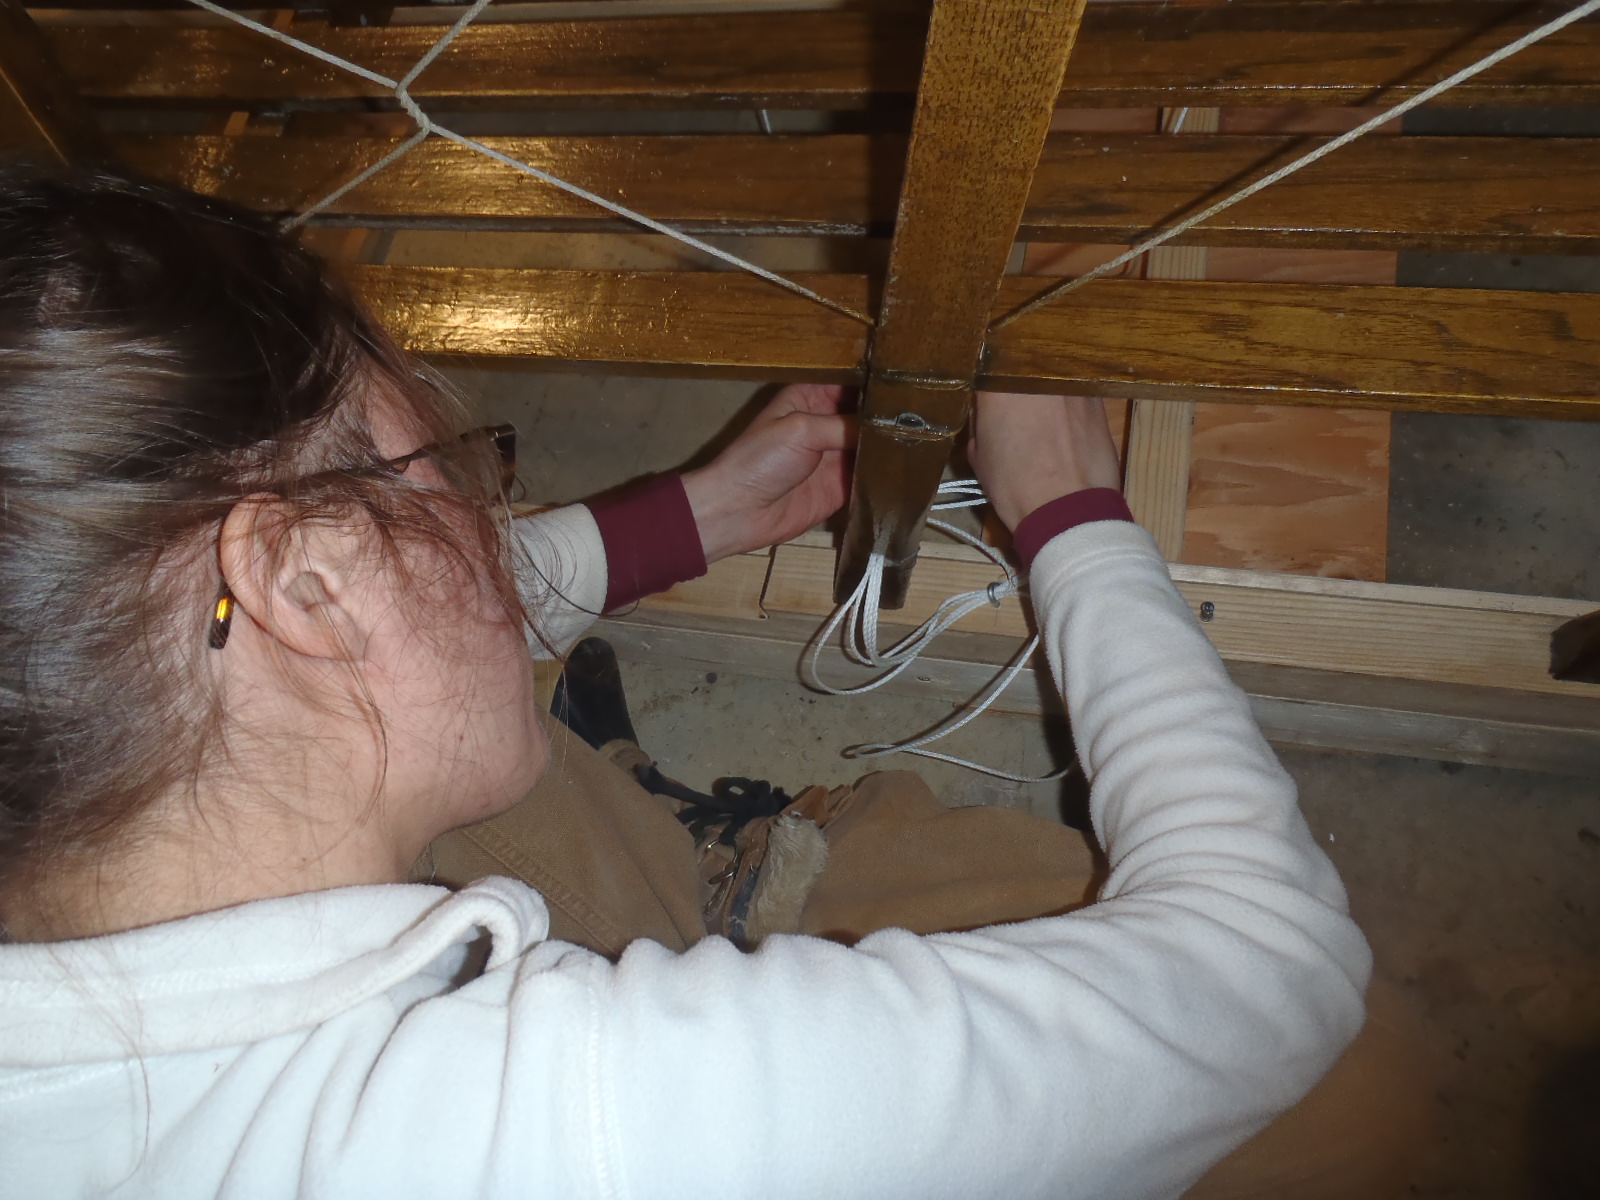
Then began the lashing process, using drilled holes in the stanchions and the staples we had created. The trick was to thread your line between the hole and the staple enough times that the knot at the end of the line could no longer pull through the hole in the stanchion (we tugged HARD to make sure it was stuck). Once that was ensured, we tensioned the loops of the cord and wrapped the slack end of the line around these loops, also while pulling hard to create even more tension. Besides increasing tension, the other goal of the final wrapping is to protect the load bearing lines from wear. When all this was done, we tied a few half hitches to finish it off, cut any remaining line and melted the tip to prevent it from slipping back through and undoing all of our hard earned work.
Lashing the basket and runners together
At the end of our training day, the summer sled was mostly rebuilt but still needs some finishing touches (like varnish, plastic on the bottom of the runners to further protect them from gravel, and the specially welded wheelsand brakes reattached). However, I will never look at it in the same way. By assisting with its repair, I have now seen the inner workings. While tools and techniques have changed over time, every aspect of that sled – down to the tiniest of details – has been shaped and molded through the experience and lessons of individuals throughout Alaska. What was revealed to me was not one man behind a curtain, but something much greater: a rich working history of human and dogs set in this cold landscape.

