 icon within a page and select Datasheet to open the Datasheet Views dialog.
The first step in using a Datasheet Element is to define one or more views that specify the source of the data and the columns to be included. After selecting Datasheet from the Form & Data Sheet Elements section of the Element Gallery dialog, click Add Datasheet View, or click the Element Tool icon within a page and select Datasheet to open the Datasheet Views dialog.
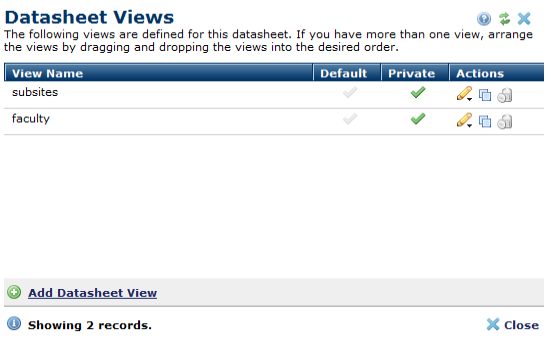
For added flexibility, you can define multiple views for a Datasheet Element by clicking Add Datasheet View. If styles are not enabled for the site, this dialog also displays an option to Edit View Label Font & Color Properties for local control over the appearance of labels in the Datasheet.
Multiple views display as dropdown options.
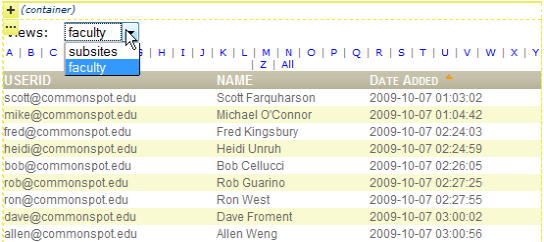
Selecting a different view from the list changes the data that CommonSpot renders.
The order of the views in the dropdown list rendered on the page corresponds to the order of the views in the Datasheet View dialog. If no view is set, the first view in the list is the default view that CommonSpot displays when a user first visits the page. You can make it the default by clicking the checkmark icon  . Similarly, you can change view status from public to private or vice versa by clicking on a checkmark in that column.
To edit an existing view, the edit  icon.
icon.
To copy an existing view, click the copy icon  and CommonSpot adds it to the list. Its name begins with “Copy of”.
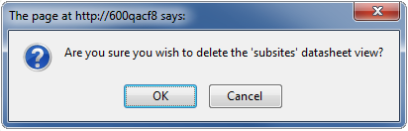
To delete an existing view, click the delete icon  . CommonSpot then asks that you confirm that you want to delete the view.
Related Links
You can download PDF versions of the Content Contributor's, Administrator's, and Elements Reference documents from the support section of paperthin.com (requires login).
For technical support:
